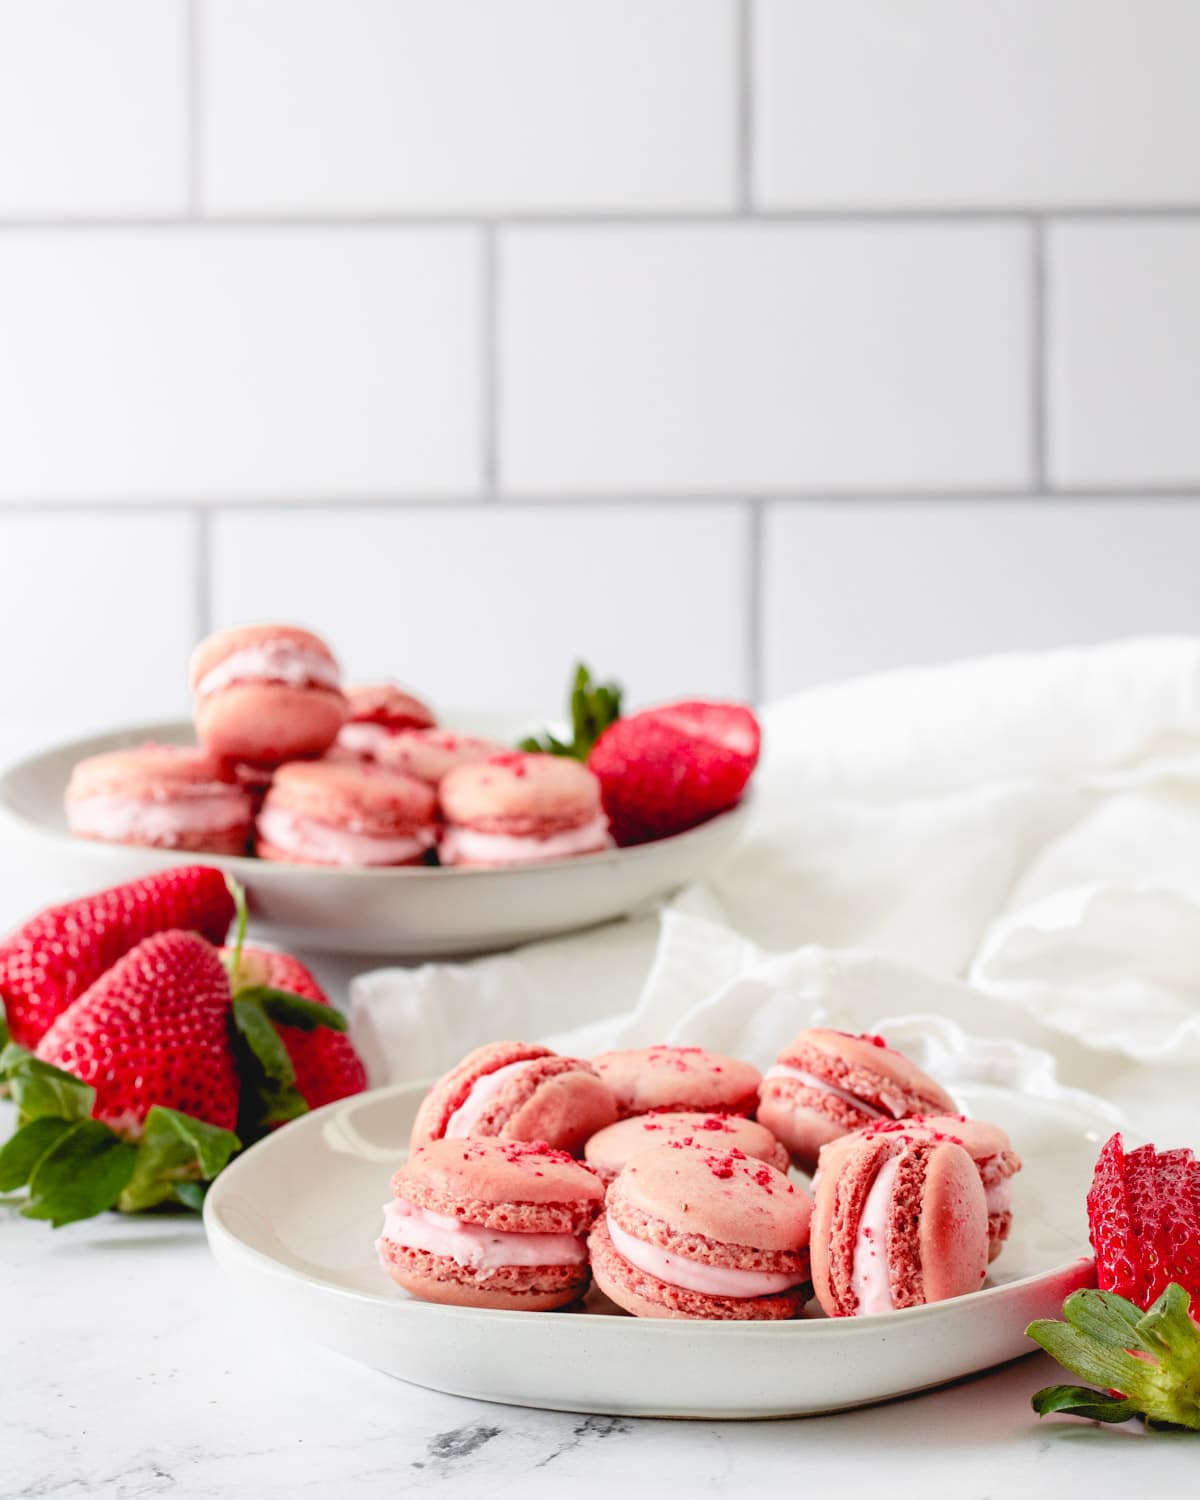
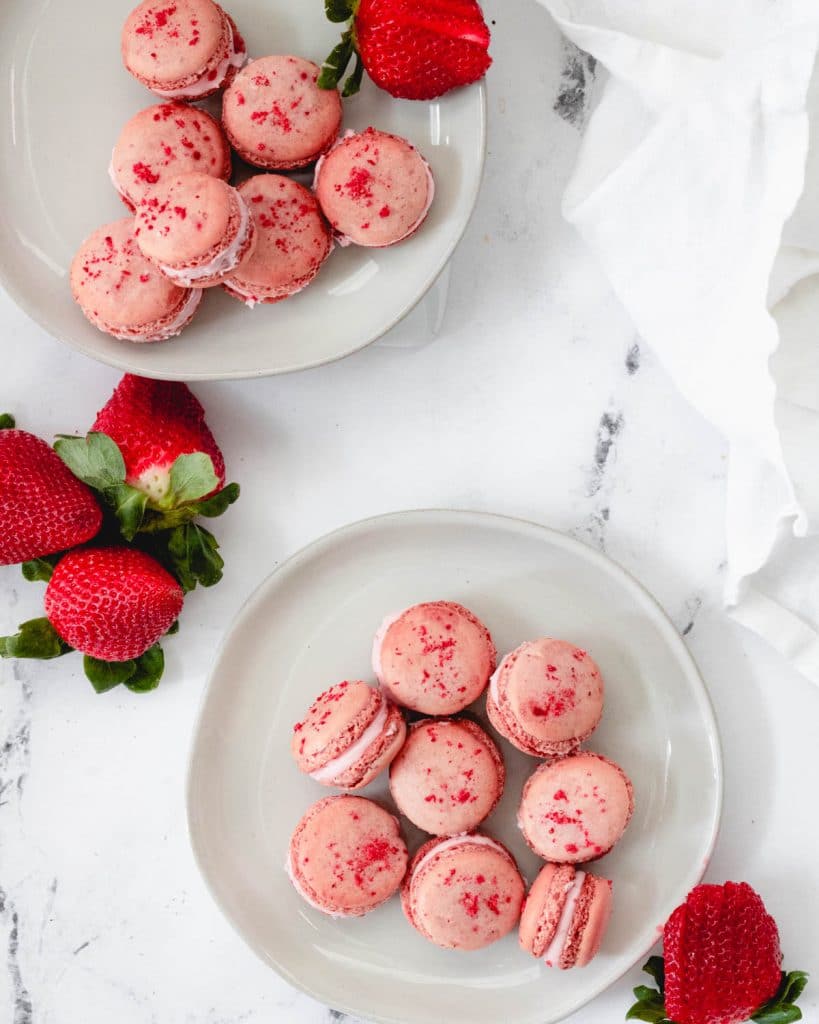
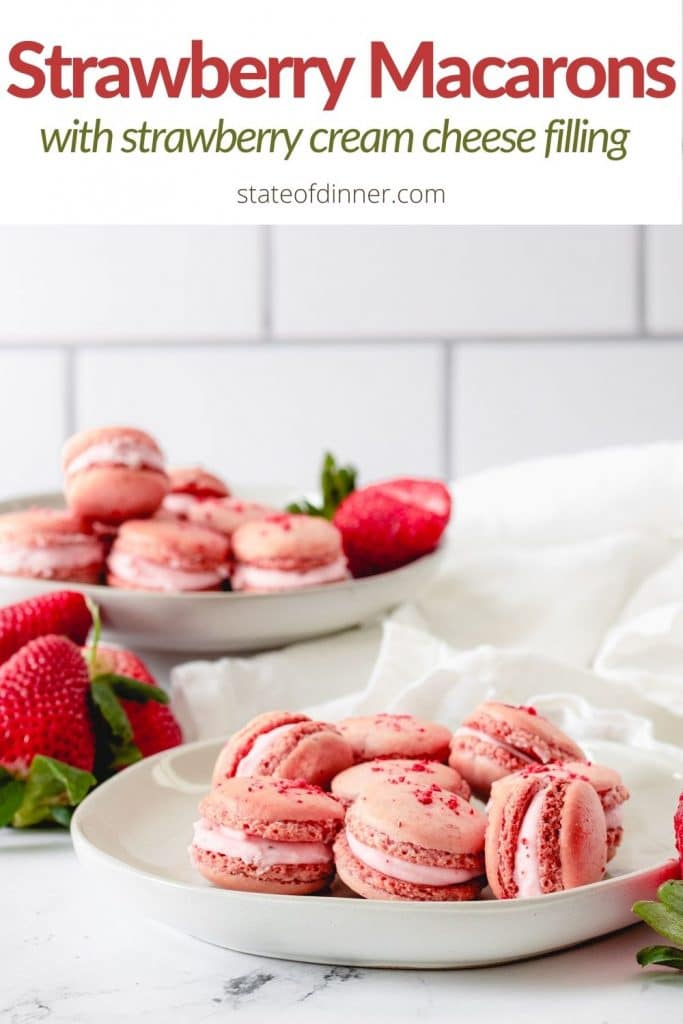
These delicious Strawberry Cheesecake Macarons are chewy on the inside with a slightly crisp outer shell, tons of strawberry flavor, and a scrumptious cheesecake filling! They are an impressive bite-sized dessert made with a few simple ingredients.
Jump to:
Macarons always struck me as the kind of dessert you enjoy from a bakery but would never make at home. But the more I learned about them, the more I wanted to try them! It turns out they are really simple!
Now truth be told, it took a few tries to get macarons that I would consider five stars. But even though an expert might criticize them, my first batch was still really good. You aren't in a cooking competition so it doesn't have to be perfect. So stretch yourself and give it a try!
This recipe for strawberry macarons will give you adorable little bite-sized treats that are delicate, yet bursting with flavor!
Ingredients
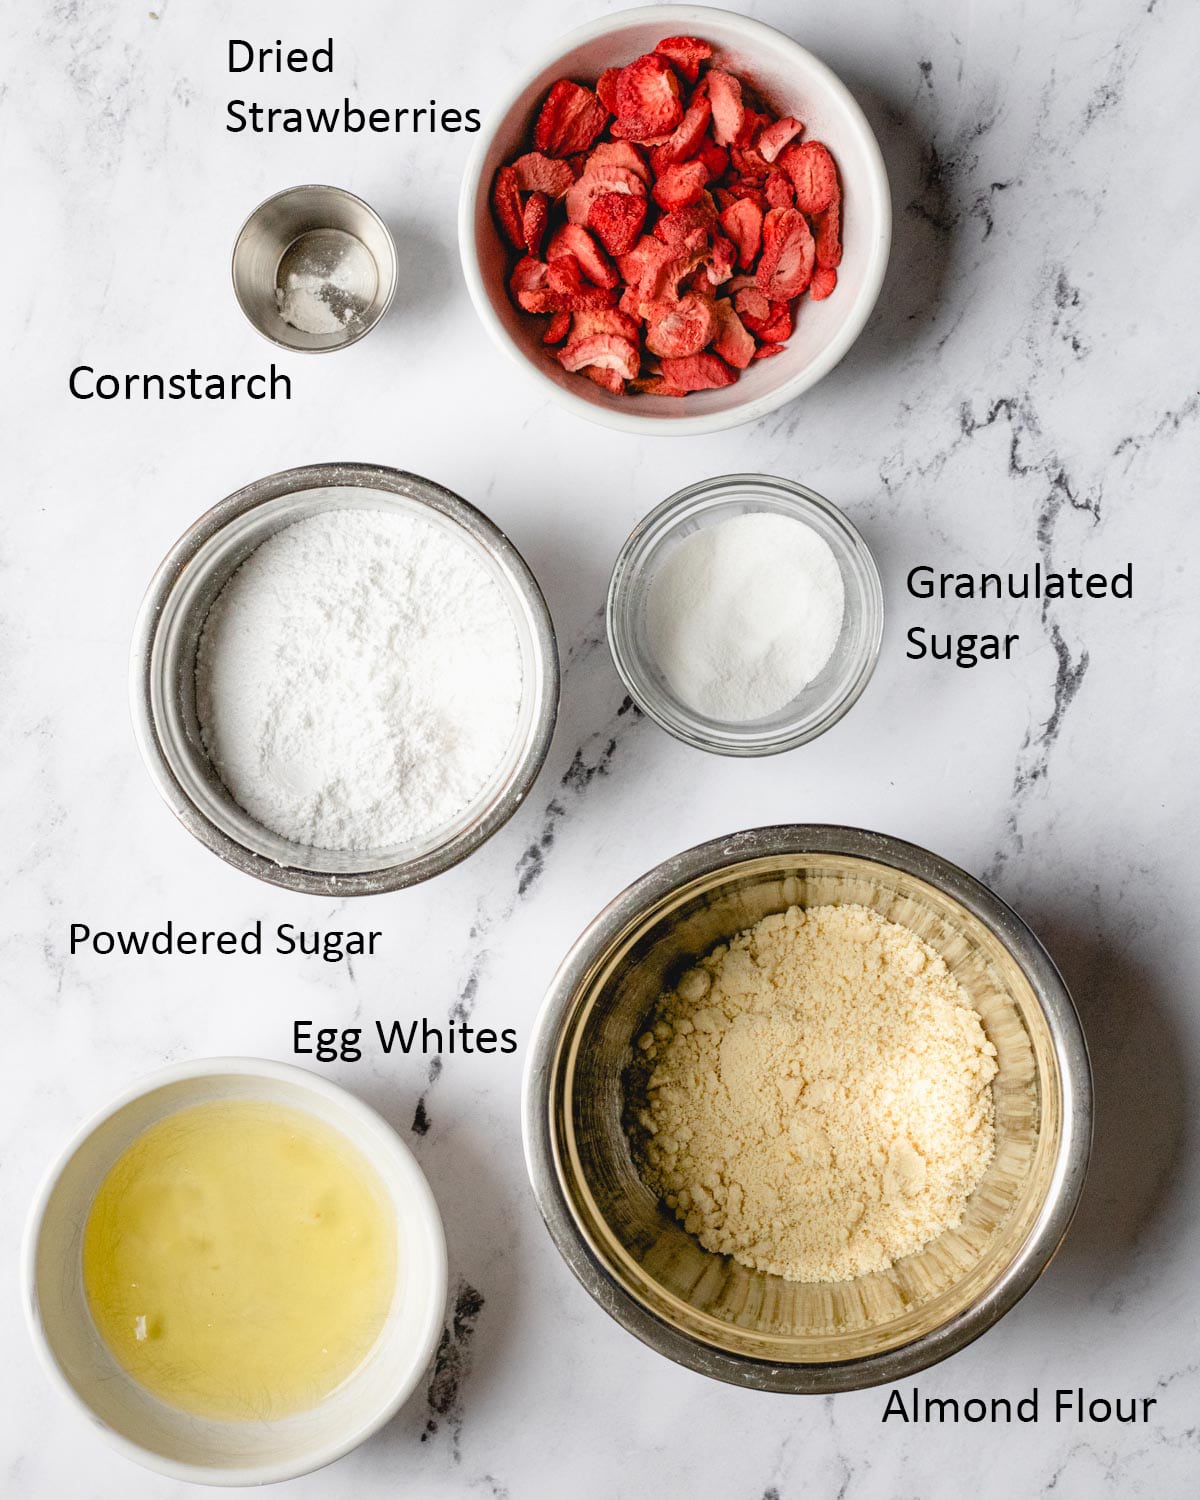
- Egg whites - Macarons are essentially meringues with some almond flour and sugar mixed in. Egg whites are the ingredient that makes the meringue.
- Almond Flour - Your almond flour should be super fine. I use Bob's Red Mill Almond Flour.
- Cream of Tartar - Cream of Tartar is an optional ingredient. I like to use it because it holds the meringue together and provides great structure to the macarons.
- Granulated and Confectioners' Sugar - We use granulated and confectioners' (powdered) sugar because they both sweeten and have different roles in the recipe. Granulated sugar strengthens the meringue, while confectioners' sugar gives the macarons their lightness and texture.
- Freeze-Dried Strawberries - By crushing freeze-dried strawberries we get a natural strawberry flavor without adding moisture to the macarons.
In the recipe directions, I provide gram weights for all of the ingredients. I have come to love the precision of weighing ingredients, and it is especially important for this recipe. A little variation in either direction will produce vastly different results.
Here is a link to the scale that I use. It is very inexpensive and a must-have when making macarons.
Instructions
1) Blend Almond Flour
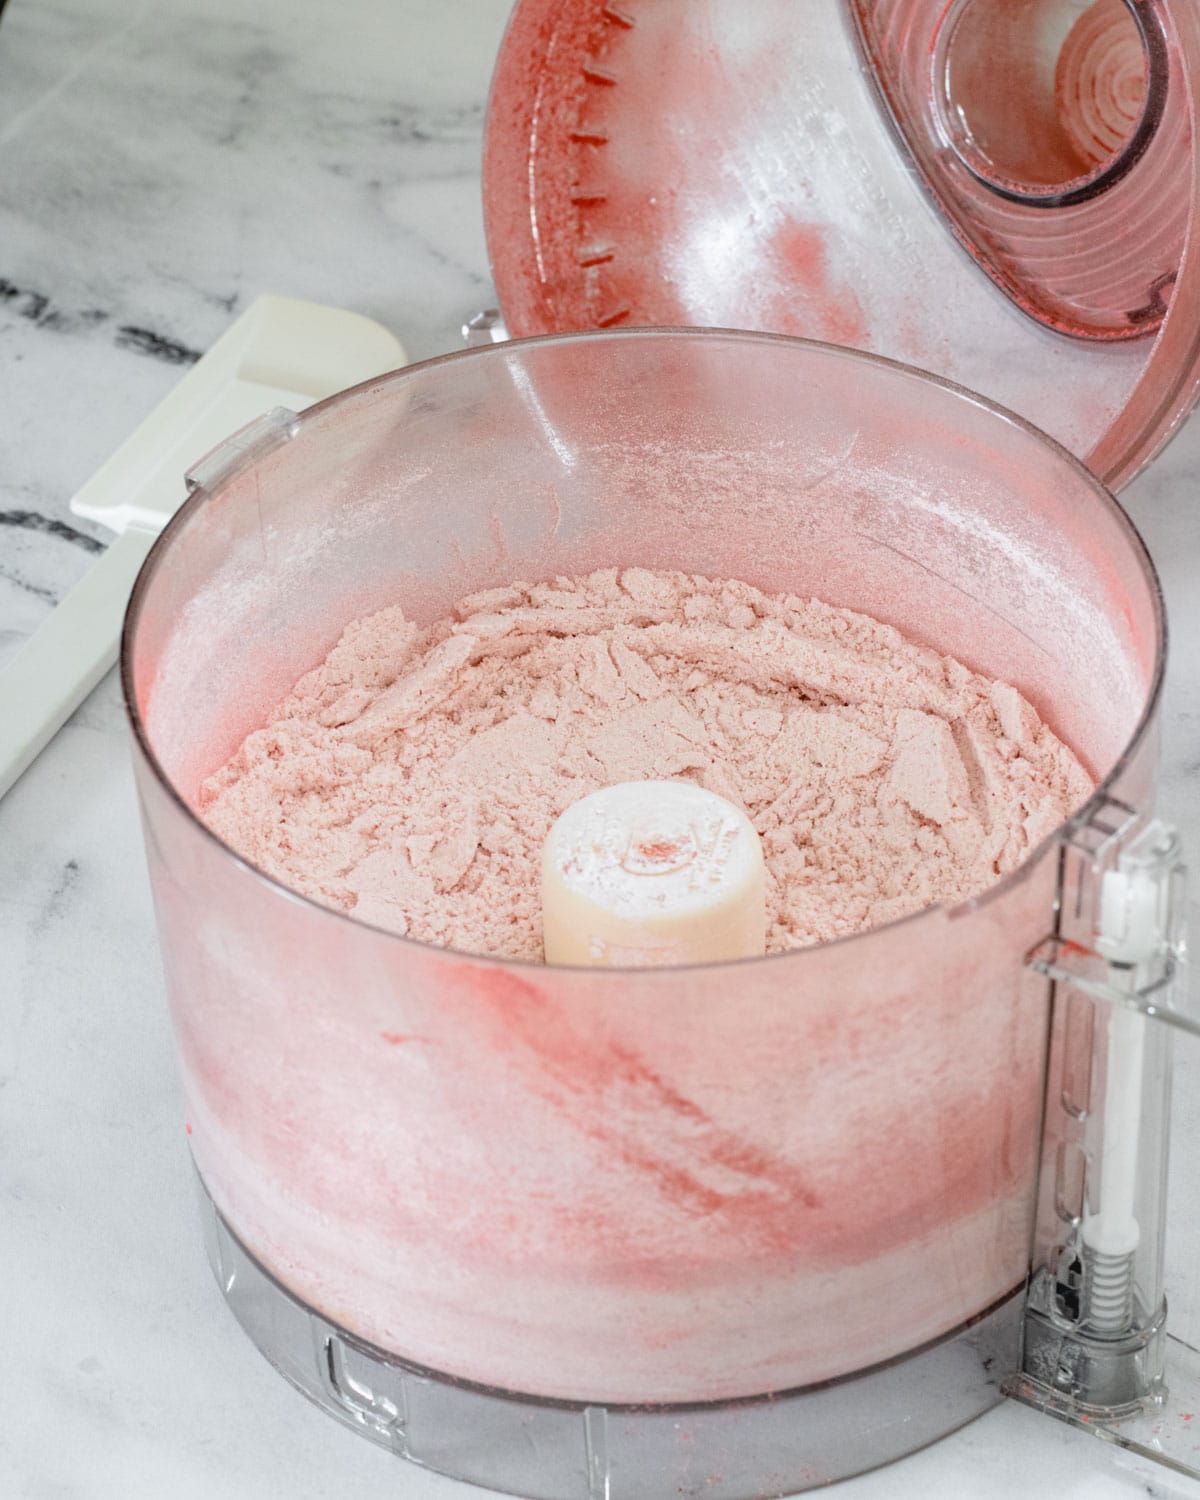
- One of the first problems that some people encounter when making macarons is clumpy almond flour. We combat that by blending it in the food processor with the confectioners' sugar and strawberry powder.
- After it is blended together, pour the flour mixture into a bowl and sift together at least 3 times.
- This two-step process ensures that your almond flour is very fine with no clumps and that it is ready to mix in smoothly to the meringue. Smooth almond flour means smooth macarons. Clumpy almond flour means clumpy macarons. We want smooth.
2. Whisk Egg Whites
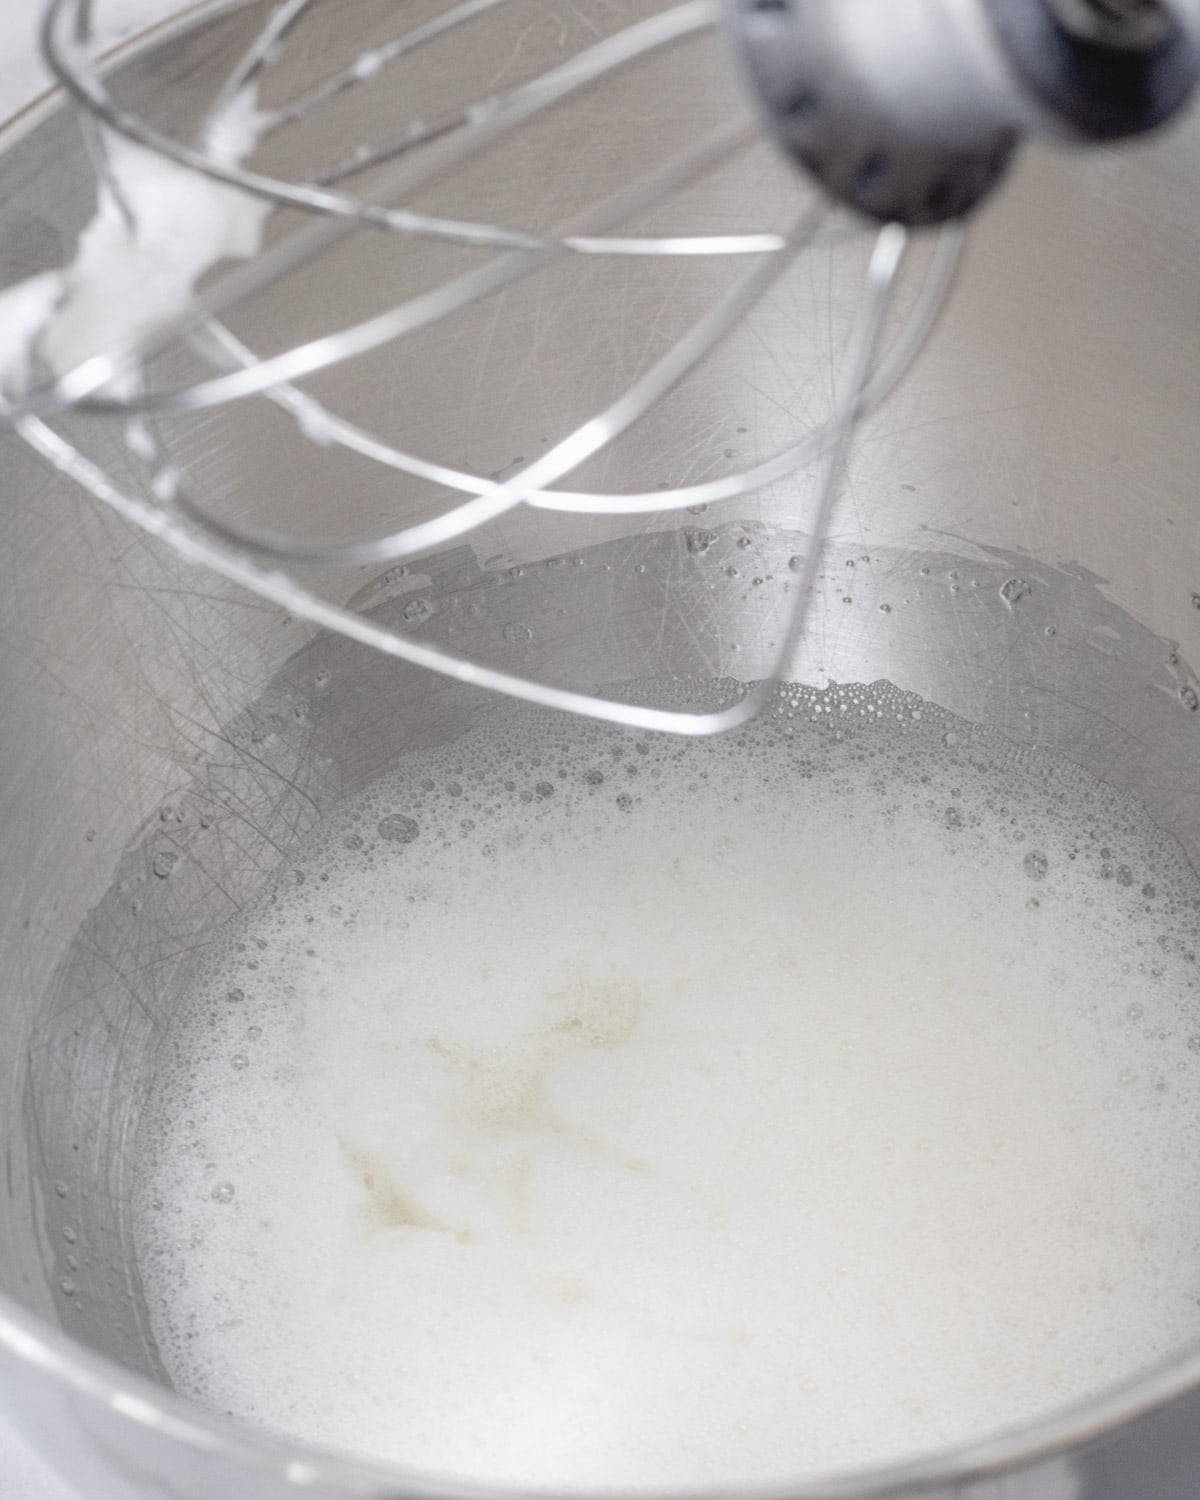
- Whisk your room temperature egg whites using an electric mixer. Our goal is to create micro-bubbles, so keep the mixer speed on medium (5) or below.
- Once the egg whites look foamy, like the picture below, add in the cream of tartar, if using. Turn the mixer onto low speed and slowly add in the granulated sugar.
- Add the food coloring at this point, if desired.
3. Beat to Stiff Peaks
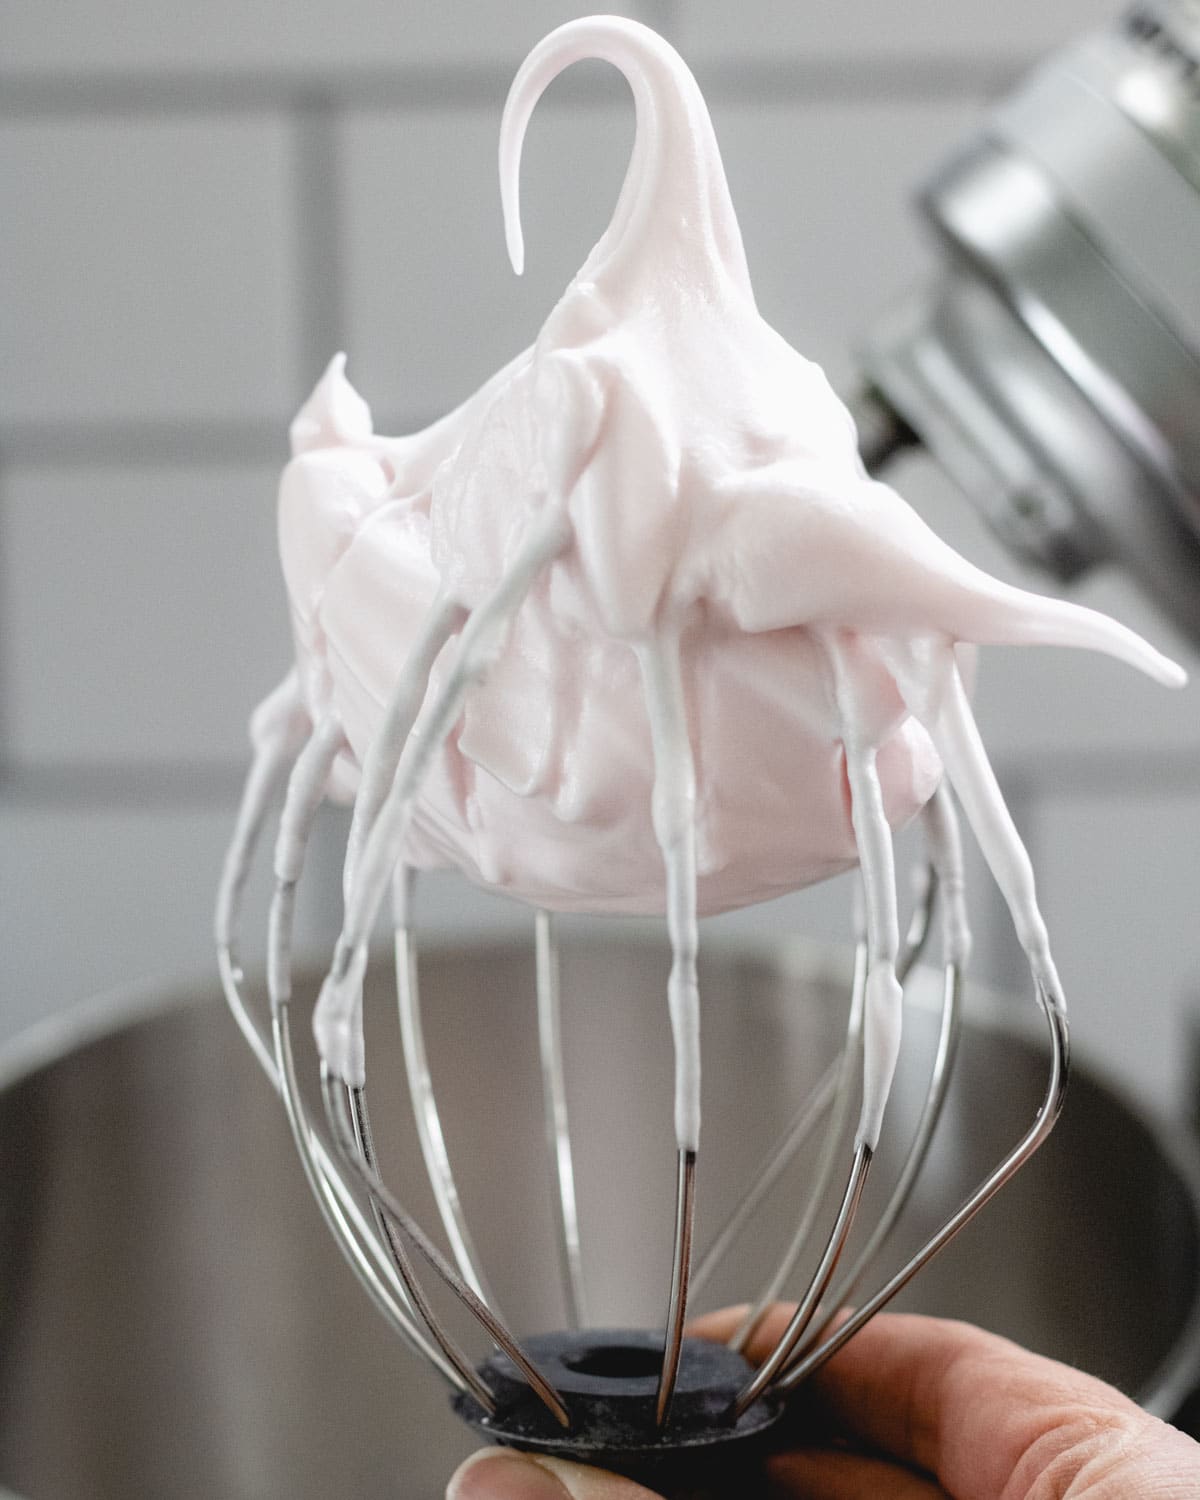
- Increase speed to medium and beat egg whites until it reaches stiff peaks, 4-5 minutes.
- You will know it is stiff peaks if the meringue stands firmly when you lift up the beater. If the peaks begin to droop then keep beating.
4. Macaronage
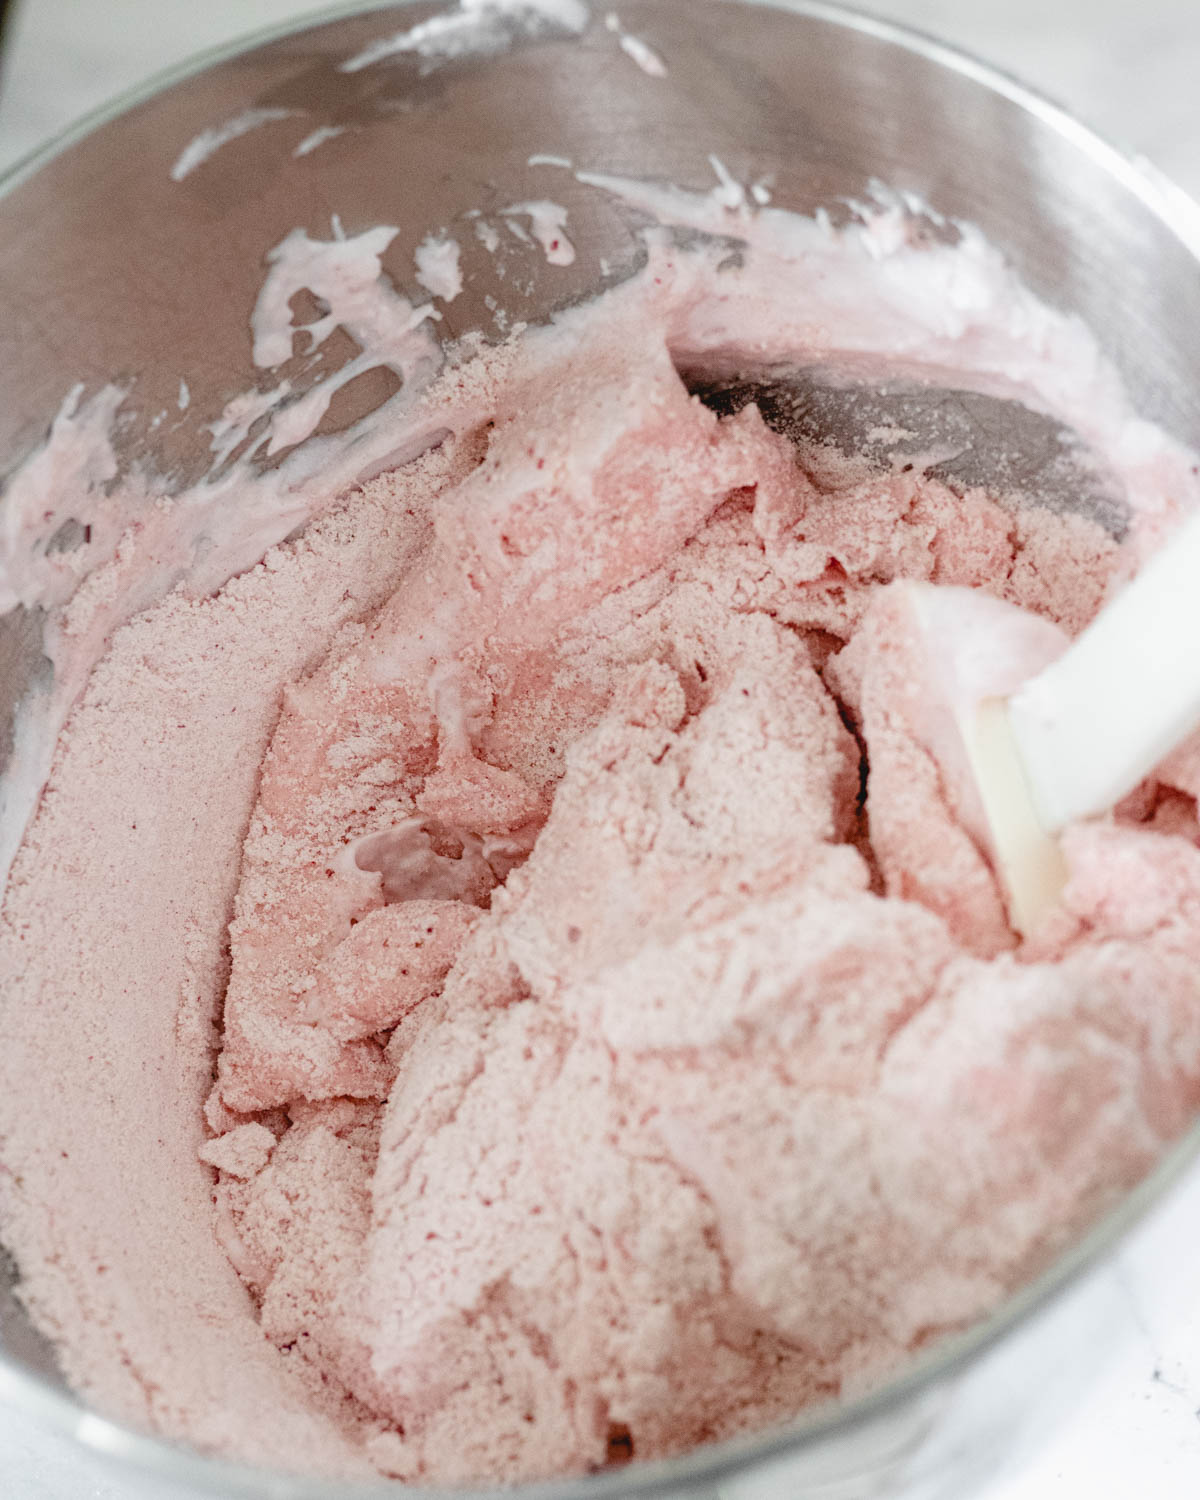
Macaronage is the technique used to fold the almond flour-sugar mixture into the meringue. The goal is to fully incorporate the flour, while getting some, but not all of the air bubbles out.
- Pour ⅓ of the almond flour mixture into the egg whites. Using a spatula, gently scoop some of the meringue from the bottom of the bowl and bring it to the top of the bowl. Continue until the flour is completely mixed in.
- Add the remaining flour mixture, and continue the process of folding the meringue and flour together. Periodically, use the spatula to scrape some meringue against the side of the bowl to reduce some of the air bubbles.
- The batter will change consistency as you fold. When you begin, it will look rough and lumpy. As you continue to fold the batter it will become smooth, shiny, and develop a ribbon texture.
- When the batter flows off of your spatula smoothly, like a ribbon of lava, and you can make a figure eight with the batter, you have reached the desired consistency.
- Here is a video that demonstrates the macronage technique.
5. Pipe the Disks
- Let the macaron batter rest while you prepare your piping bag. Fit the bag with a ¼-inch tip. This is a 12 tip if you are using Wilton and an 806 in Ateco.
- Line two baking sheets with parchment paper.
- Fill the pastry bag with the macaron batter, and you are ready to pipe.
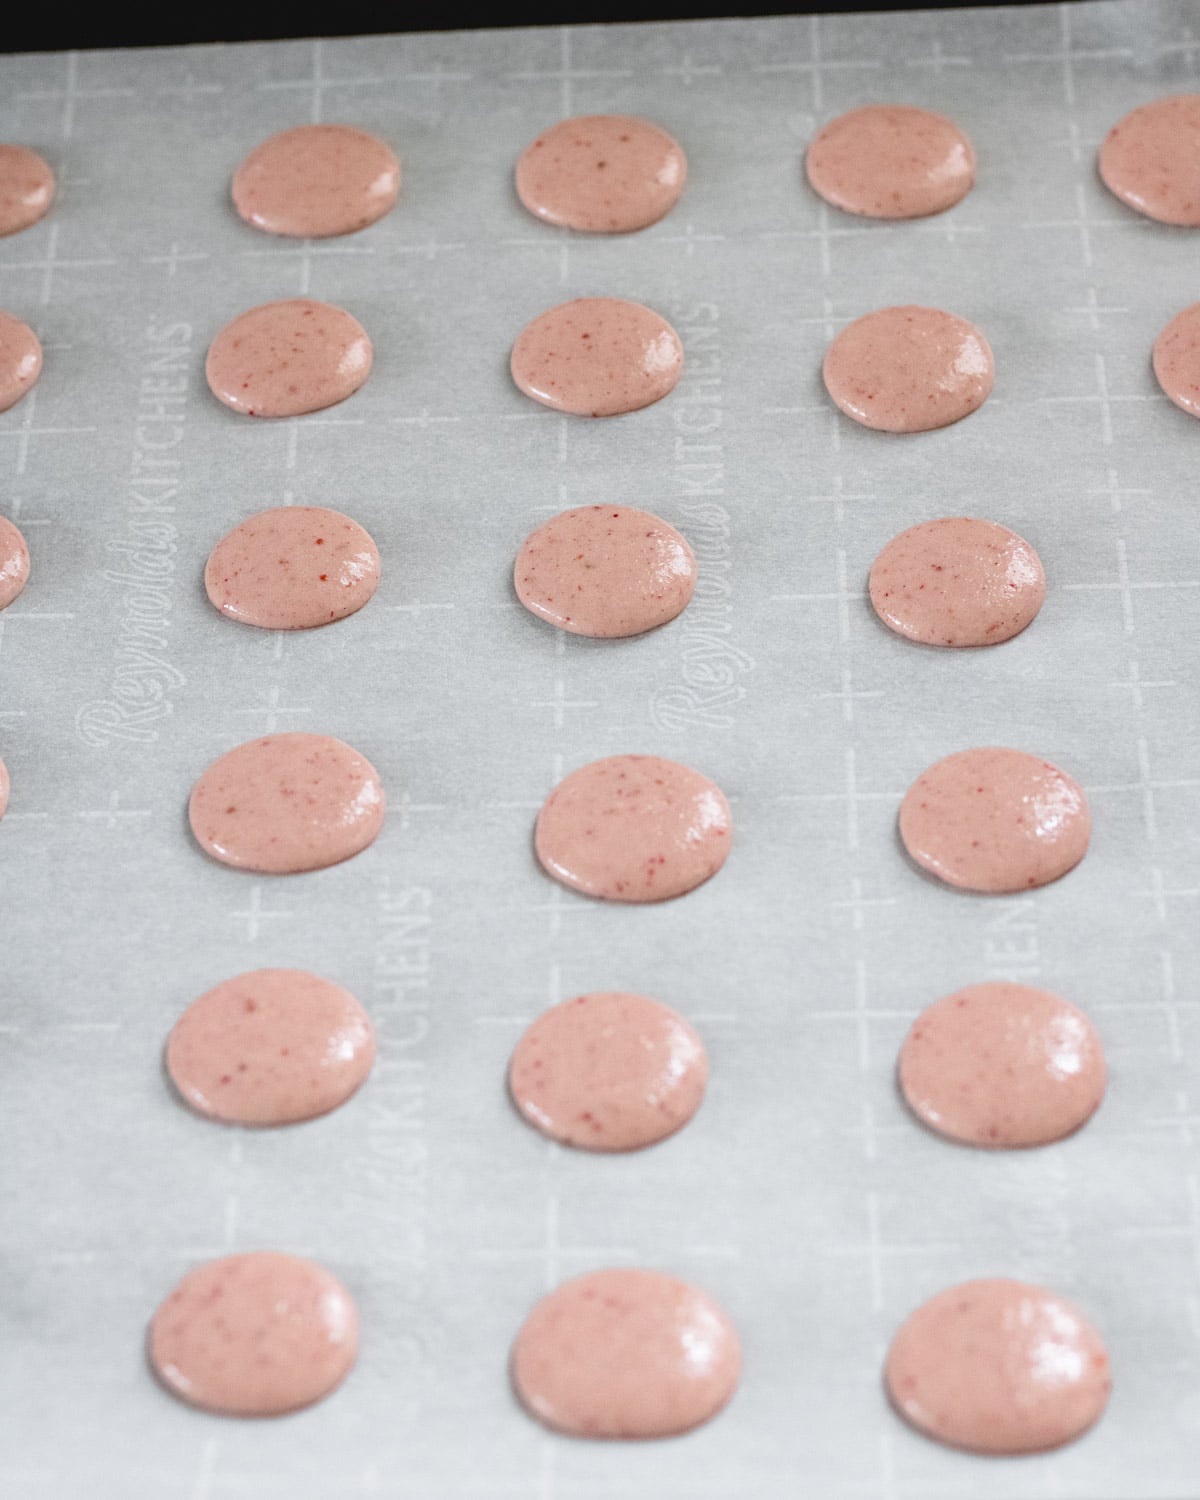
- It takes practice to nail your piping technique. Your goal is to get 1" circles.
- Hold your piping bag with the tip completely straight vertically, and squeeze the batter onto the parchment paper. I find it helpful to count, and release on "three." The exact timing will depend on how hard you squeeze, so test it out and find what works for you.
- After you have stopped squeezing, lift the bag straight up. A little curl of batter will form on top of the circle. After one minute the curl should disappear into the batter, leaving you with a smooth top. If the top does not smooth out then your batter needs to be mixed further.
- Give the baking sheet a good tap against the counter, to remove any large bubbles from the batter.
6. Dry the Disks
- Now we wait. Leave your macaron disks sitting at room temperature for an hour. This drying process is critical to the formation of the macaron. It helps them develop the classic "feet" that is signature for macarons, and also keeps the tops from cracking.
- If you are in a humid environment then increase the wait time, up to 2 hours. In a very dry climate, you can wait less than an hour, but there is no harm in waiting a full hour to be certain they are ready.
- When you touch the top of the macaron batter it will feel completely dry. That's when you know it is ready to bake.
Strawberry Cheesecake Filling
Your macarons can be filled with any filling you that you choose. You might decide to go with a simple buttercream or even a strawberry jam. But for something really special, try the cheesecake filling!
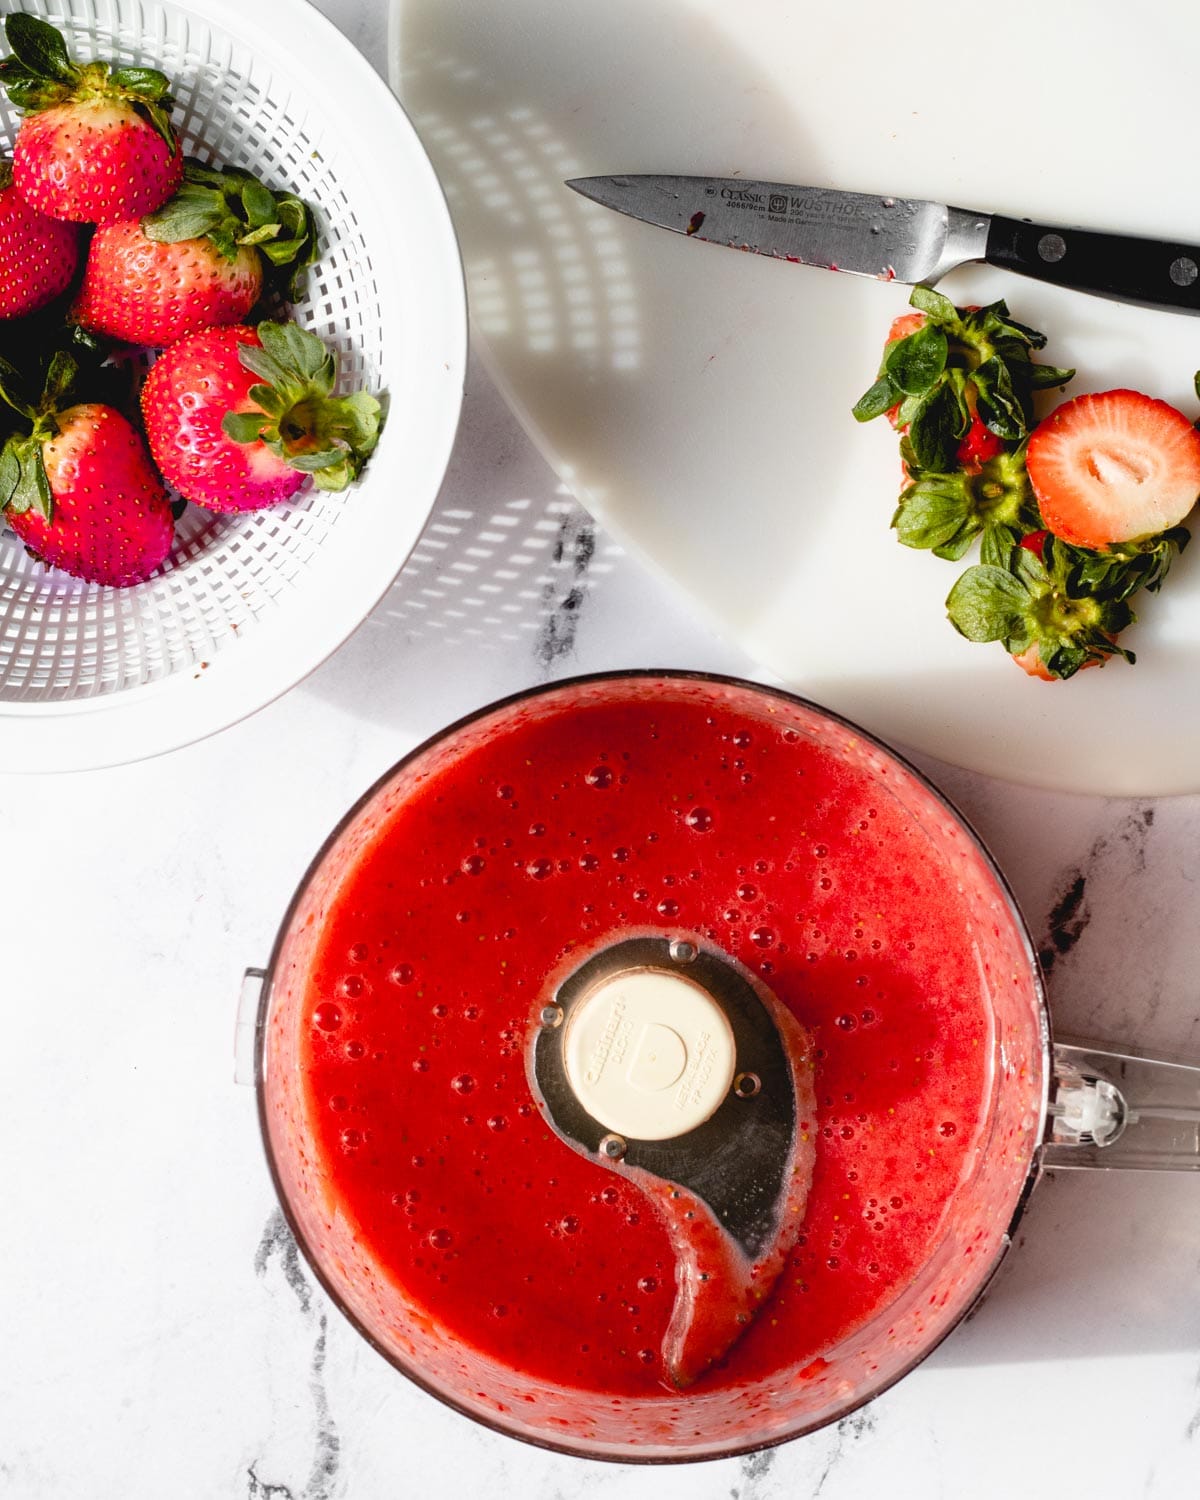
This filling uses fresh strawberries and tastes takes like strawberry cheesecake! It is essentially strawberry puree mixed into cream cheese frosting. Yum!
Other Recipes You Might Enjoy
Troubleshooting and FAQs
Macarons are naturally gluten-free! Some bakeries use other ingredients that may not be gluten-free, so be sure to check the ingredients! But these homemade macarons are completely free of gluten.
Yes, a well-made macaron will be chewy in the center, similar in consistency to nougat. The outside should have a slight crispness.
If your batter is too wet then it will not form feet. The most common reason for this is that it did not dry long enough before baking. Other culprits could be incorrect measuring or adding a lot of food coloring. Using a scale, gel food coloring, and letting your batter dry for a full hour will all help with the formation of macaron feet.
Macarons should be refrigerated in an airtight container. Their consistency gets better over time, as the cakes absorb moisture from the filling, so do your best to wait 24 hours before eating. They will last in the refrigerator for 7 days.
Let me know how you like this recipe by leaving a review! And follow along on Instagram @stateofdinner for behind-the-scenes and to be among the first to know when new recipes post!
Recipe
Strawberry Cheesecake Macarons
Recipe by:Ingredients
Strawberry Macarons
- 3 egg whites (95 grams), at room temperature
- ⅔ cups freeze-dried strawberries (10 grams)
- 1 ½ cups confectioner's sugar (188 grams)
- 1 cup almond flour (112 grams)
- ⅛ teaspoon cream of tartar
- ¼ cup granulated sugar (50 grams)
- 2-3 drops food coloring
Strawberry Cream Cheese Filling
- 1 /2 pint strawberries
- ¼ cup butter, softened
- 4 ounces cream cheese, softened
- ½ teaspoon vanilla extract
- 1 ½ cups confectioner's sugar (200 grams)
Instructions
Strawberry Macarons
- Separate egg whites from the yolks, and save yolks for another use. Leave whites at room temperature for at least 2 hours.
- Place freeze-dried strawberries into a food processor and pulse until a fine powder, about one minute.
- Scrape the sides, then add in the confectioner's sugar and almond flour and continue processing for one minute. Transfer the flour mixture to a bowl and sift well to remove all almond flour clumps so that you have smooth macarons.
- In a large bowl, beat egg whites on medium speed until they are frothy. Add cream of tartar, then turn the mixer to low speed and slowly add sugar. Once all of the sugar has been incorporated, add food coloring, increase speed to medium, and continue beating until the egg whites reach stiff peaks.
- Using a spatula, fold in ⅓ of the almond flour mixture until it is completely mixed in. Then add in the remaining almond flour, and gently mix, pressing out some of the air bubbles, until the batter flows like lava. To test if it is ready, let the batter run off of the spatula as you swirl it back and forth. If you can make a figure 8 then it is ready.
- Let the batter rest while you prepare your piping bag by fitting it with a ½-inch round tip (Wilton 12, Ateco 806). Line two baking sheets with parchment paper or a silicone baking mat.
- Transfer the batter to the piping bag. With the piping bag vertical and still, squeeze a 1-inch circle onto the mat. Stop squeezing and bring the bag straight up. If the batter is of proper consistency, the circle should become completely level and smooth within a minute. If ripples remain, return the batter to the bowl and fold until it flows. When ready, continue piping 1-inch circles with about an inch of space between each one.
- Gently tap the baking sheet onto the counter to remove large air bubbles. Let sit at room temperature for 1 hour, until the batter has formed a completely dry shell. Preheat oven to 325.
- After 1 hour, bake the first tray of macarons for 10-12 minutes, turning the pan halfway through. The macarons should puff, develop crinkly "feet" and not move or jiggle when you touch the top. When done, remove from the oven. Cool 5 minutes on the sheet, then use a spatula to transfer to a cooling rack and cool completely. If you are not assembling them on the same day, store macarons in the refrigerator.
Strawberry Cream Cheese Filling
- Hull strawberries. Place the strawberries in a food processor and puree until smooth. Transfer to a small saucepan and bring to a simmer over medium heat. Continue to cook for 5 minutes, or until the sauce has reduced by half. Cool completely.
- In a large mixing bowl, beat butter and cream cheese together for 2 minutes.
- Scrape sides and add ¼ cup of strawberry puree, along with the vanilla. Mix on low speed.
- Add powdered sugar and mix on low speed until incorporated, then increase to medium-high speed and beat for 3 minutes. The consistency should spread easily, but be thick enough to hold its shape. Add additional powdered sugar, if needed.
- When ready to assemble, transfer strawberry filling to a piping bag with an open tip.
- Match up macarons by shape and size. Starting in the center of one macaron, pipe the filling in a circular motion, moving towards the edge. Place the second macaron on top.
- Macarons absorb some moisture from the filling, so their texture is optimal after a day or two in the refrigerator. They will keep in the refrigerator, store in an airtight container, for up to a week.
Nutrition
The nutritional facts provided are only estimates. The accuracy of the nutritional information for any recipe on this site is not guaranteed.

Ashley says
Macarons are one of those recipes that I have always wanted to try but haven't actually done it yet. Yours are absolutely beautiful and perfect looking, and strawberry sounds delicious. I may have to take the plunge soon and make these!
Erin says
I was so intimidated too! But hopefully, this post helps walk you through each step. Don't hesitate to reach out if you have questions. Take the plunge!
Nancy says
These are the best macarons I've ever had - absolutely delicious and great textures!
Erin says
That makes me so happy to hear! Thank you for sharing!