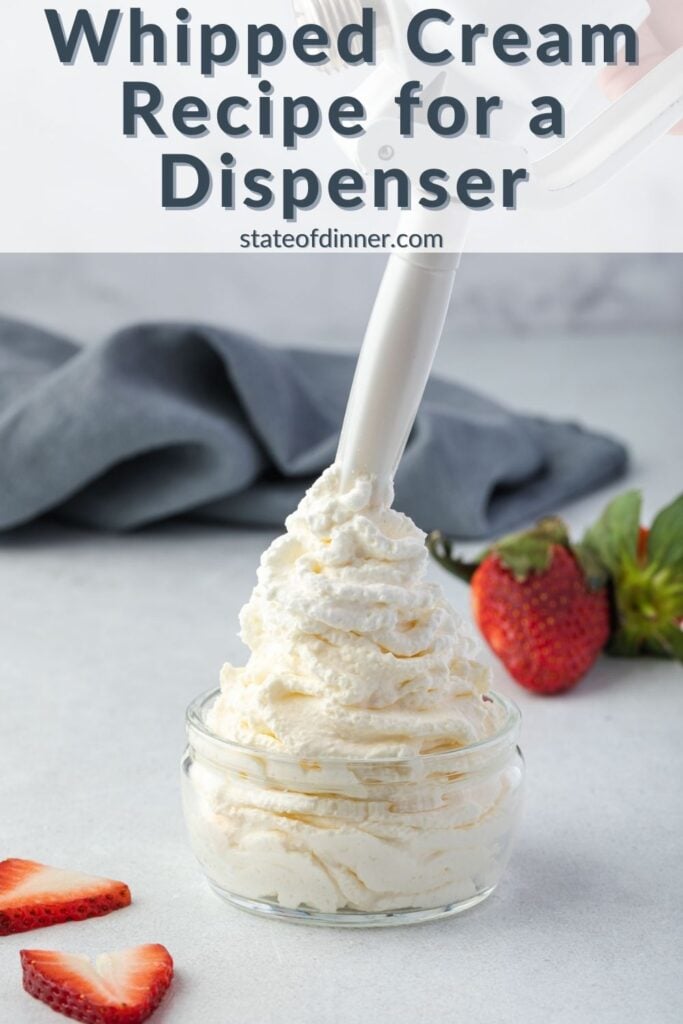
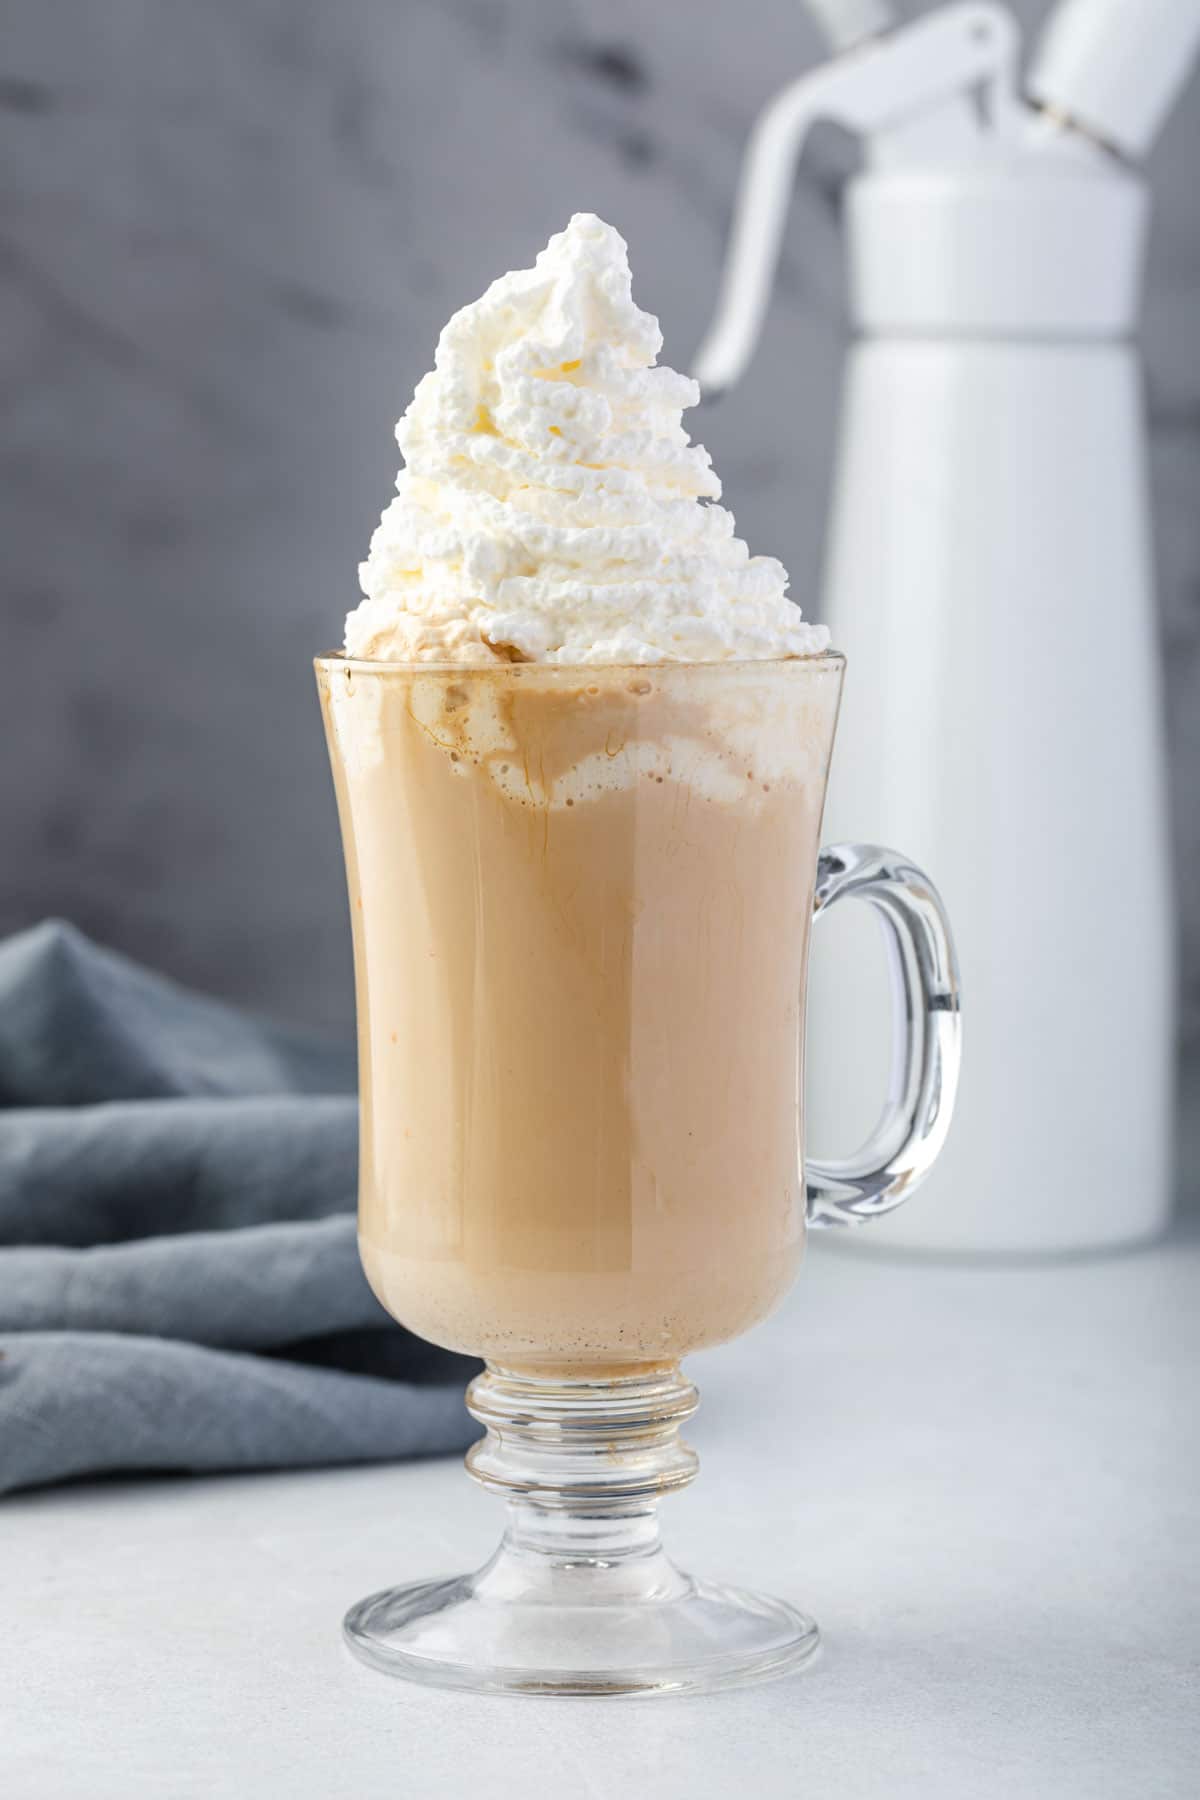
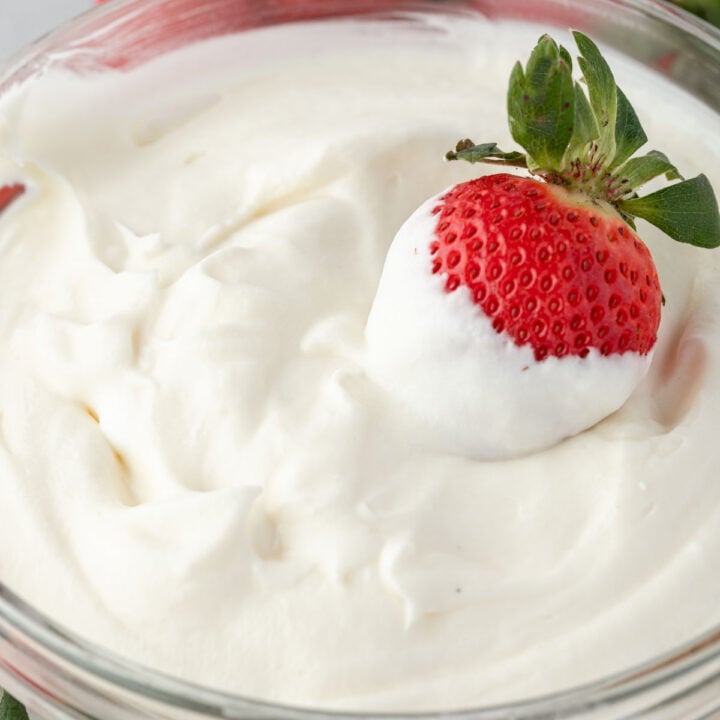
Homemade whipped cream is so easy to make in a whipped cream dispenser! With just 3 ingredients and two minutes, you will have fluffy, sweet whipped cream to top your desserts, waffles, milkshakes, and coffee drinks.
Bonus: Dispenser recipes for flavor variations are also included!
Back in my days managing a Starbucks store, we would make dozens of canisters of fresh whipped cream every single day! And I fell in love with how easy it was to make, as well as how wonderful it tasted. It's so much better than the store-bought cans!
Now I make this at least once a month because my kids made a rule that we have to have dispenser whipped cream every time we make waffles! We also love it for topping ice cream, hot chocolate, and cakes.
Ingredients and Equipment
The recipe card at the bottom of this post includes the complete list of ingredients, measurements, and instructions.
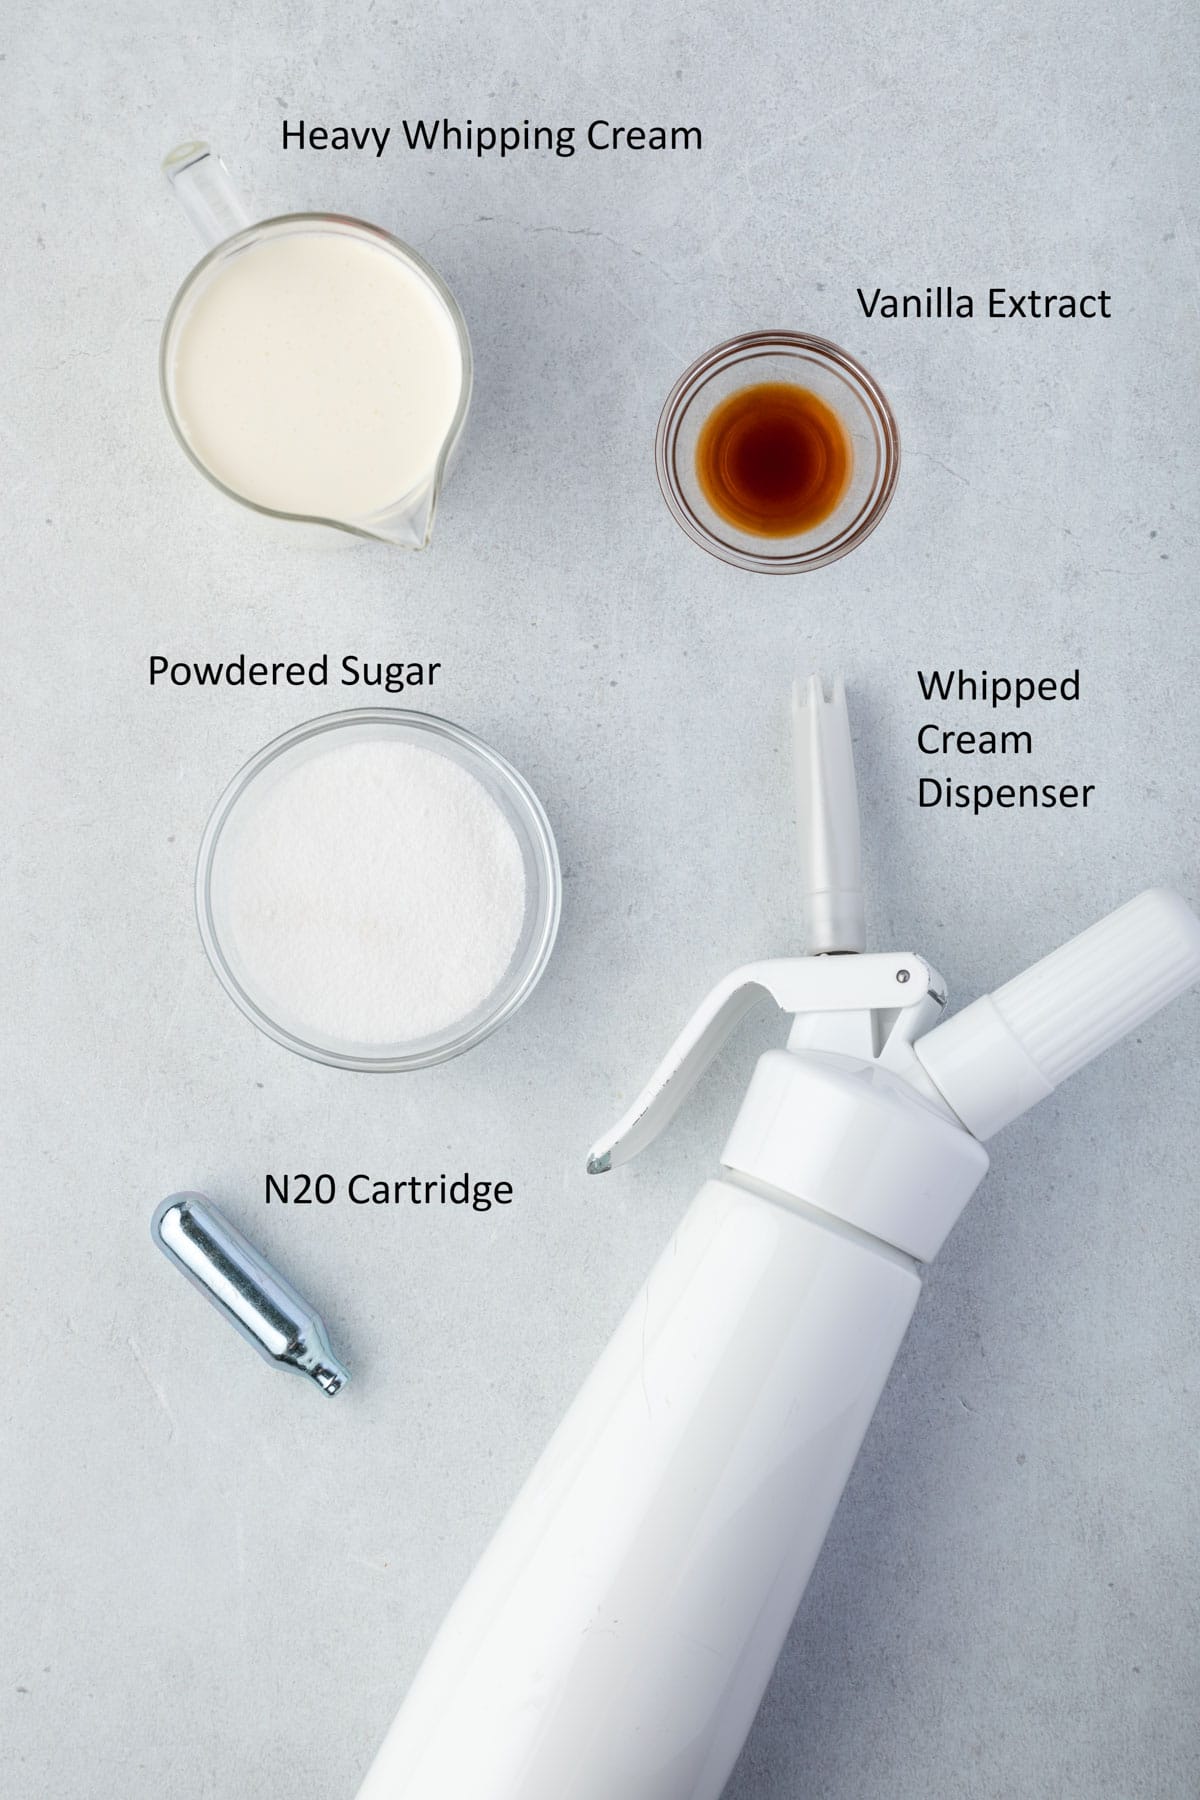
- Heavy Cream: Cream with anywhere from 32%-36% milk fat works best. If you are in the US then you can use heavy cream or whipping cream. In other countries, it is also known as full cream.
- Powdered Sugar - Also known as confectioners' sugar, powdered sugar sweetens the whipped cream. And because it has a little bit of cornstarch as an ingredient, it also helps it last longer.
- For a sugar-free version, an equal substitution of Splenda can be used.
- Vanilla Extract - The vanilla extract adds flavor, making the whipped cream taste like a dessert instead of boring milk.
- Whipped Cream Canister- This recipe is for a 1-pint (0.5 Liter) dispenser, which is the most common size. It can be halved for a half-pint dispenser.
The iSi brand dispenser is the most popular brand and is is the one that I have and love. But the brand name of your dispenser is not critical as there are many great ones on the market. Just look for one that is well-rated with lots of reviews and get one that is stainless steel so that it lasts, as it will be one of your favorite gadgets. - Nitrous Oxide Cartridge - Nitrous Oxide gas, also known as N20, is the gas used to whip the cream in the dispenser. Be sure that you have the right cartridge. A Co2 cartridge looks very similar, but it will not properly charge your cream.
How to Make Isi Dispenser Whipped Cream
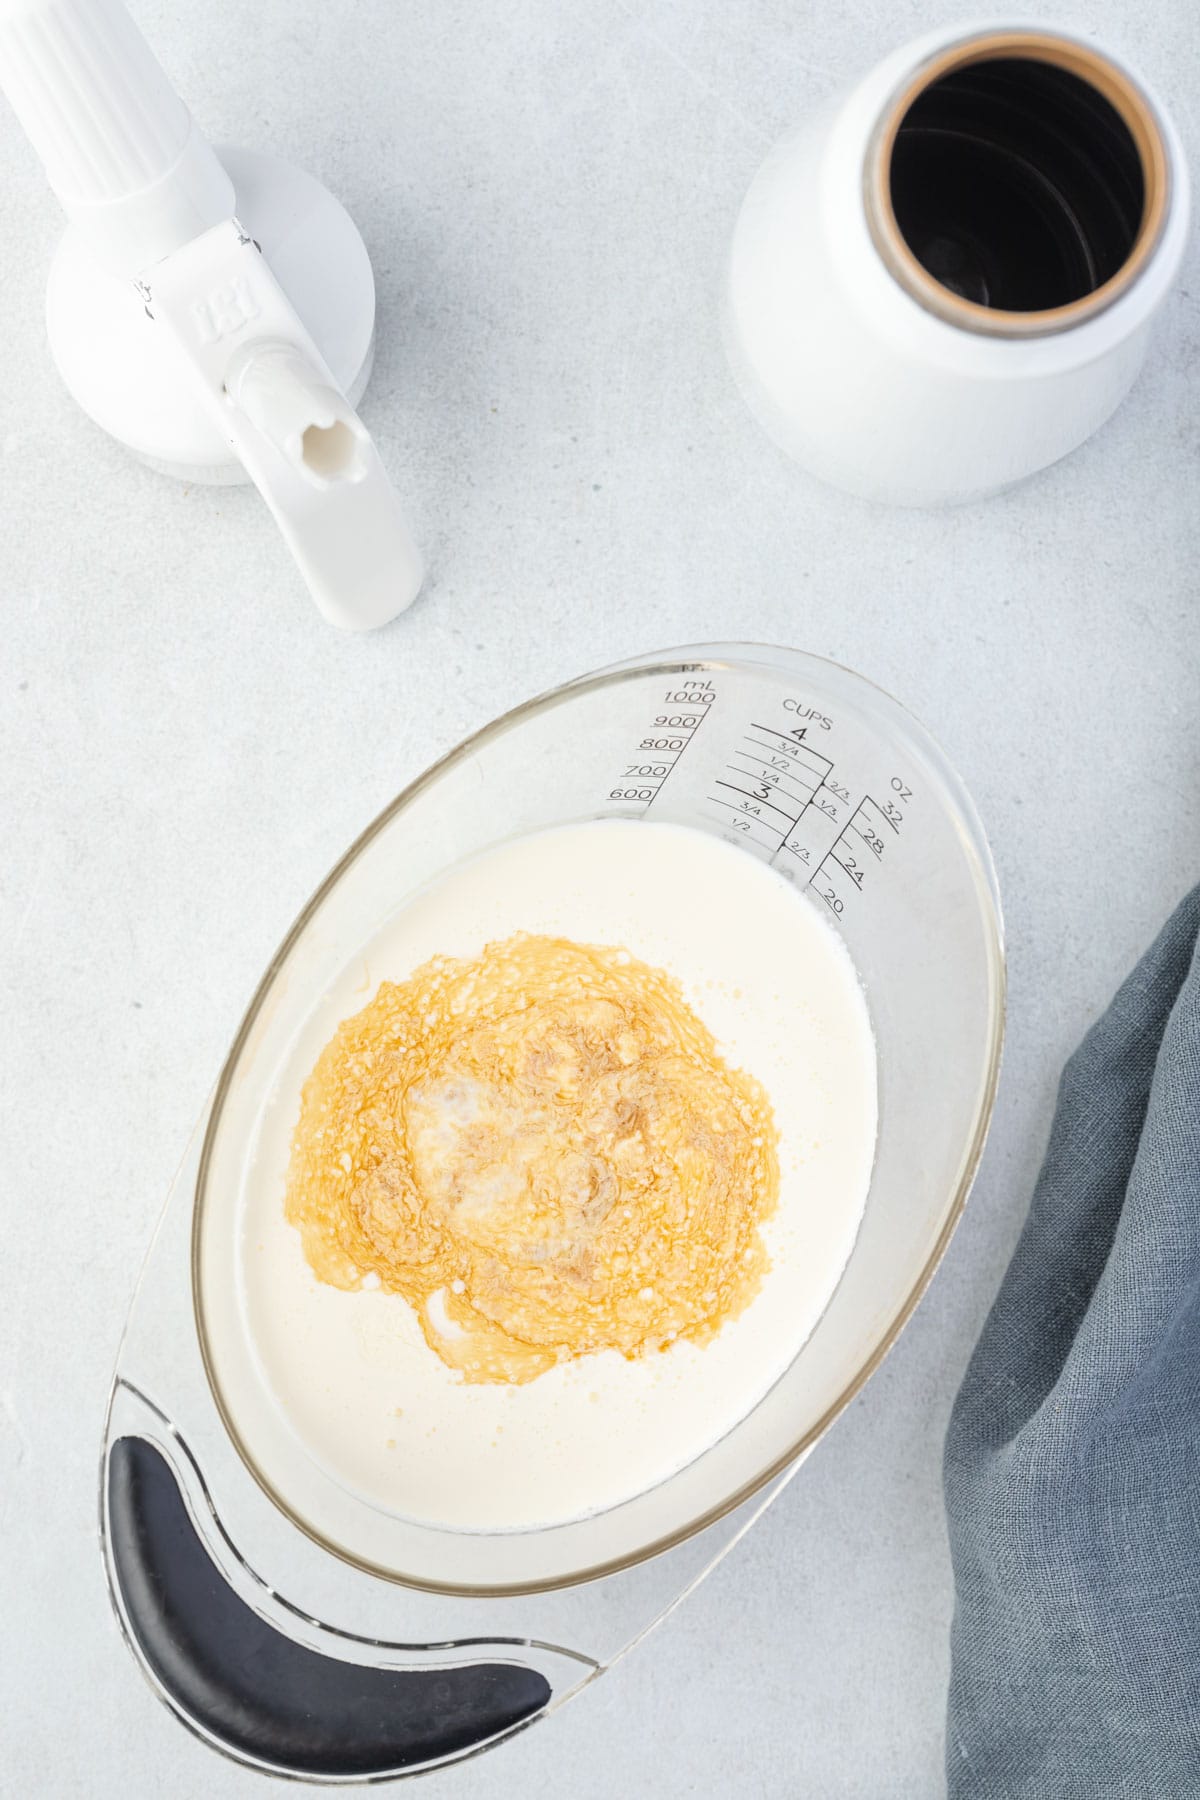
Mix the Cream
- Place the heavy whipping cream, powdered sugar, and vanilla extract in a large measuring cup.
- Whisk the ingredients until they are smooth, to allow the sugar to incorporate into the cream.
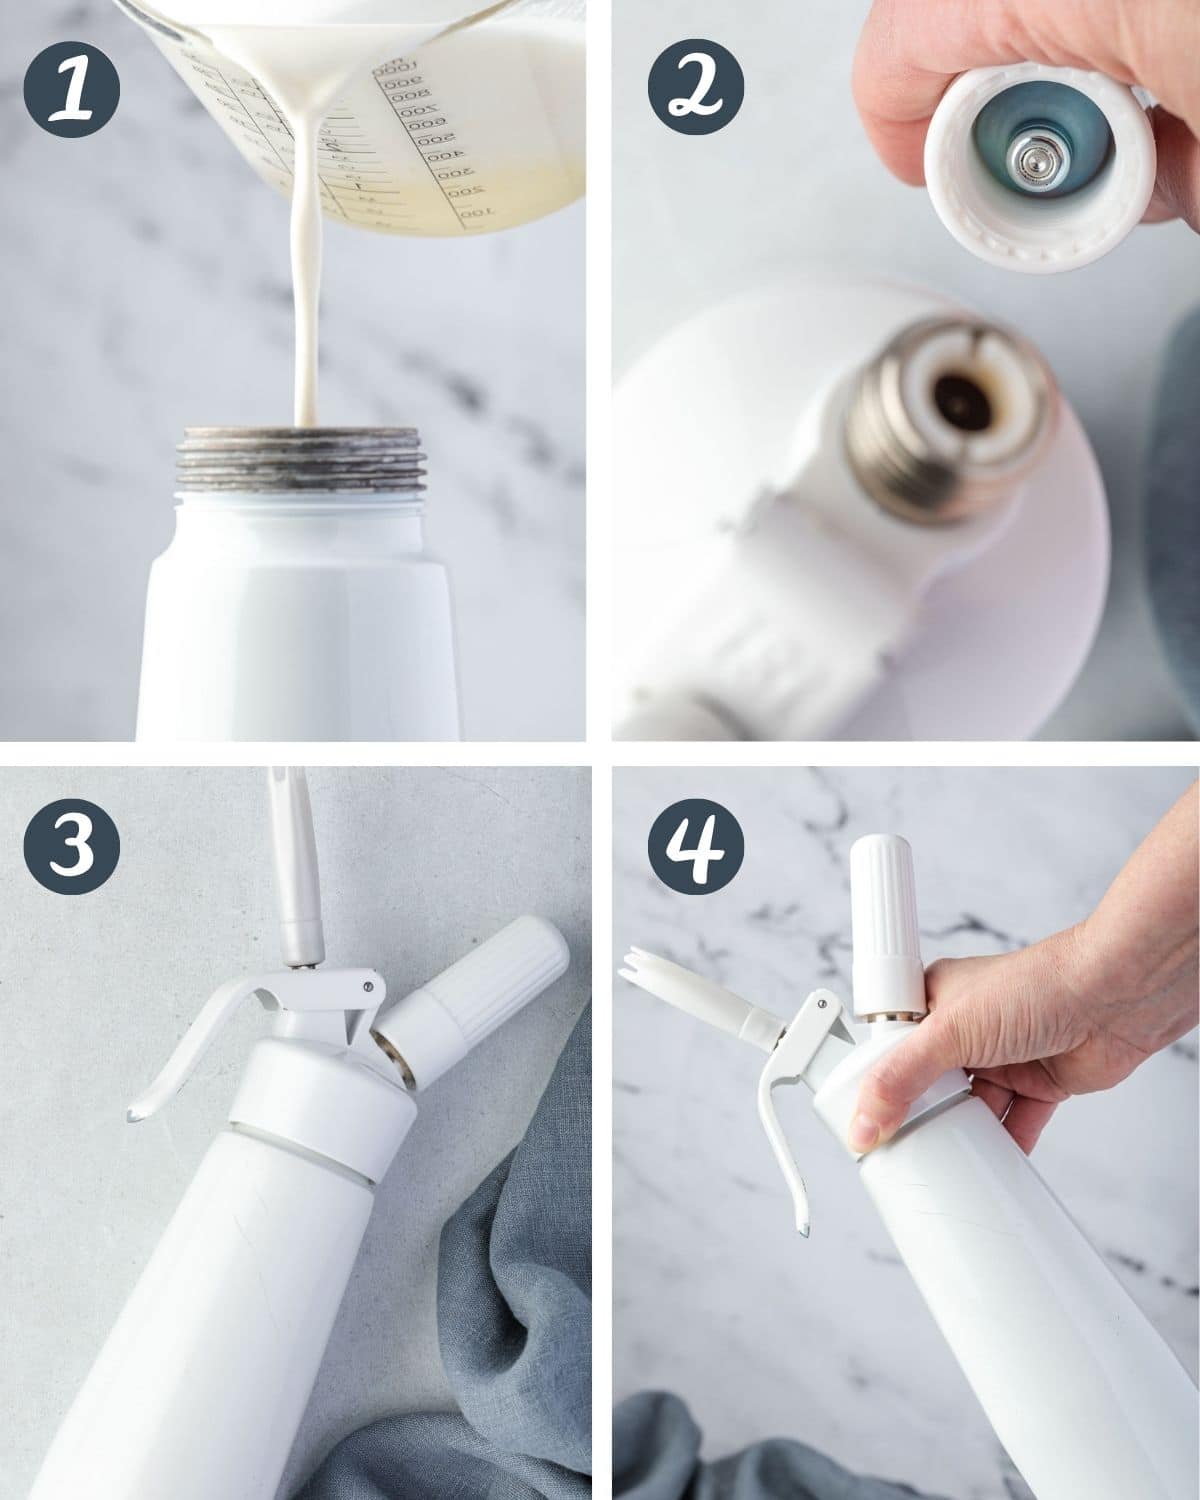
Charge Dispenser
- Pour the sweetened whipping cream into your dispenser. Screw the lid on tightly.
- Place the N20 charger into the cartridge carrier and screw onto your dispenser to release the gases into the container. It will make a hissing sound.
- Lay your charger flat on its side for one minute. This allows the gases to distribute evenly throughout the cream, resulting in a higher volume of whipped cream that you are able to dispense.
- Give it a good shake and it is ready to use!
Starbucks Whipped Cream Recipe
If toppings are your favorite part of your Starbucks drink, you are going to love making them at home!
There is one small difference in how whipped cream is made at Starbucks versus this recipe. Instead of powdered sugar and vanilla extract, they use 2 ounces of vanilla syrup.
If you don't want to buy the syrup to use at home but still want to make it like Starbucks does, then you can add 2 ounces of simple syrup along with a teaspoon of vanilla extract.
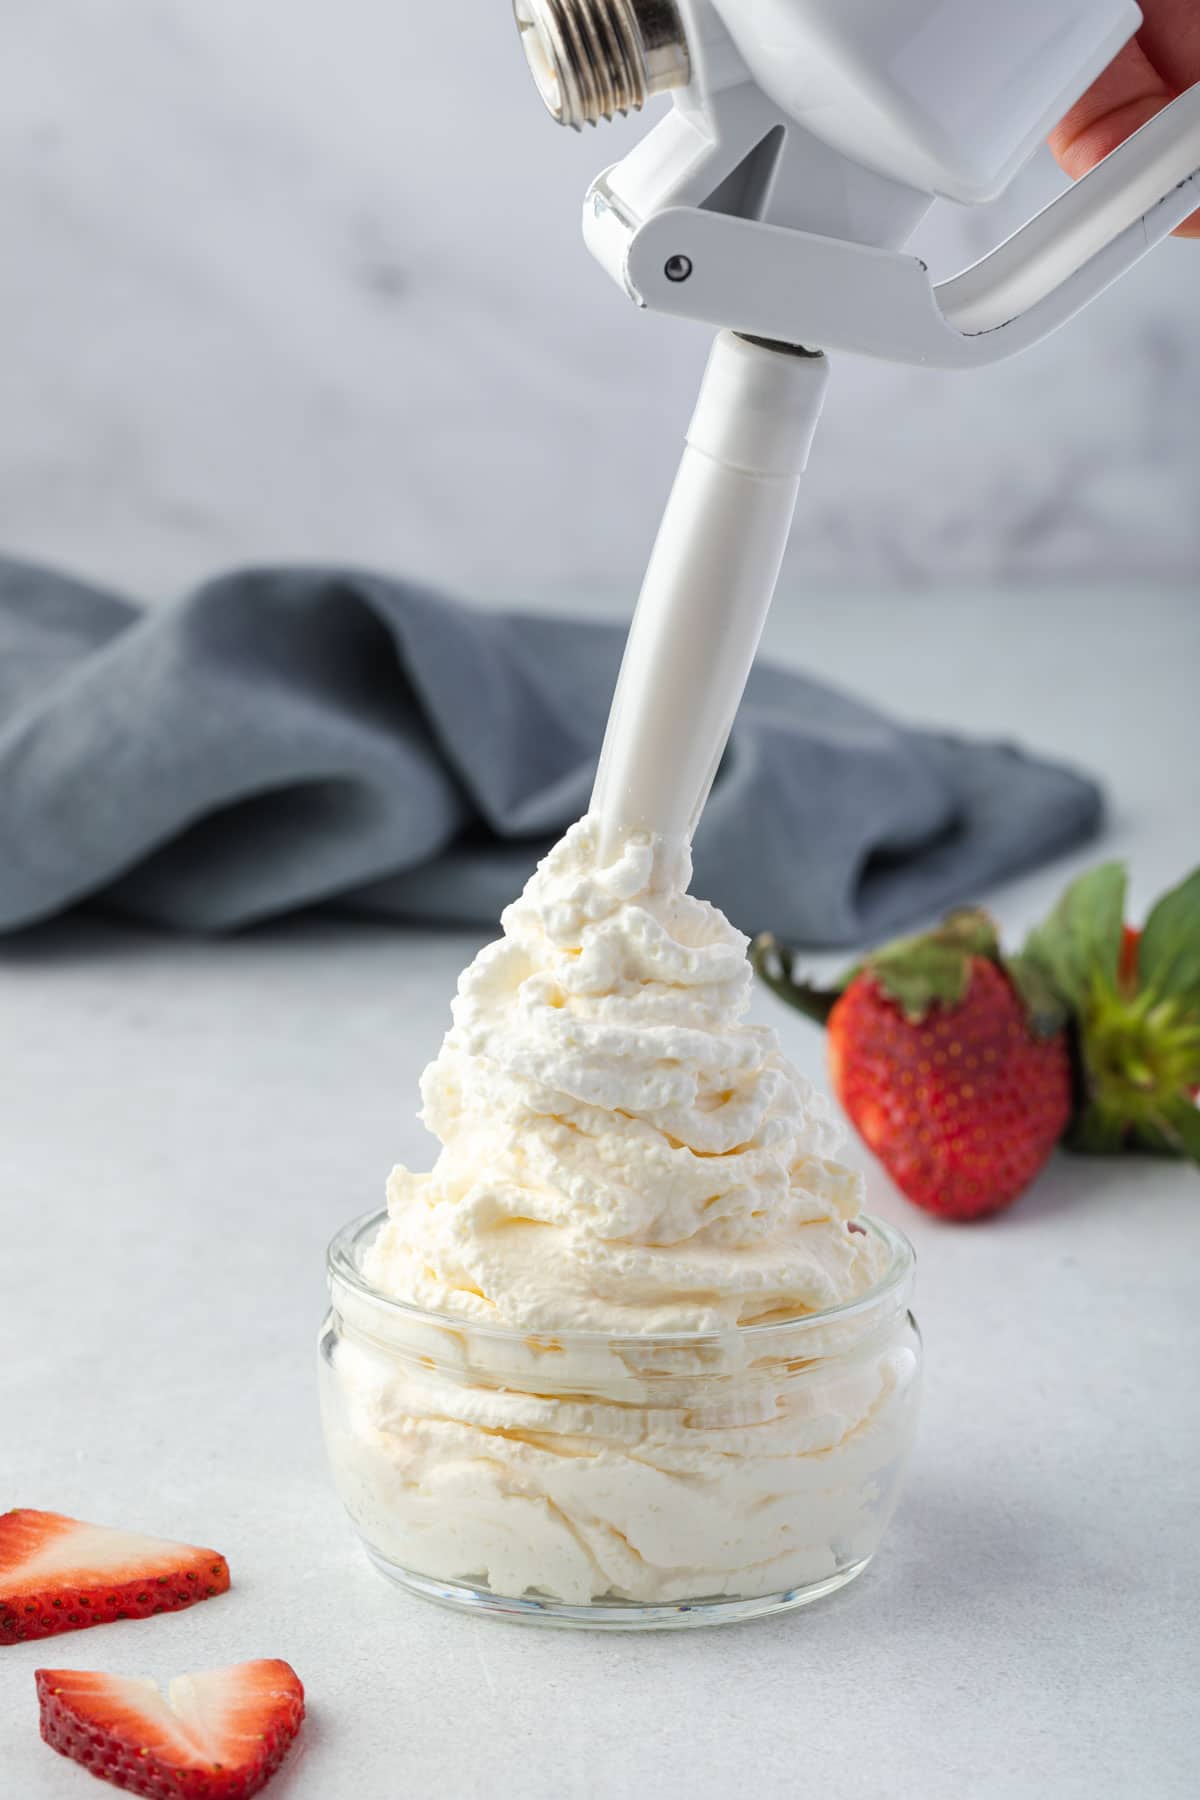
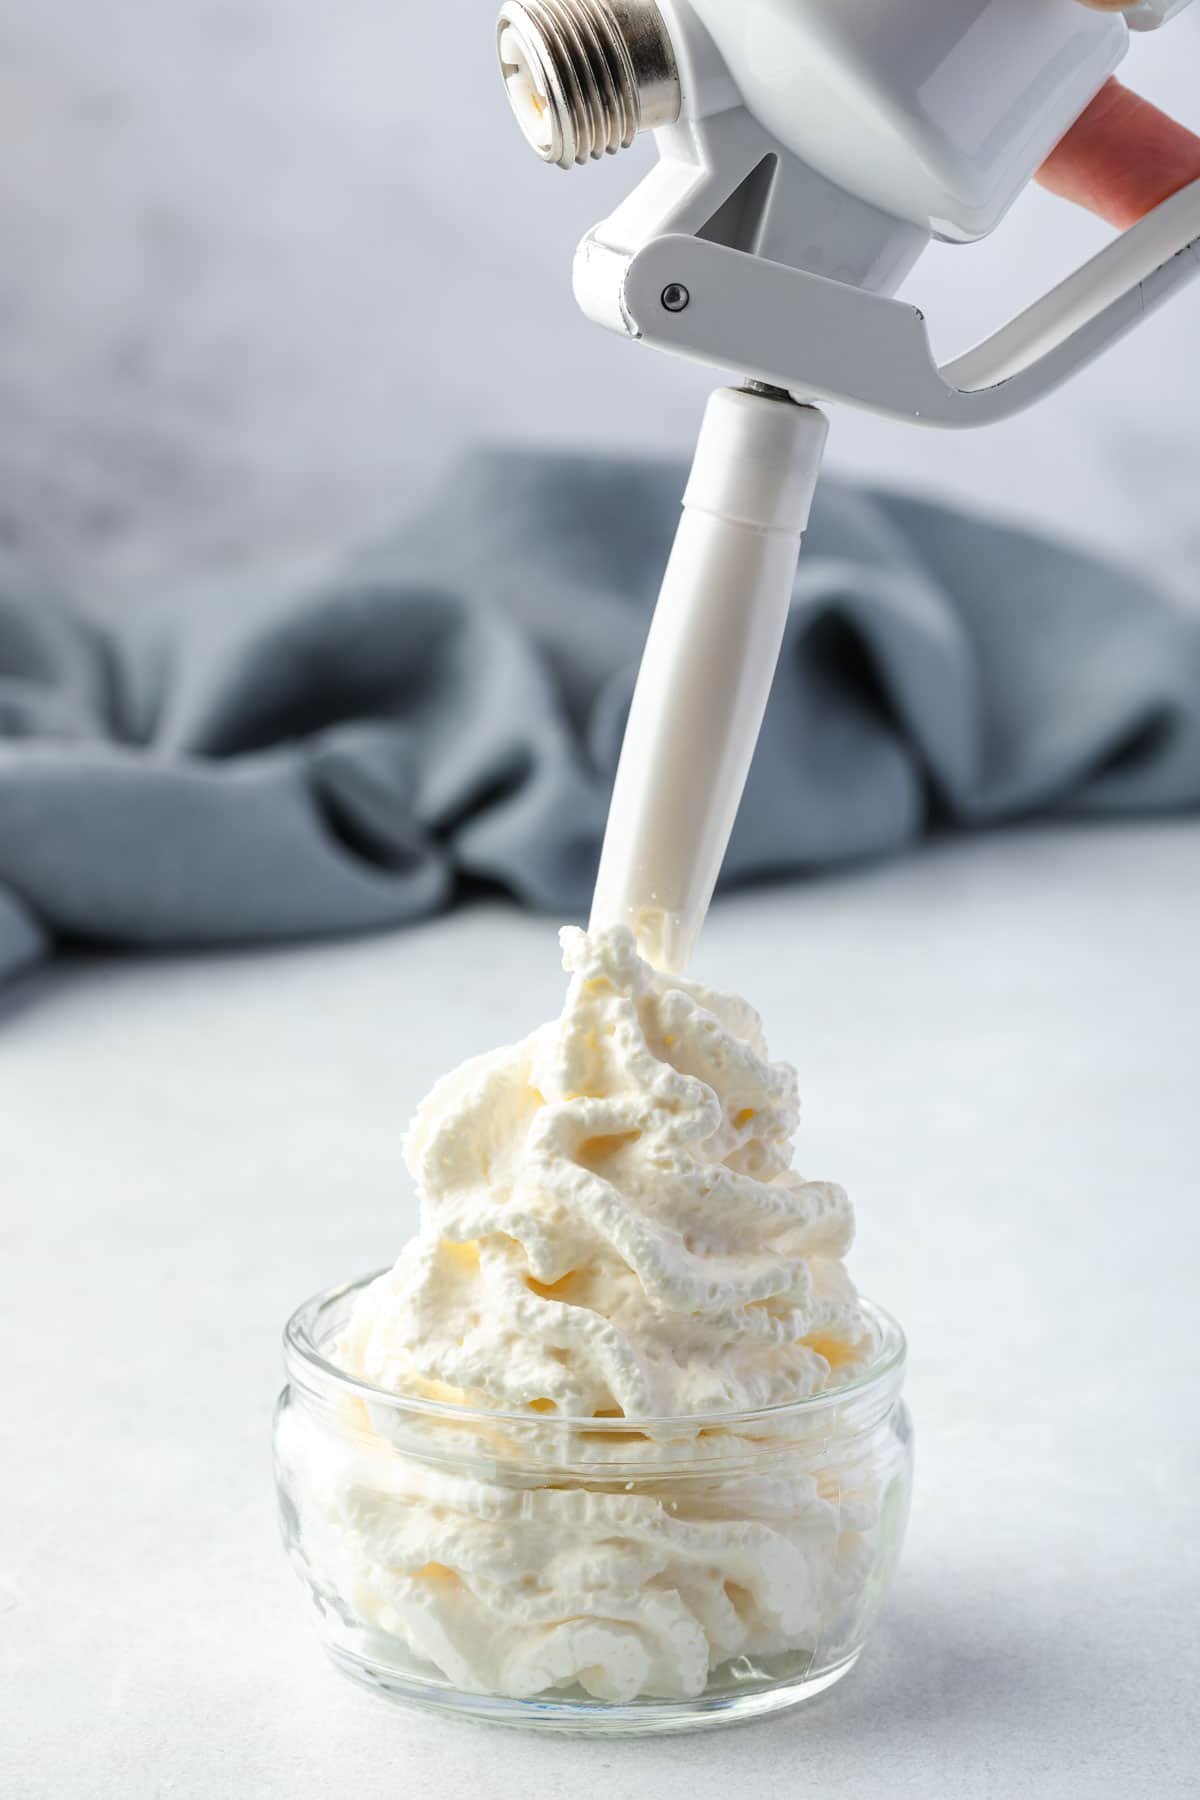
How to Dispense
Hold the canister upside down with the decorator tip pointing straight onto the surface where you want to dispense the cream. Squeeze the trigger with medium pressure.
WANT TO SAVE THIS RECIPE?
It takes a little practice, but you will be a pro in no time!
Expert Tips
- Always use cold whipping cream.
- Shake the dispenser well before each use.
- For the longest-lasting whipped cream, remove the cartridge after you have dispensed the N20. Leaving it in the chamber will put pressure on the charger, allowing the N20 to leak out slowly.
- If it has been a couple of days and the whipped cream has turned runny, then you can charge it again to re-whip your cream.
- Use within 7 days or before the expiration date of the whipping cream.
- If you prepare whipped cream using a standard mixer then the amount of time that the whipped cream lasts will vary.
Important Note: Be sure to dispense all of the air before opening your dispenser. When you charge the dispenser with N20 it pressurizes the contents and they will spray everywhere if you open the container without first dispensing all of the air.
Flavored Whipped Cream Dispenser Recipes
- Chocolate Whipped Cream: 2 cups of heavy cream, ¼ cup powdered sugar, 3 tablespoons chocolate milk powder (like Nesquik). Add 1 teaspoon of espresso powder for an easy chocolate mocha mousse.
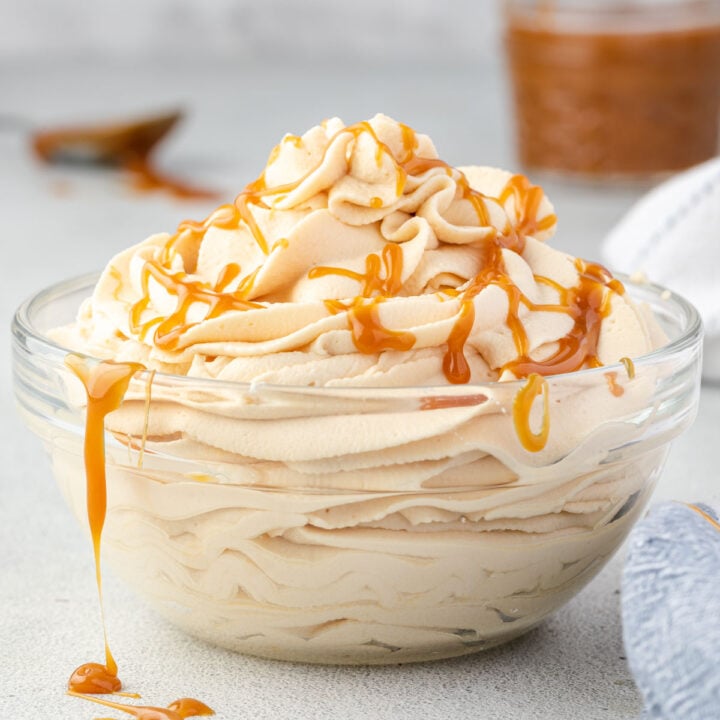
- Maple Whipped Cream: 2 cups of heavy cream and ¼ cup maple syrup.
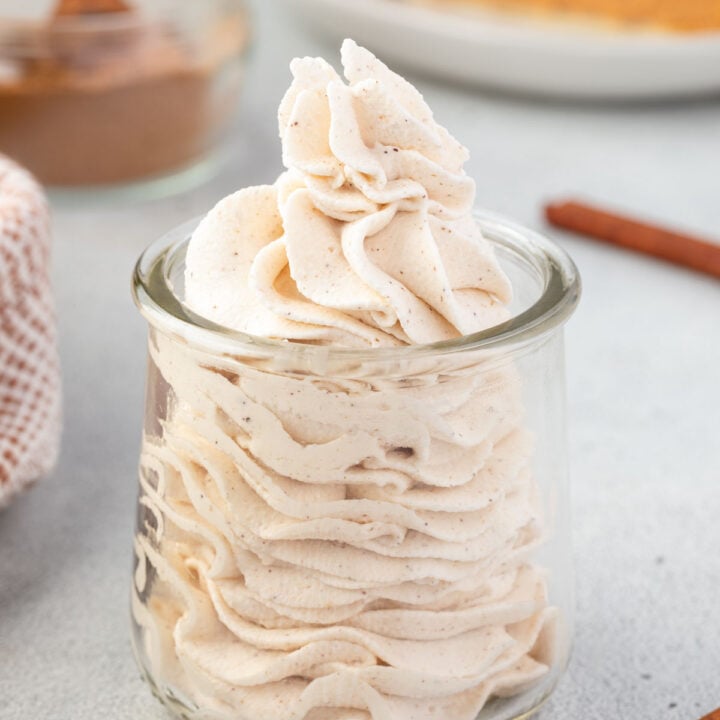
- Cinnamon Whipped Cream: 2 cups of heavy cream, ¼ cup powdered sugar, 1 teaspoon ground cinnamon, 1 teaspoon vanilla extract.
- Coffee Whipped Cream: 2 cups of heavy cream, ¼ cup powdered sugar, 3 teaspoons instant coffee or espresso granules.
- Bourbon Whipped Cream: 2 cups of heavy cream, ¼ cup powdered sugar, 2 tablespoons (one ounce) bourbon. You can also use other liquors like rum or Irish cream.
- Lemon Whipped Cream: 2 cups heavy cream, ½ cup powdered sugar, 1 ½ teaspoons lemon extract.
Troubleshooting
There are a few reasons why your whipped cream could be runny. Check to make sure that your whipping cream has at least 32% milkfat and make sure it is cold before using. Shake the container well before dispensing the cream.
One of the most common issues is a clogged nozzle, which will prevent the whipped cream from dispensing. Run the nozzle under warm water and wipe it clean. Additionally, it will not dispense if it has not been properly charged. Check to make sure that the little plastic ring seal is intact in the lid of your charger and that the N20 has not leaked out.
Yes, you can overcharge whipped cream. The first sign of it being overcharged is a change in the cream's texture. If you have excessively overcharged it then the canister can get clogged and you will not be able to squeeze the handle. Cover the canister with a towel and slowly unscrew the top to release the gasses.
Recipe
Whipped Cream for a Dispenser
Recipe by:Ingredients
- 2 cups (500 ml) heavy cream
- ¼ cup (30 grams) powdered sugar
- 1 teaspoon (5 ml) vanilla extract
Instructions
- Place the whipping cream, powdered sugar, and vanilla extract in a large measuring cup and whisk until smooth.2 cups heavy cream, ¼ cup powdered sugar, 1 teaspoon vanilla extract
- Pour the cream into a clean whipped cream dispenser. Screw the lid on tightly.
- Place an N20 charger into the charger holder and screw onto the dispenser lid, allowing the gasses to flow into the dispenser.
- Lay the dispenser onto its side for 1 minute, allowing the gasses to distribute throughout the container. Shake vigorously 10 times.
- To use, hold the container with the nozzle pointing straight onto the surface where you want to dispense the cream. Squeeze the trigger with medium pressure.
Notes
-Always use cold whipping cream. -Shake the dispenser well before each use. -If it has been a couple of days and the whipped cream has turned runny then you can charge it again to re-whip your cream. - Be sure to dispense all of the air before opening your dispenser. When you charge the dispenser with N20 it pressurizes the contents and they will spray everywhere if you open the container without first dispensing all of the air.
Equipment
- 1 N20 Charger
Nutrition
The nutritional facts provided are only estimates. The accuracy of the nutritional information for any recipe on this site is not guaranteed.

Karen R Schroeder says
Do you have a recipe for stabilized whip cream in the maker?
Erin says
Whipped cream in a dispenser relies on gasses to create fluffy whipped cream. As the gasses dissipate the whipped cream becomes runny. Because of this it isn't really possible to stabilize whipped cream when it is made in a dispenser. If you want to pipe stabilized whipped cream then I recommend stabilizing it with gelatin for the strongest hold, or if you need it to last just a few days you can follow this recipe for stabilized whipped cream using cream of tartar.
Nancy says
I have the same question regarding stabilized whipped cream in the dispenser. So, does that mean to add the gelatin to the ingredients before putting it in the dispenser?
Erin says
No, when I mentioned the gelatin I meant that if you need a long lasting whipped cream then I recommend making stabilized whipped cream using a mixer. With whipped cream in a dispenser you don't want to use any ingredients that could clog the nozzle. You can recharge the cream using another N20 charger if the contents are runny, but it should be enjoyed fairly soon after dispensing.
Sandy says
First recipe we tried in our new dispenser. Perfect directions, delicious recipe!
Erin says
I hope you love your new dispenser, Sandy!
Toni says
This was perfectly sweet & creamy and the vanilla gave a hint of richness. I’ve never added anything to the cream in my dispenser before. This is now my go to whip cream recipe - thank you!
Erin says
That's great to hear! Thanks, Toni!
Anne Richards says
Great ideas for various whipped creams! I'm going to be busy trying all of them! I just love my whipped cream dispenser! I have only used the basic recipe that came with the canister. I do have a question; Can I use cream cheese as a flavor/stabilizer in my canister? I think that flavor would be crazy good or will the liquid be too thick for the dispenser? I really want to try it but unsure if it will harm the canister.
Erin says
I have not tried cream cheese whipped cream in the canister. I do think it may be too thick but let me know if you try it!
Vicki Pidgeon says
Great information and it all looks amazing! I’m making pies for 50 people. I was thinking of whipping up fresh cream and serve in a big bowl for people to place a dollop on top of their slice. Then I remembered this kitchen tool, could it work for 50 servings? Can I refill canister quickly?
Erin says
Ideally, you would have multiple dispenser if you are serving 50 people. If you decide to just refill one dispenser I recommend mixing together a big batch of the cream mixture ahead of time. When the dispenser needs refilled you'll want to take it to the sink and dispense any extra pressure before removing the lid. Then fill it about 1/2-2/3 full with the prepared mixture, replace the lid, and charger it again.
Rebecca says
I love the flavor of this recipe. The only problem I have is the whipped cream seems to seize up after a day. Is there a way to combat this? Maybe adding a tiny bit of milk? Any help would be appreciated.
Erin says
Are you referring to the cream that is left in the bottle of the dispenser? That is due to the cannister losing pressure. You can remedy it by charging with another N020 cartridge if you want.
Ralph Martinsen says
Great . Use it each time I make whip about twice per week . Tanks (roll)
Erin says
Thanks so much, Ralph! I love hearing that you use it regularly. So glad it’s been working well for you.
Fjk says
Hi there! Awesome recipe. I really want to try it out. I've recently got a 250ml dispenser and used just whipping cream and icing sugar mixed together. I noticed when I shake it Abit and use it then it's perfect. If I leave it to stay in the fridge or in my cooler bag (for doing events and live food stations) then it all goes to the bottom and gets too thick. When I place it upside down all the air comes out of it then I have to use another charger and that doesn't last long as well. Any thing I could do to fix it? If we shake it to get it down to the nozzle then it just gets thicker and flies everywhere 😩 please help!
Erin Gierhart says
Did you accidentally use C02 instead of N20? What you're describing does not sound like how whipped cream responds in a dispenser when charged with N20. You may also need to check the seal of your dispenser, and possibly replace it.
Karri says
First of all, I want to thank you for listing the measurements not only at the beginning of the recipe but also IN the instructions…I’ll never understand why more people don’t do that…is it honestly too much work to type in “add in 1 tsp of vanilla and 2 eggs” vs add in vanilla and eggs…😖 I can’t tell you how much I appreciate that… you are now bookmarked as my go to for recipe searches….I also wanted to let you know that the “recipe card” link on this page links to a casserole, not whipped cream… no biggie…just wanted to let you know…thanks for the recipe and the extra keystrokes! Happy Thanksgiving!
Erin Gierhart says
What a wonderful Thanksgiving gift you have given me! It thrills me that you found the measurements in the instructions as helpful as I do. And oh my goodness...that recipe link error was on every single recipe on my site! I am so, so grateful that you let me know! Wishing you a wonderful holiday!
Ginny says
How nice to see that you have answered every question posted. That’s pretty rare. All my questions were answered and I didn’t even have to ask. Thank you for these recipes, I’ve had my dispenser for about a year, I eat keto so I don’t add anything to the cream but I’m taking it today to top my pie and this is excatly what I needed to know. You are added to my favorites 🙂
Erin Gierhart says
Ginny, that’s really kind of you to say. I’m glad the info was helpful and that you’re getting good use out of your dispenser. I hope you enjoyed your pie!
Emily Amerson says
I got a dispenser for Christmas and I can’t wait to try this! Im thinking a peppermint variation would be yummy for hot chocolate. We usually just add a drop of peppermint oil to the mug, but flavored whip cream is so fun!
Erin Gierhart says
I'm obsessed with flavored whipped cream too, and peppermint WC is one of my favorites!