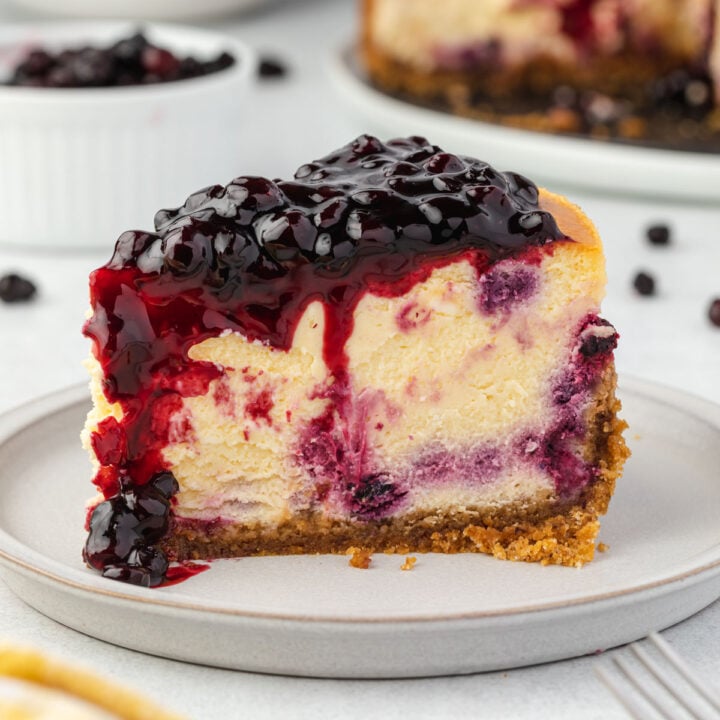
This classic Philadelphia Cheesecake recipe uses lots of cream cheese and no fillers like sour cream or heavy cream. With just 5 ingredients in the filling and a buttery graham cracker crust, it is now my most-requested dessert.
This original Philadelphia cheesecake recipe is the one I’ve made more than any other. With five simple ingredients in the filling and no extra mix-ins like sour cream or heavy cream, it delivers that rich, creamy texture people expect.
It’s made with four blocks of cream cheese, giving it just the right balance of tang and sweetness. The graham cracker crust adds a buttery crunch that keeps things simple but satisfying.
Whether it’s a holiday, a birthday, or just a Saturday night with friends, this is the kind of dessert that makes any gathering feel a little more special, and you can count on it to turn out just right.
What's the Difference Between New York-Style and Original Philadelphia Cheesecake?
Compared to New York cheesecake, Philadelphia cheesecake has a simpler flavor and preparation, with a smooth, dense texture. New York cheesecake filling usually has sour cream or heavy cream. This makes it creamier with a slightly tangier taste. Despite their differences, both types are delicious in their own right.
Despite popular belief, Philadelphia Cheesecake is not named after the city of Philadelphia. It actually gets its name because it is made with Philadelphia brand cream cheese as the main ingredient and does not have fillers mixed in.
Interestingly, Philadelphia cream cheese is not even made in Philadelphia! It is produced in Lowville, New York. So, does that make both styles New York cheesecake?
Ingredients and Substitution Information
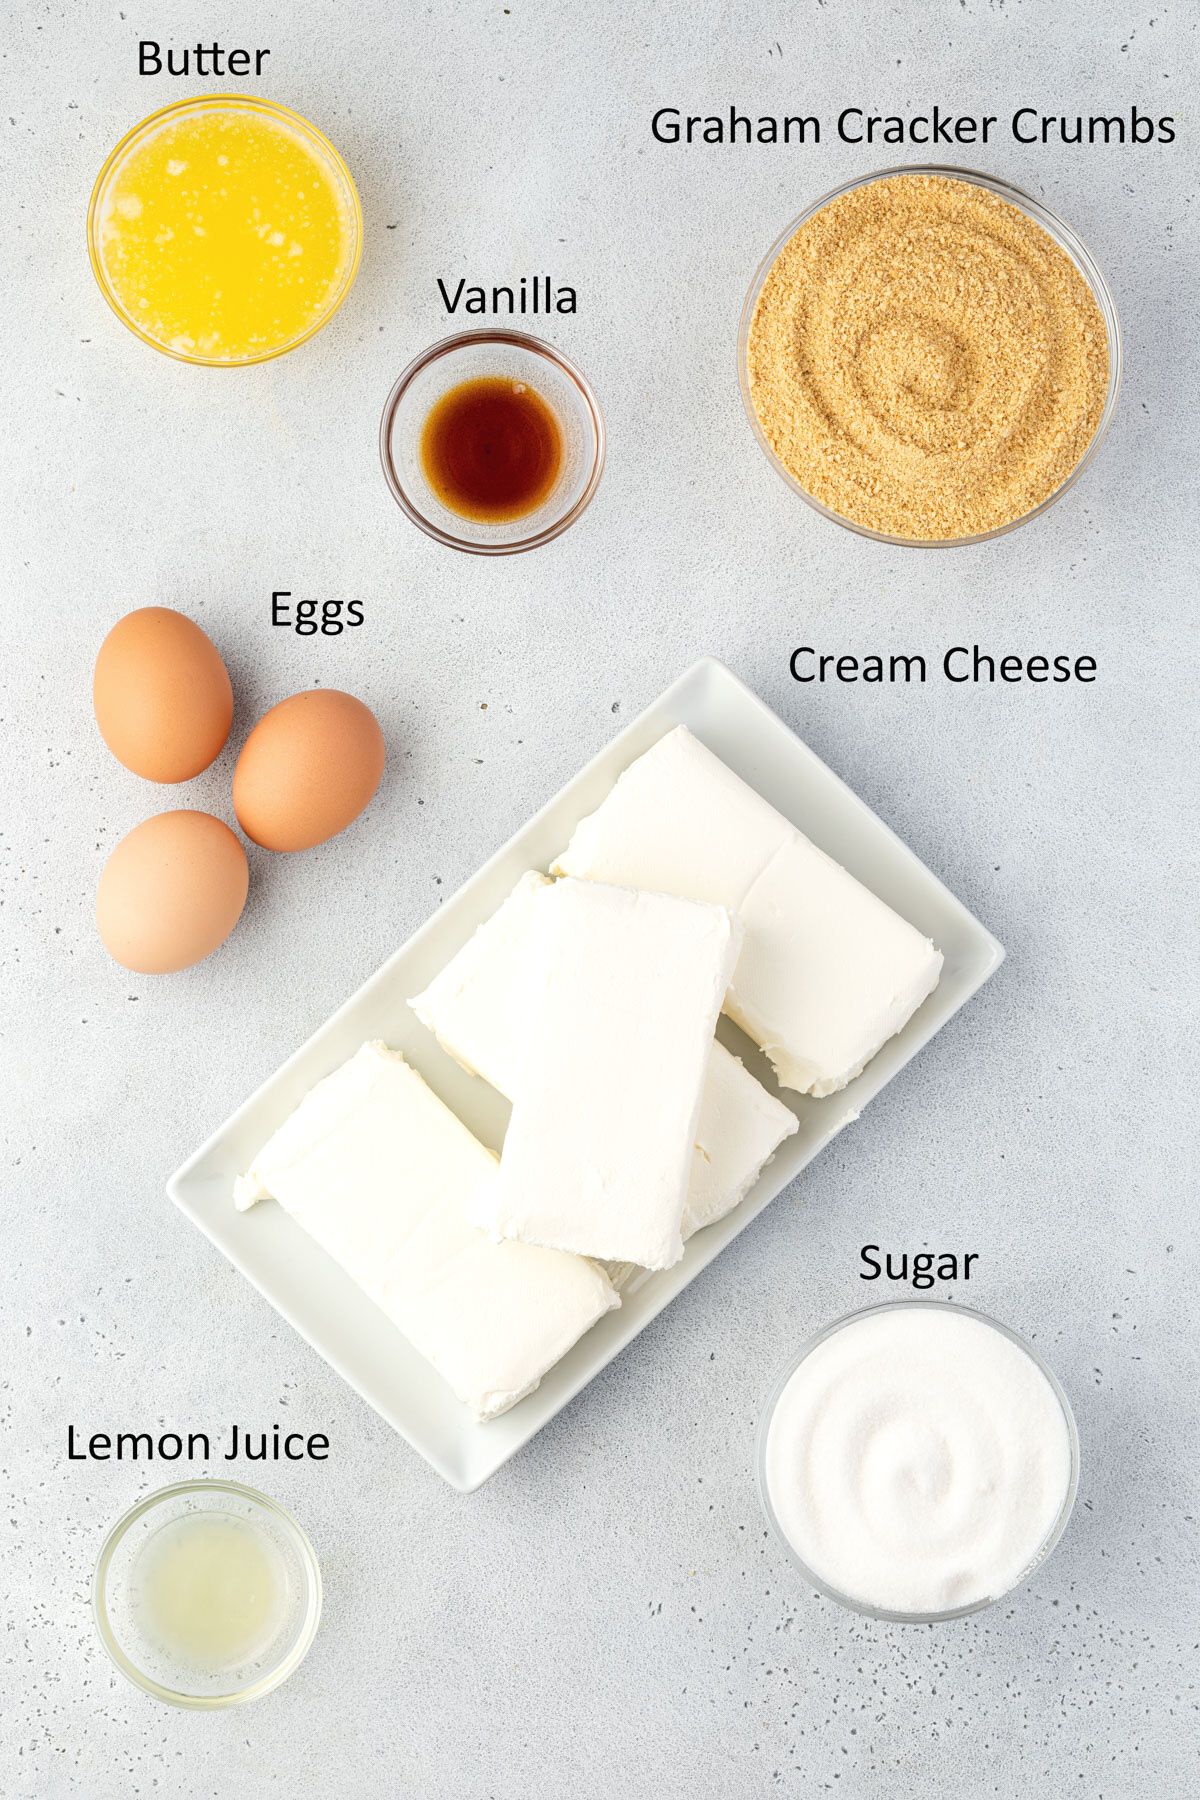
Looking for the full recipe? The recipe card at the bottom of this post includes the complete list of ingredients, measurements, and instructions.
- Graham Cracker Crumbs: I like to save time and purchase graham cracker crumbs, but you can make your own by crushing full sheets of graham crackers using a rolling pin or food processor. If you don't have graham crackers, substitute shortbread or digestive biscuits, or make a vanilla wafer cookie crust.
- Philadelphia Cream Cheese: Gives the cheesecake its rich, creamy texture and tangy flavor. For best results, use full-fat brick-style cream cheese. Leave the cream cheese on the counter for about an hour to come to room temp.
- Granulated Sugar: Sweetens the filling. Caster sugar is an equal substitution.
- Eggs: Provide structure and help the filling set. They should be at room temperature.
- Vanilla extract: Because this recipe has so few ingredients, each has a significant impact, so use a high-quality pure vanilla extract.
- Lemon Juice: The acidity of the lemon juice helps build structure. I recommend freshly squeezed lemon juice.
Why is Philadelphia cream cheese so good?
I prefer using Philadelphia cream cheese for its well-balanced, tangy, and creamy flavor and smooth texture, which makes it easy to mix and blend with other ingredients. Additionally, Philadelphia cream cheese is widely available in grocery stores, so it's accessible to most home cooks.
Some brands of cream cheese have more moisture, which can impact how well the filling sets up. So, if you do choose to use a different brand, make sure that it has a similar moisture content to Philadelphia.
Note that this is not a sponsored post, and the Philadelphia brand has not asked me to say these things. This is just one of those products where I believe the brand makes a difference.
How to Make Philadelphia Cheesecake
Prepare the crust
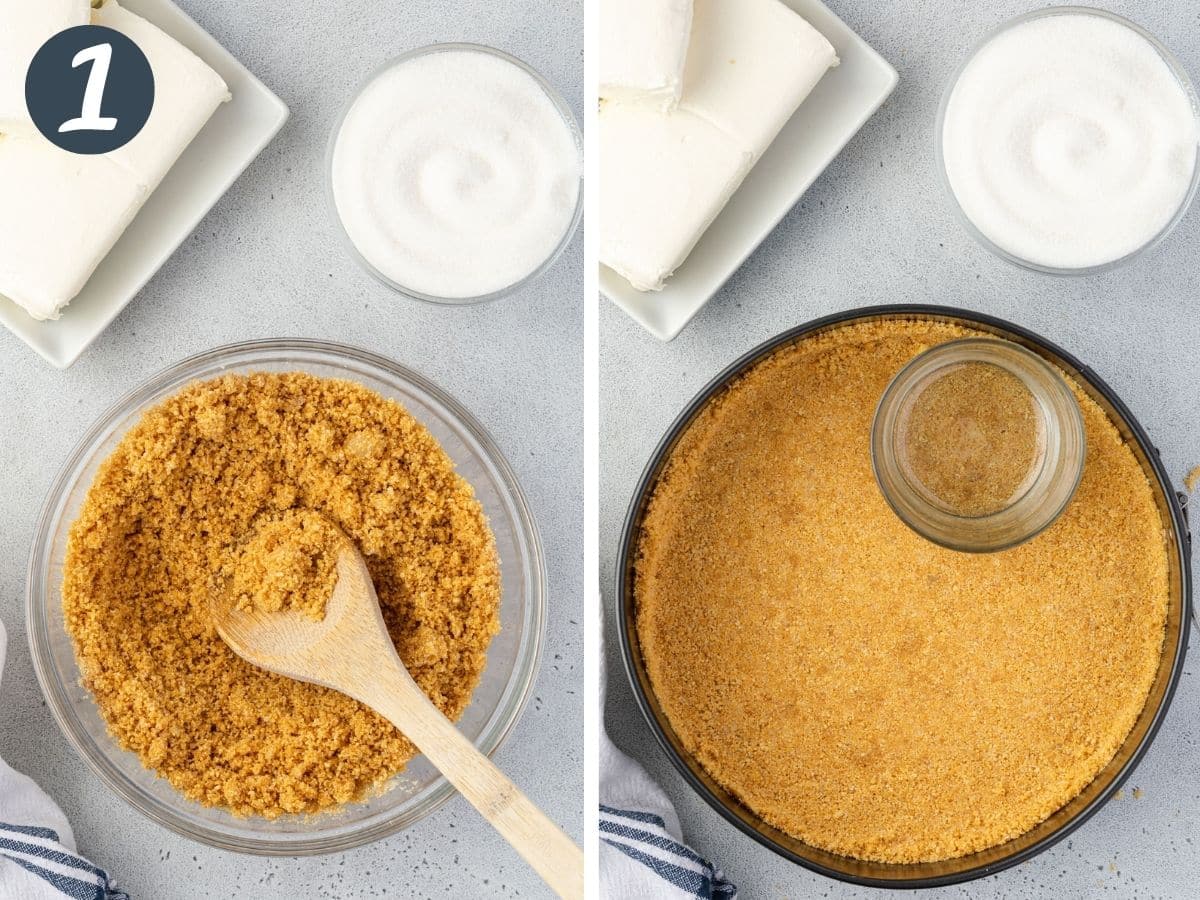
- Combine graham crumbs with the sugar and melted butter, then use a measuring cup or flat-bottomed glass to press the crust evenly into the bottom of a springform pan.
- Pre-baking the crust for a few minutes helps to set it and prevent it from becoming soggy when the filling is added.
Prepare the filling
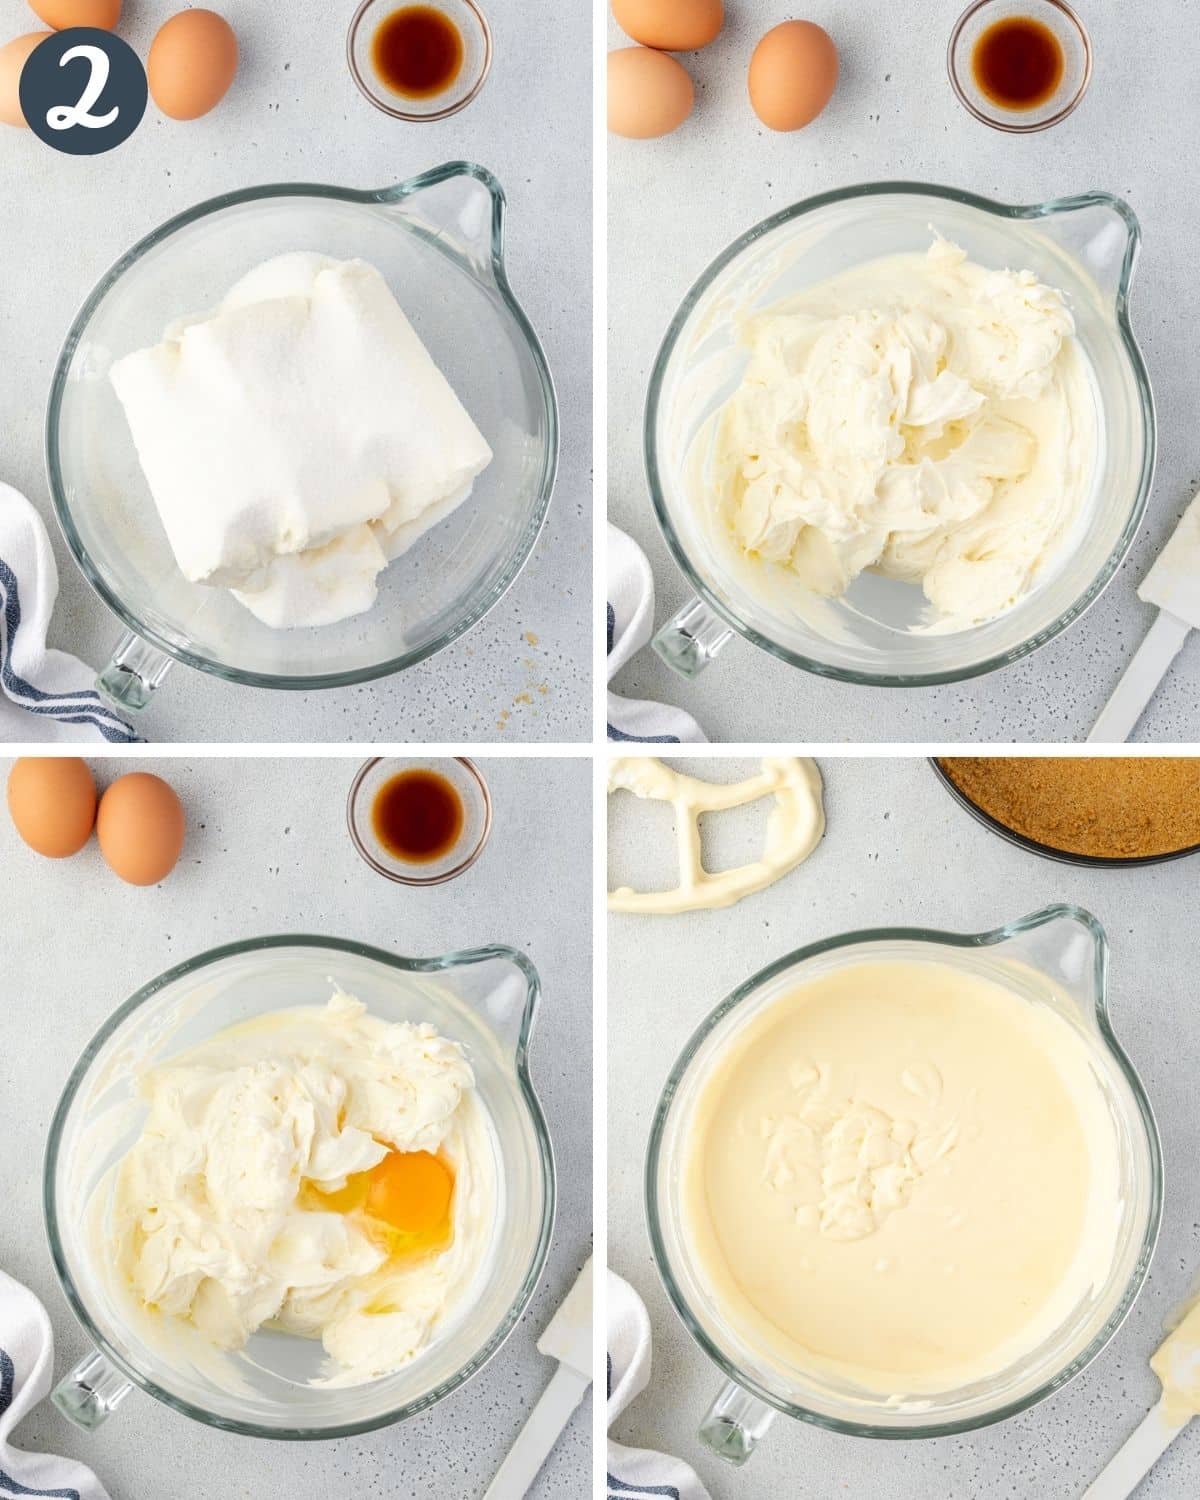
- Using room-temperature cream cheese and eggs helps everything blend smoothly. If you use cold cream cheese and eggs, the filling may have lumps.
- Beat the cream cheese and sugar together at medium speed in a large mixing bowl with an electric mixer until it is completely smooth.
- Mix the eggs on low speed so they aren't overwhipped.
Bake
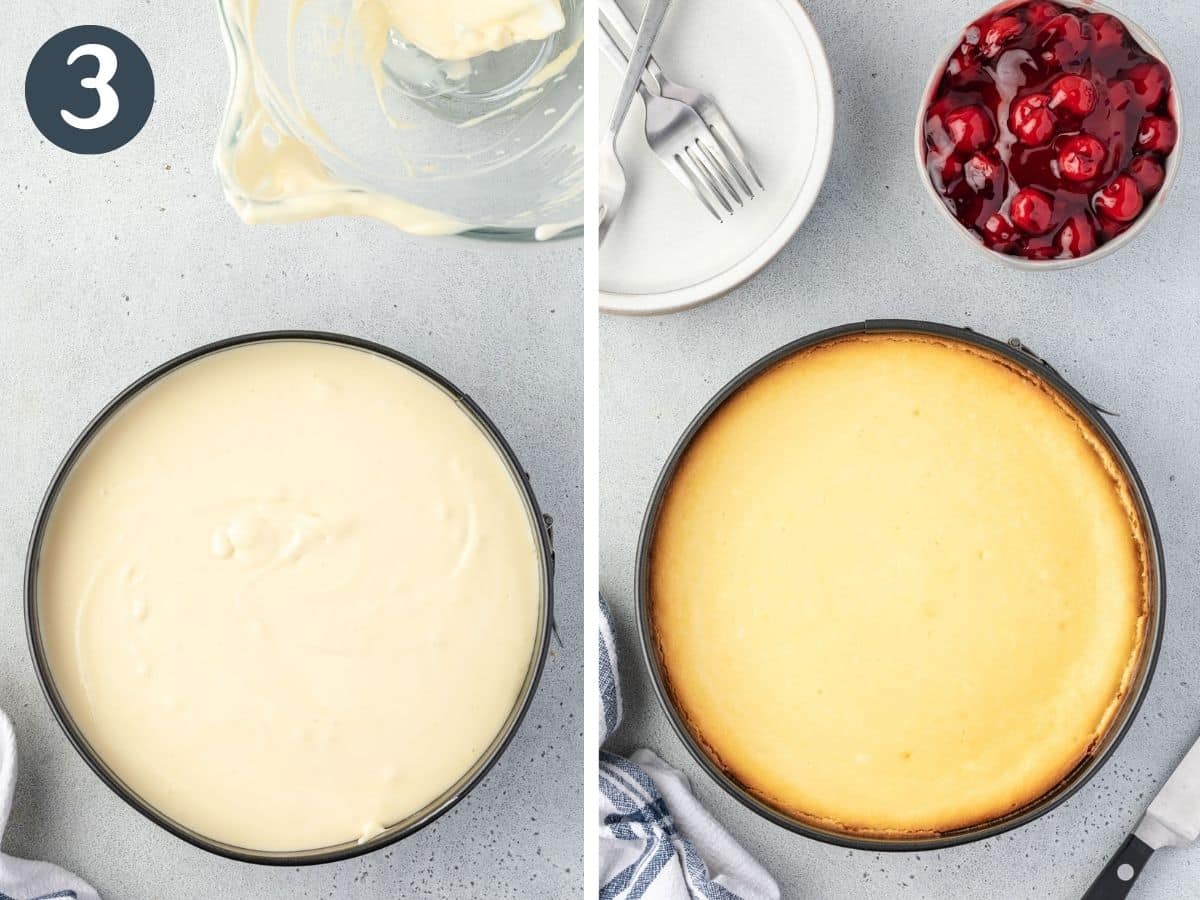
- Use a water bath to help the cheesecake bake evenly and reduce the chances of it cracking.
- Do not overbake the cheesecake. Overbaking can cause it to become dry and crack.
- Give the pan a gentle shake. The outside should be firm, and the inside should be slightly jiggly. You can also insert an instant-read thermometer into the center of the cheesecake. It is done when the center reaches 150°F (65°C).
- Turn the oven off, open the door, and let the cheesecake cool for 30-60 minutes before removing it from the oven.
- Chill it for at least 1 hour in the refrigerator before serving.
Using a Water Bath
A water bath is your secret weapon for a perfectly smooth, crack-free cheesecake. Here's why it works:
- Creates even heat distribution to prevent over/underbaking.
- Adds moisture to avoid drying and cracking.
- Maintains consistent temperature for a silky-smooth surface.
Quick Setup Guide:
- Wrap your springform pan's bottom and sides with heavy-duty foil (no seams or cracks!), or use a silicone pan wrap placed inside a larger cake pan for foolproof protection.
- Set the wrapped pan in a large roasting pan on the lower oven rack.
- Pour 1 inch of boiling water into the roasting pan.
That's it! This simple step differentiates between a good cheesecake and a great one.
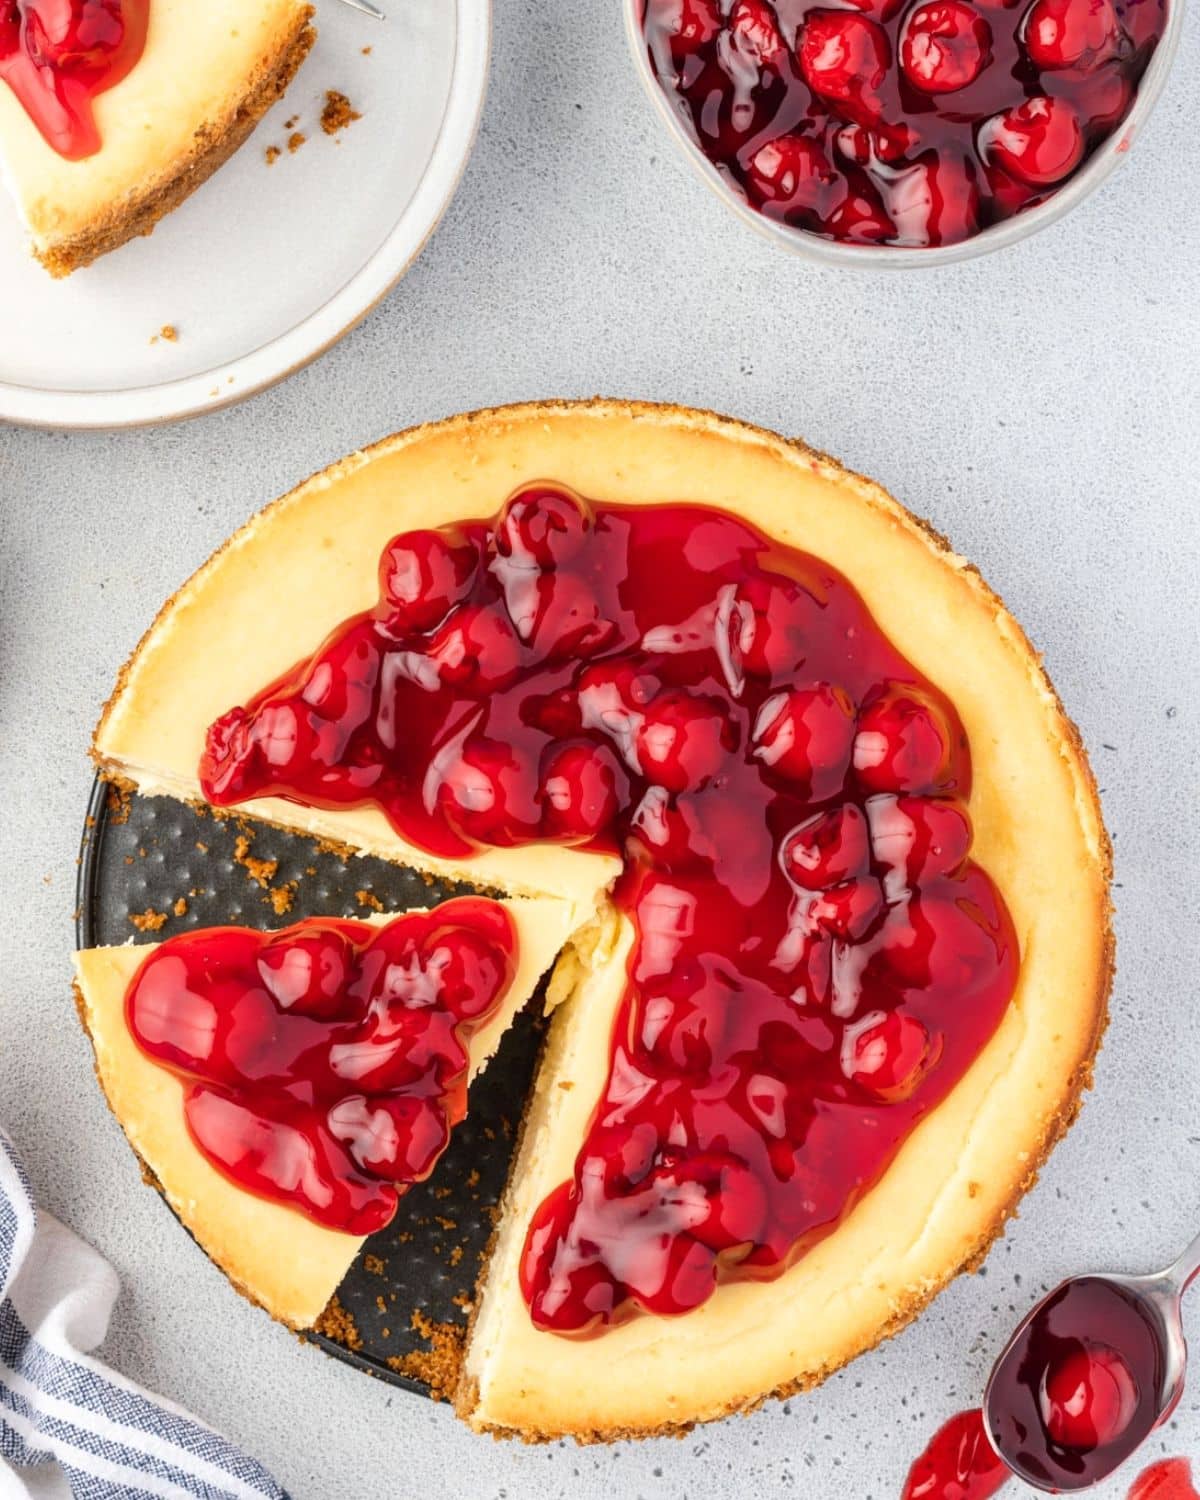
Expert Tips
- Ensure the butter is melted and cooled slightly before adding it to the crumbs. If the butter is too hot, it may cause the crust to be too greasy.
- Use room-temperature cream cheese and eggs to help the filling blend smoothly.
- Mix the eggs on low speed, and do not overbeat once added. Introducing too much air at this point can cause the cheesecake to crack or become too dense.
- Letting the cheesecake cool slowly will help reduce cracks.
- Dipping a sharp knife in hot water and wiping them off after each dip will give you clean cheesecake slices. The heat from the water helps cut through the filling smoothly.
Topping Ideas
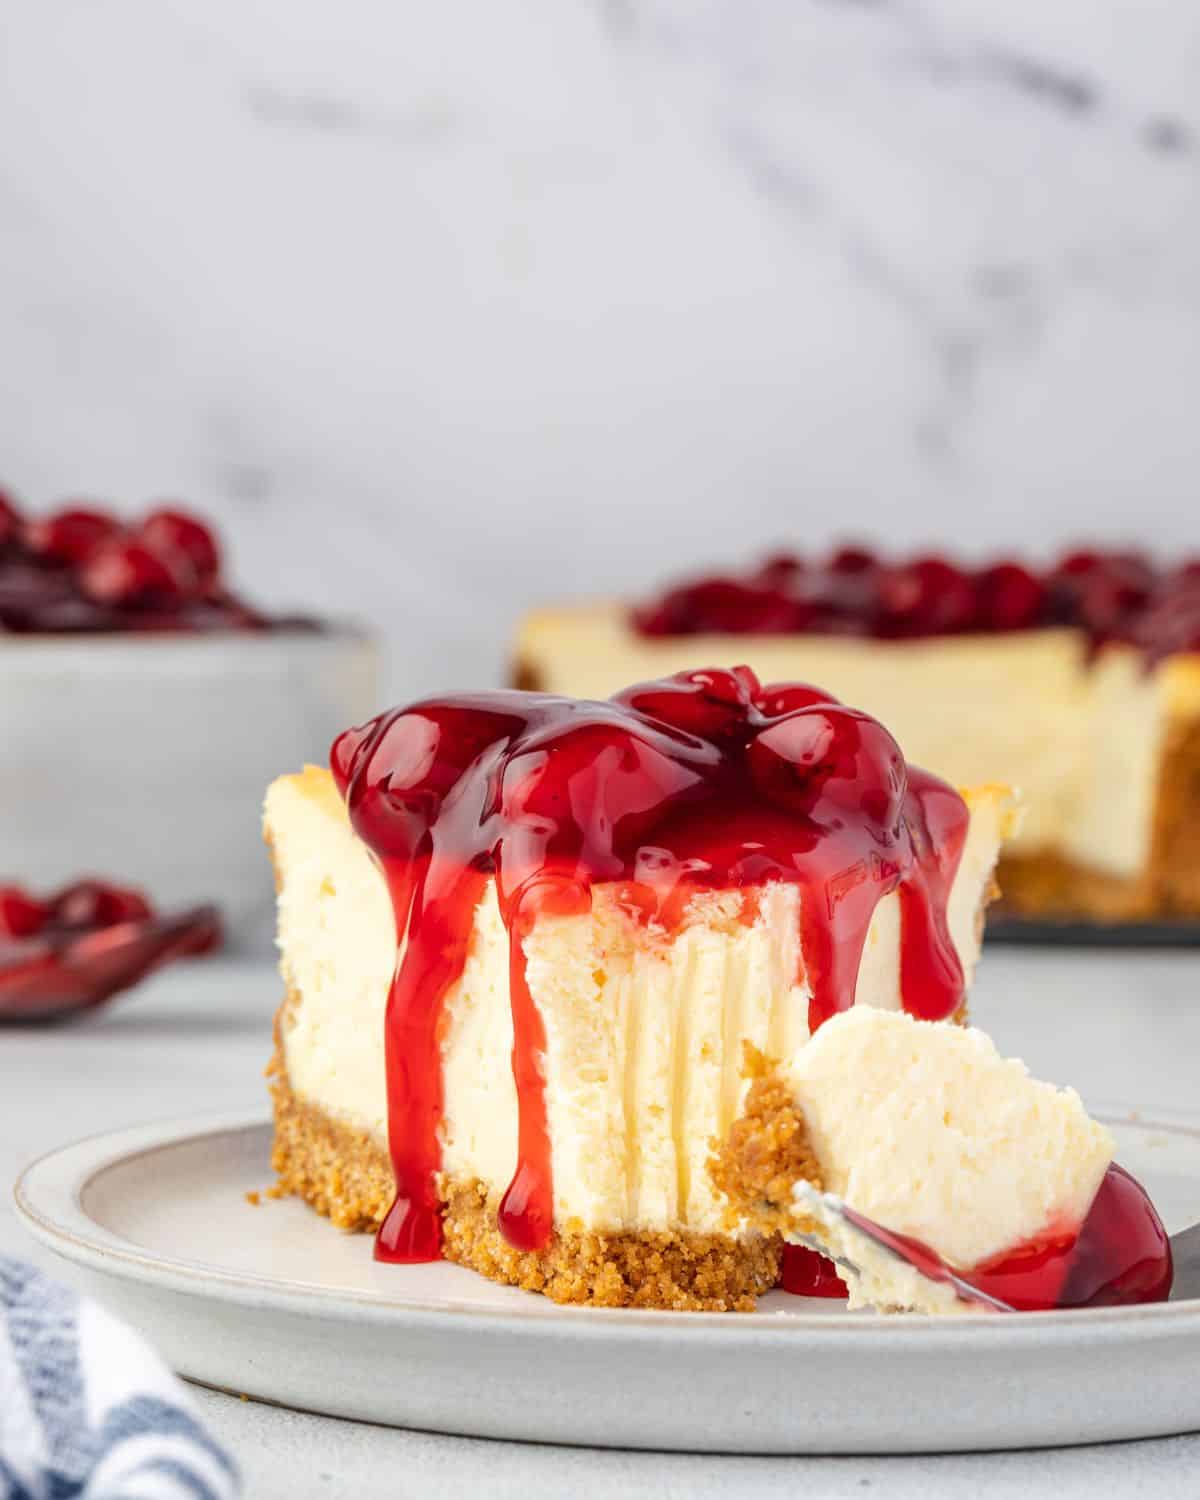
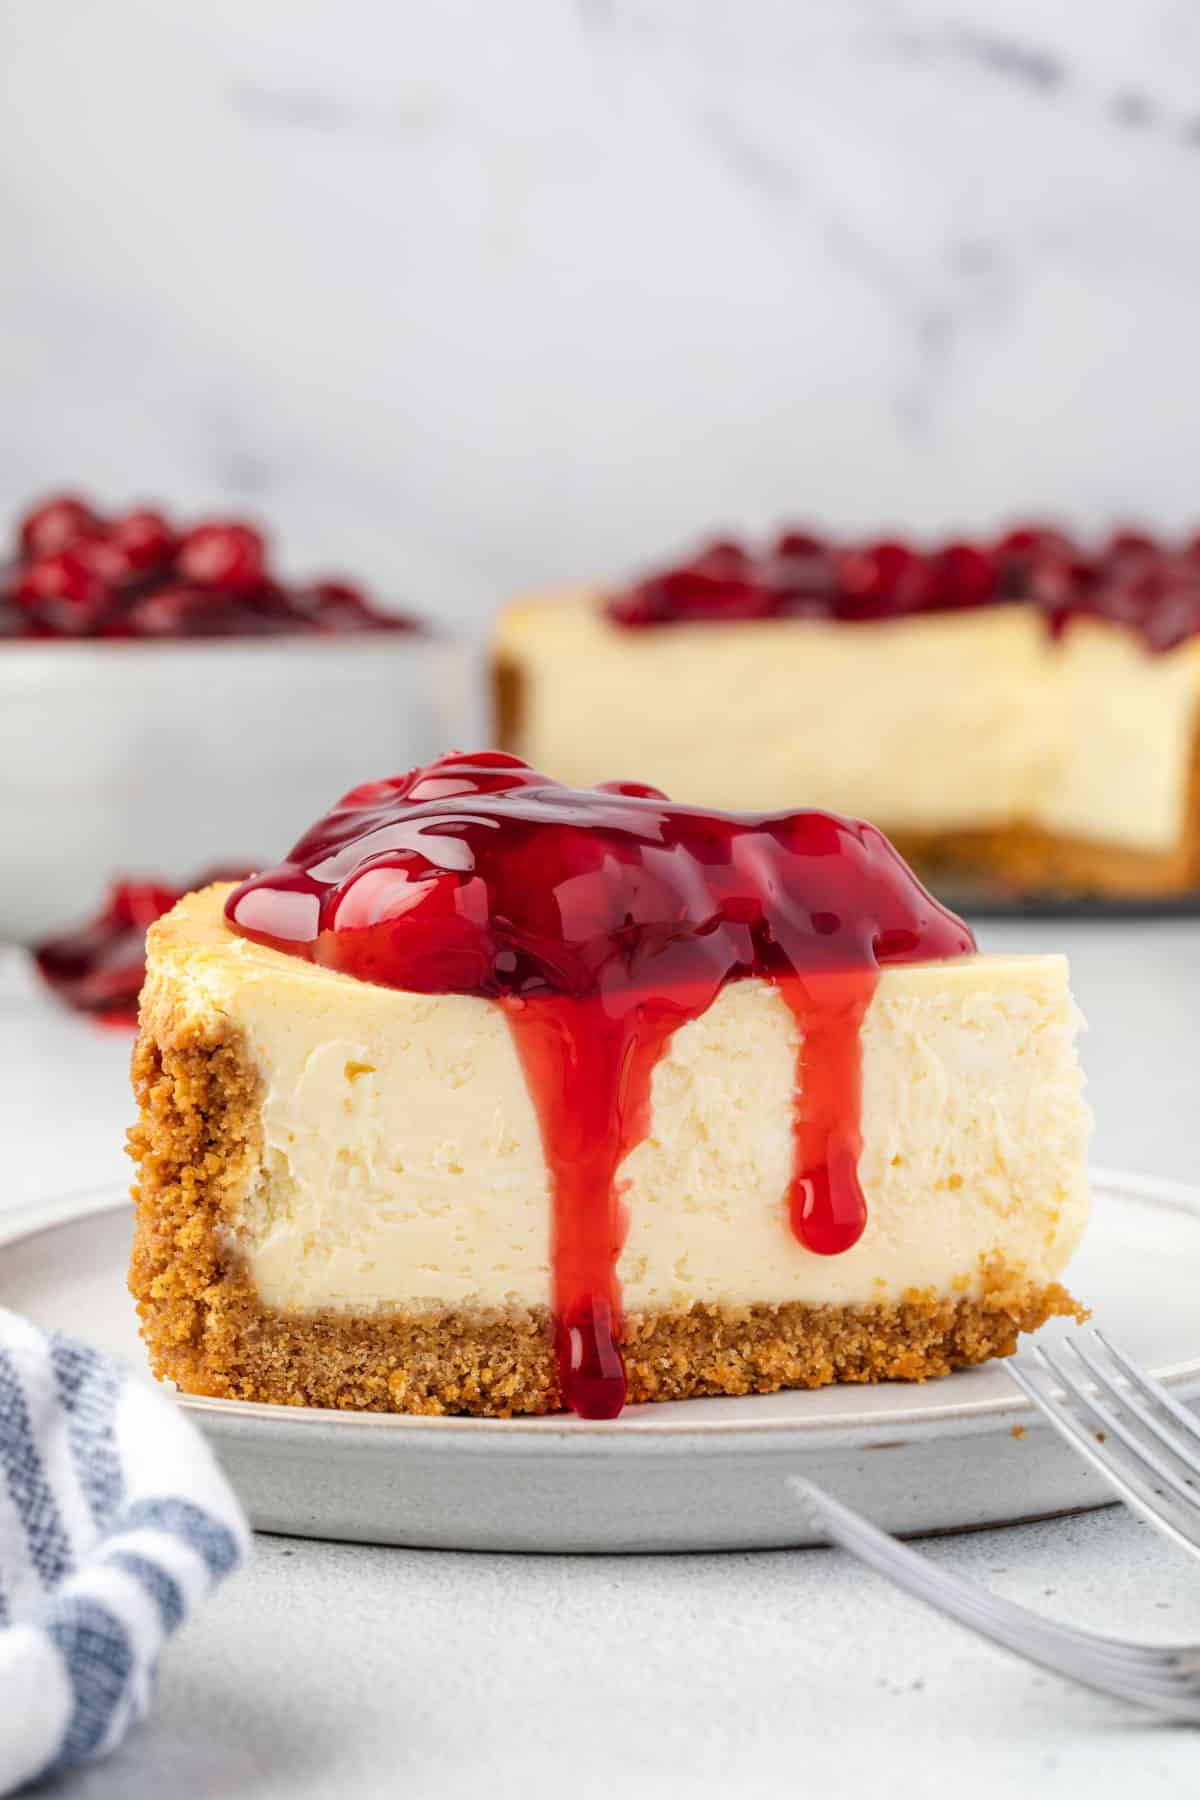
- Pie Filling: There's nothing more classic than cherry pie filling as a cheesecake topping. I love homemade strawberry pie filling, too!
- Fresh fruit: Top with fresh berries, sliced peaches, or other seasonal fruits for a bright and flavorful contrast to the rich, creamy cheesecake.
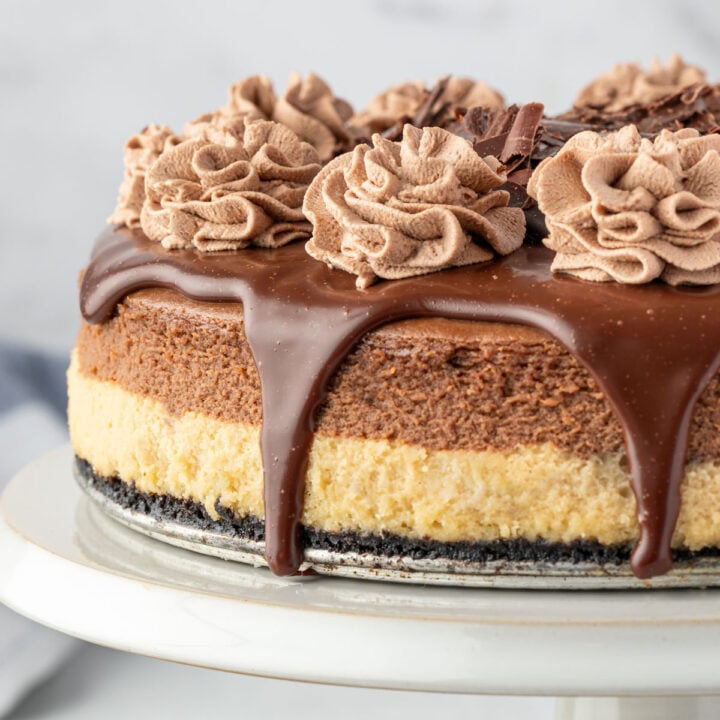
- Chocolate Ganache: Drizzle warm chocolate ganache over the top for a decadent and indulgent finish.
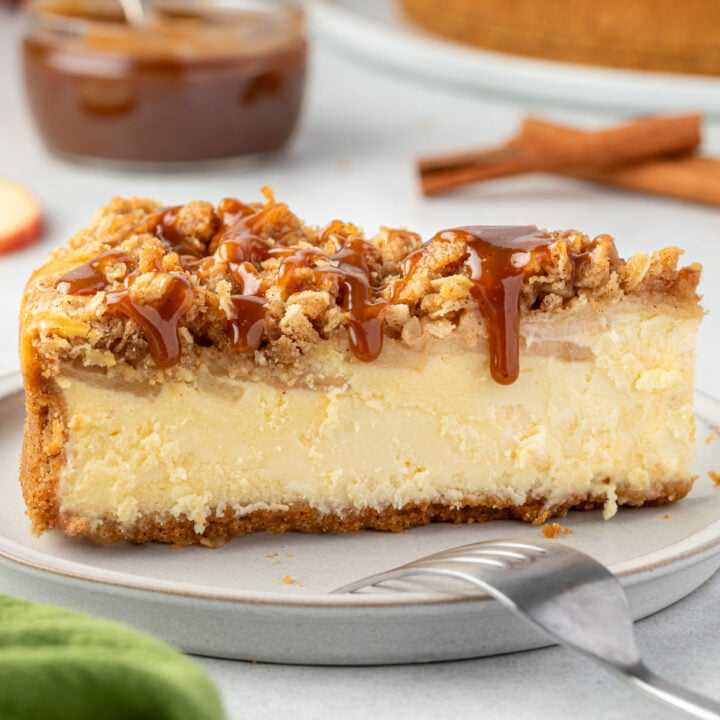
- Caramel Sauce: Caramel is great on fancy cheesecakes like this Caramel Apple Crisp, but it is also perfect for a classic cheesecake!
- Candy: Add a crunchy topping, like chopped Heath bars or M&Ms. For a festive Easter cheesecake, you can even use chopped Mini Eggs!
- Whipped Cream: Dollop fresh whipped cream or a little Cool Whip and garnish with shaved chocolate or a sprinkle of cinnamon.
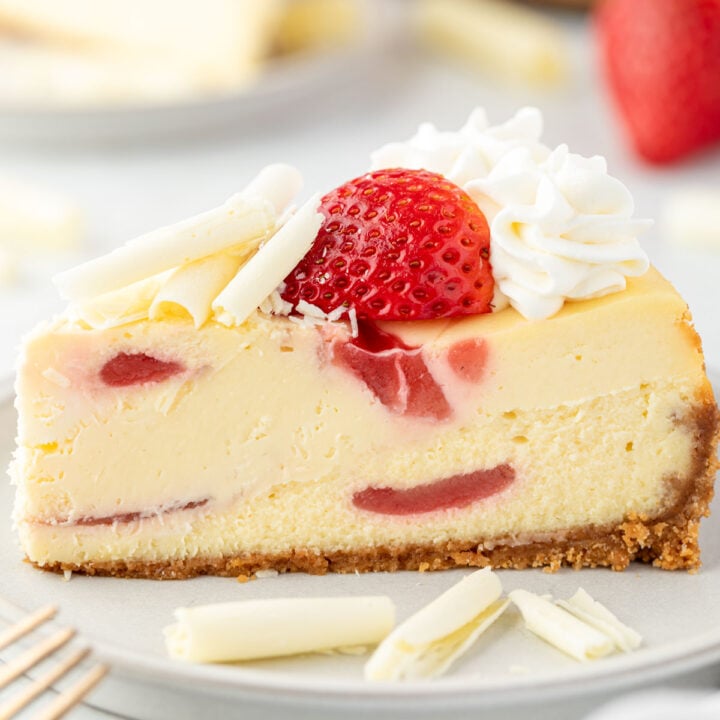
- Cake Filling: It's not exactly a topping, but a fun variation is to bake snack cakes in the center of the filling, like in this Christmas cheesecake, or swirl in a fruit sauce, like in this White Chocolate Strawberry Cheesecake.
Experiment with different topping combinations to find your favorite, and don't be afraid to get creative!
Recipe FAQs
Yes, you can make the cheesecake and store it in the refrigerator for several days before serving. Cover it tightly with plastic wrap and store it in the back corner of your refrigerator, where it is coldest. You can learn more about cheesecake storage in this post on how long cheesecake lasts.
Yes, cheesecake can be frozen for up to 3 months. To freeze, wrap the cooled cheesecake (whole or slices) tightly in plastic or aluminum foil and place it in an airtight container or freezer bag. Thaw the cheesecake in the refrigerator overnight before serving.
More Cheesecake Recipes
Let me know how you like this recipe by leaving a review! And follow along on Instagram @stateofdinner for behind-the-scenes and to be among the first to know when new recipes post!
Recipe
Philadelphia Cream Cheese Cheesecake
Recipe by:Ingredients
Crust
- 1 ½ cups (180 grams) graham cracker crumbs about 12 full sheets of graham crackers
- ⅓ cup (67 grams) granulated sugar
- 6 tablespoons (85 grams) salted butter melted
Filling
- 32 ounces (908 grams) Philadelphia cream cheese
- 1 cup (200 grams) granulated sugar
- 3 (3) eggs room temperature
- 2 teaspoons (10 ml) vanilla extract
- 2 teaspoons (10 ml) lemon juice
Instructions
- Preheat oven to 375°F (190°C).
- Mix the graham cracker crumbs, sugar, and melted butter in a medium bowl. The mixture should look like fine sand.1 ½ cups graham cracker crumbs, ⅓ cup granulated sugar, 6 tablespoons salted butter
- Transfer the crumbs to a 9-inch springform pan and press them into the bottom of the pan. Bake for 7-8 minutes. Then remove from the oven and allow to cool while preparing the filling.
- Reduce the oven to 325°F (165°C).
- Place the cream cheese and granulated sugar in a large mixing bowl. Beat at medium speed using an electric stand or hand mixture until creamy, about 2 minutes.32 ounces Philadelphia cream cheese, 1 cup granulated sugar
- Add the eggs one at a time, using low speed and scraping the bowl between each addition. Keep the mixer on low at this point and do not overbeat.3 eggs
- Mix in the vanilla extract and lemon juice on low speed.2 teaspoons vanilla extract, 2 teaspoons lemon juice
- Spread the cream cheese mixture smoothly over the graham cracker crust. See the recipe notes section if you want to use a water bath. Bake the cheesecake for 70-85 minutes, or until the center is set.
- Turn the oven off and open the oven door. Let the cheesecake cool in the oven for 1 hour, without disturbing it. Remove it from the oven and cool for an additional hour at room temperature. Then transfer to the refrigerator for at least 1 hour, or overnight.
- Top with your favorite fruit, pie filling, chocolate, or caramel sauce, if desired.
Notes
Equipment
Nutrition
The nutritional facts provided are only estimates. The accuracy of the nutritional information for any recipe on this site is not guaranteed.

Sheila Martin says
Great receipt !!
Keith Salmi says
This recipe produced a most wonderful valentine golf kgs
Vi Bronner says
Made this for a New Year’s gathering and received a lot of positive comments. I did the water bath exactly as instructed but the crust was still a bit soggy. I will make again without the water bath and see if that helps.
Erin says
Hi Vi! You may consider getting a silicone wrap for your cheesecake pan as well. That will help ensure no water gets in.
MJ Solar says
Just made this for the family Christmas dinner. Served warm with blueberry compote. I baked it in a water bath and the aluminum foil somehow developed pin holes. The crust was wet, and, I thought, ruined. I flipped the cheesecake over, blotted it with a towel and put it under the broiler. It was still warm when served, and everyone’s eyes lit up with delight!
Erin says
Wow, that was some smart thinking! I'm glad it all worked out. Great job!
Joyce Holthaus says
I love this recipe? Much better than the one I Have used in the past.
I love how you repeat the ingredients as your making the recipe.
Thank you
Erin says
So happy to hear it! Thanks for sharing, Joyce!
Devin Castilleja says
Should my crust still be soft when taking out of the oven before adding cream cheese mix?
Erin says
It will still be somewhat soft because the butter is warm. Look for some of the graham cracker crumbs to have turned a darker golden brown color. Let the crust cool completely before adding the filling.
Nadia says
May I know how many grams of cream cheese needed for this cake?
Erin says
This recipe uses 908 grams of cream cheese.
TarrynUpLife says
Absolutely wonderful! Family loved it! I did not do the water bath technique as we live on the edge in this household and wanted to try out an idea we saw to fix said crack (summer break, YouTube hacks, and kids - bowl of hot water and a spoon work to fix any cracks that may arise while it's cooling is when you send the repair cooks in). THANK YOU for putting the measurements in to your cooking instructions! Absolutely brilliant idea on top of a phenomenal 👏 recipe! Keep up the great work State of Dinner!
Erin says
That's a genius tip! Thank you!
Aphrodite Crawford says
Thank you for showing the ingredients in all the possible measures, so helpful.
And the easy to follow instructions, including the ingredients at each stage.
I am not a confident cook, but shall definitely try this one!
Erin says
Thank you for sharing that you find that helpful! I hope that you enjoy this recipe!
Holly says
My cheesecake turned really brown before it was even ready. What can I do to prevent that
Erin says
I’m sorry that happened, Holly! Next time, try baking it on a lower rack in the oven and tenting it with foil partway through baking. This will help prevent the top from browning too quickly while the cheesecake finishes cooking.