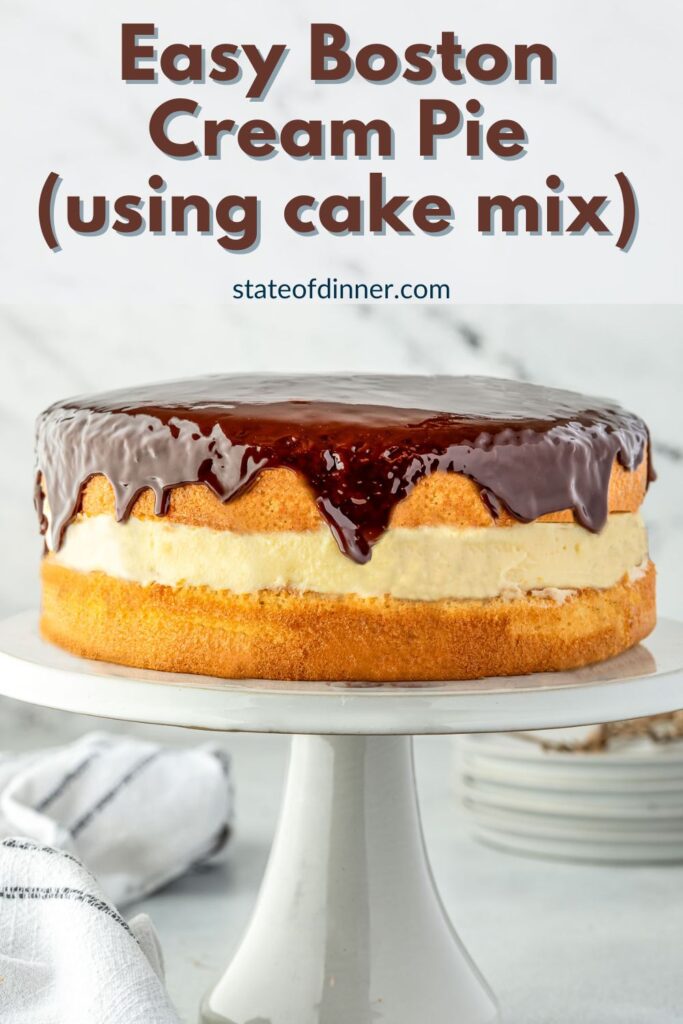
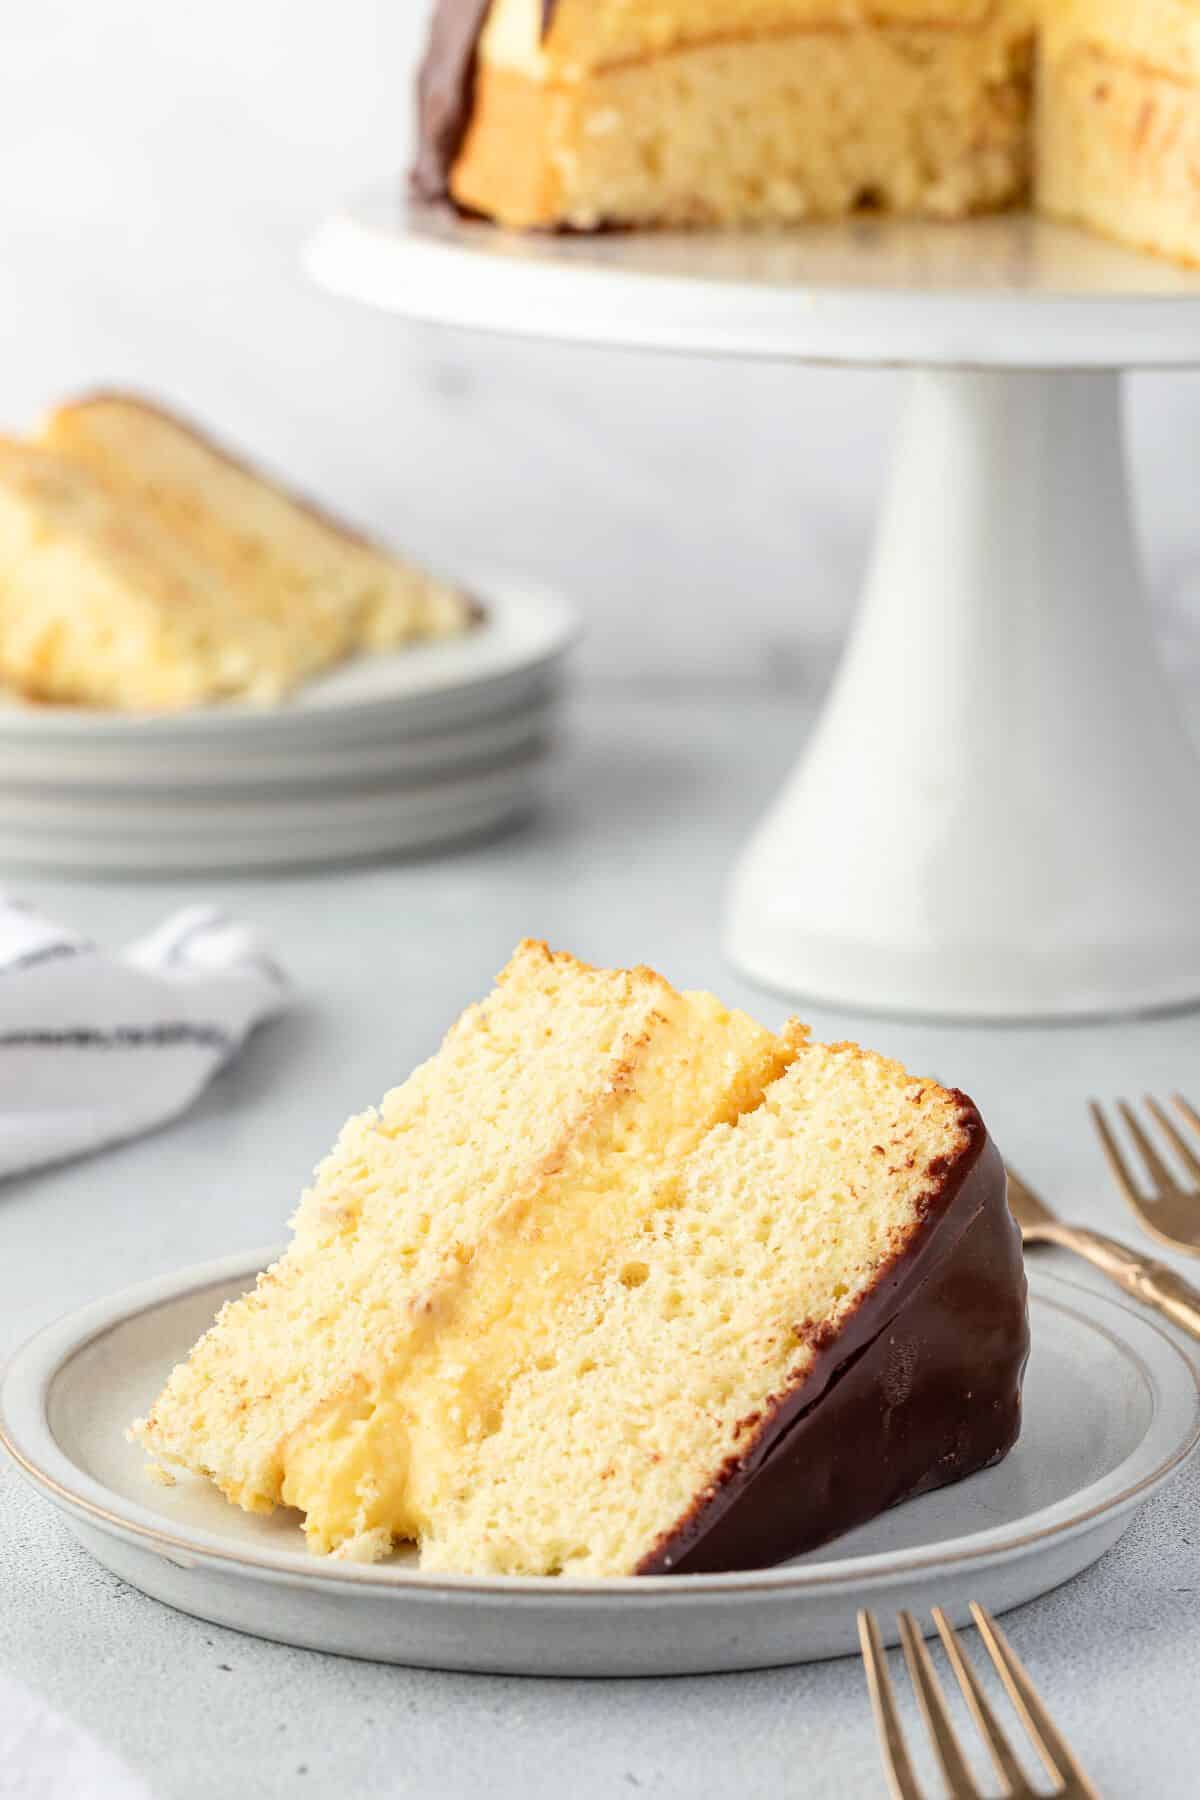
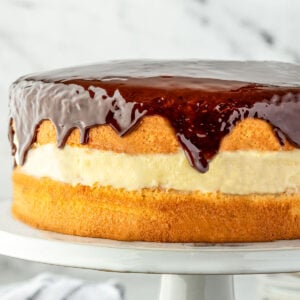
This easy Boston Cream Pie recipe uses a simple cake mix and a quick technique that still delivers that classic sponge cake texture. It's filled with a luscious, easy-to-make cream filling and topped with rich chocolate ganache.
You'll love how simple this Boston Cream Pie is to make, yet it tastes as if it came from a fancy bakery!
The recipe starts with a standard vanilla cake mix and other basic ingredients you likely already have in your kitchen. But here's the secret: whipping the egg whites separately and sifting the cake mix gives the cake an incredibly light and airy texture, just like a classic sponge cake.
When it comes to the custard filling, I've got the easiest pastry cream recipe for you. Unlike most pastry cream recipes, you don't need to temper your eggs, resulting in a smooth, creamy filling.
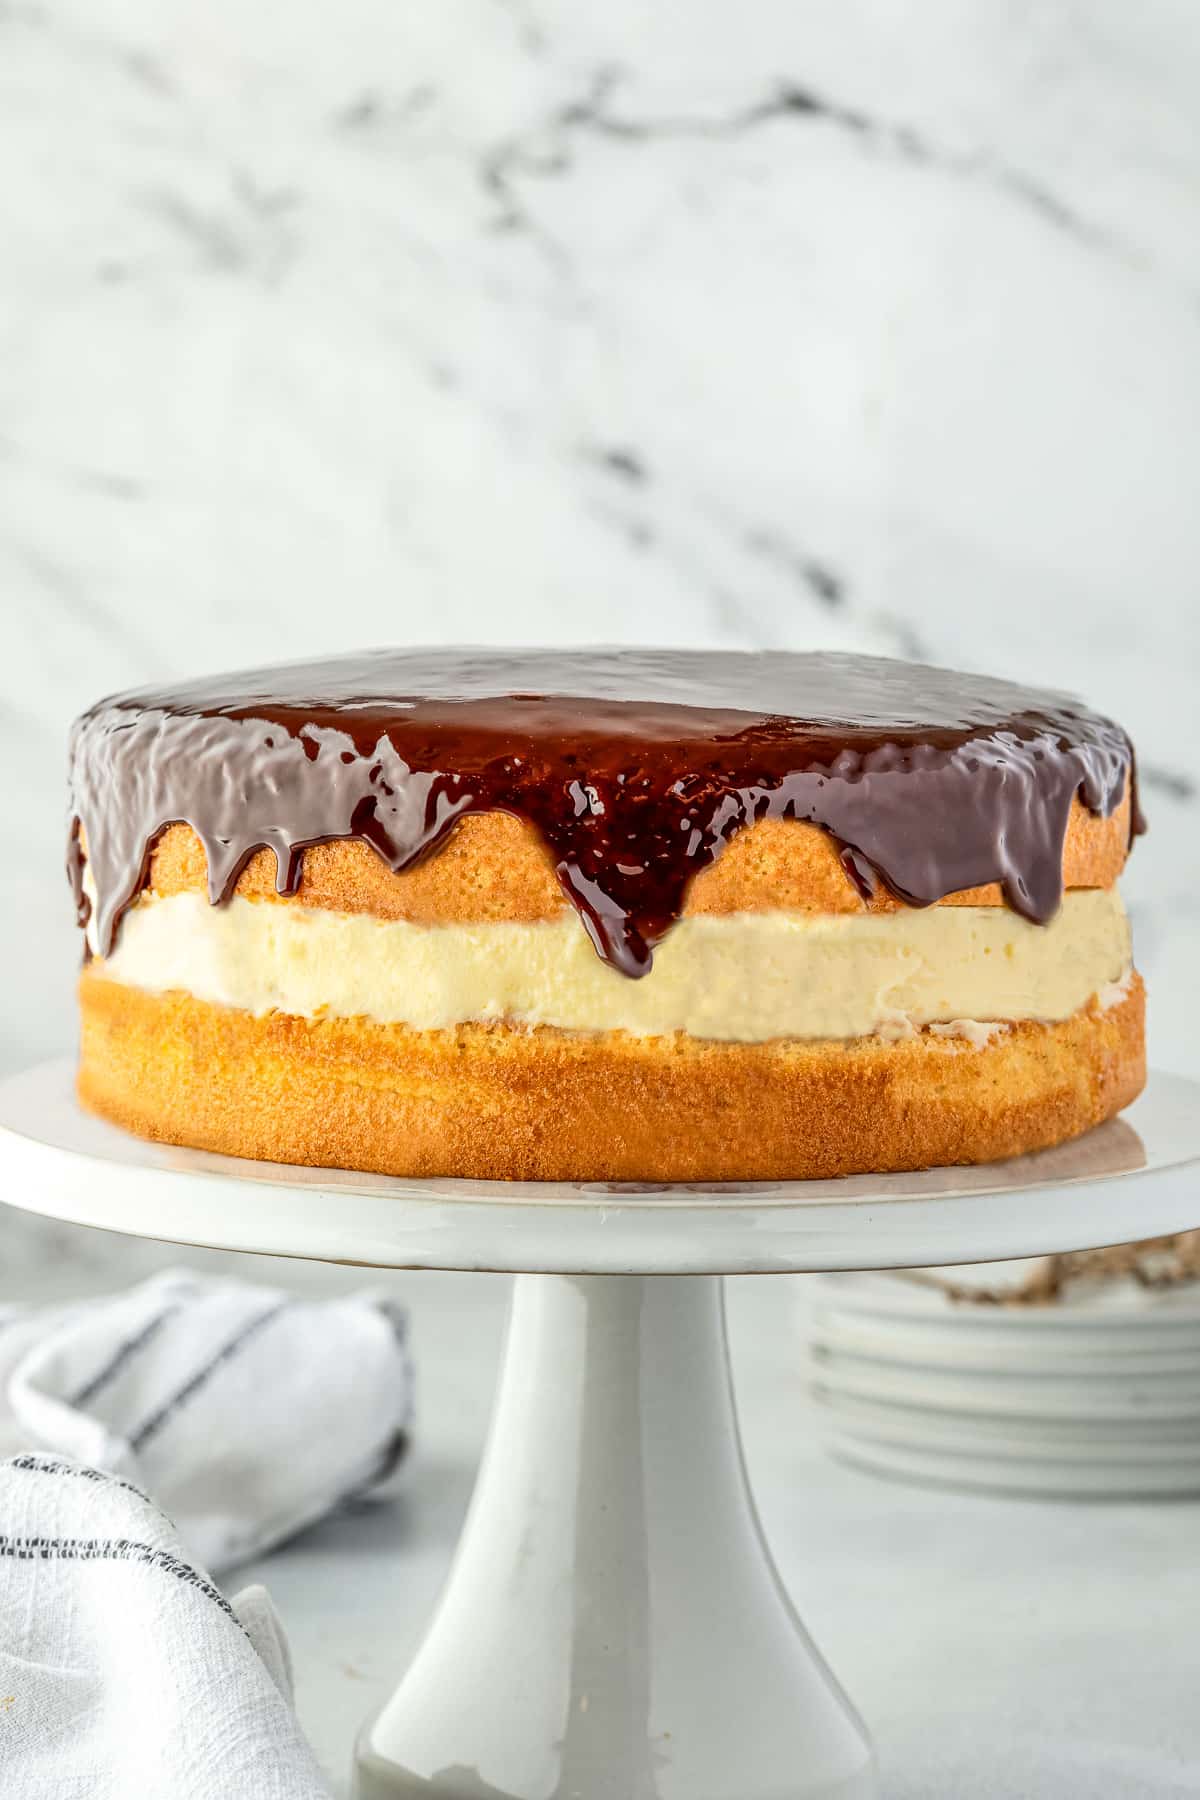
A fudgy chocolate ganache tops this dreamy cake. Your family and friends will be so impressed!
Key Ingredients and Substitutions
The recipe card at the bottom of this post includes the complete list of ingredients, measurements, and instructions.
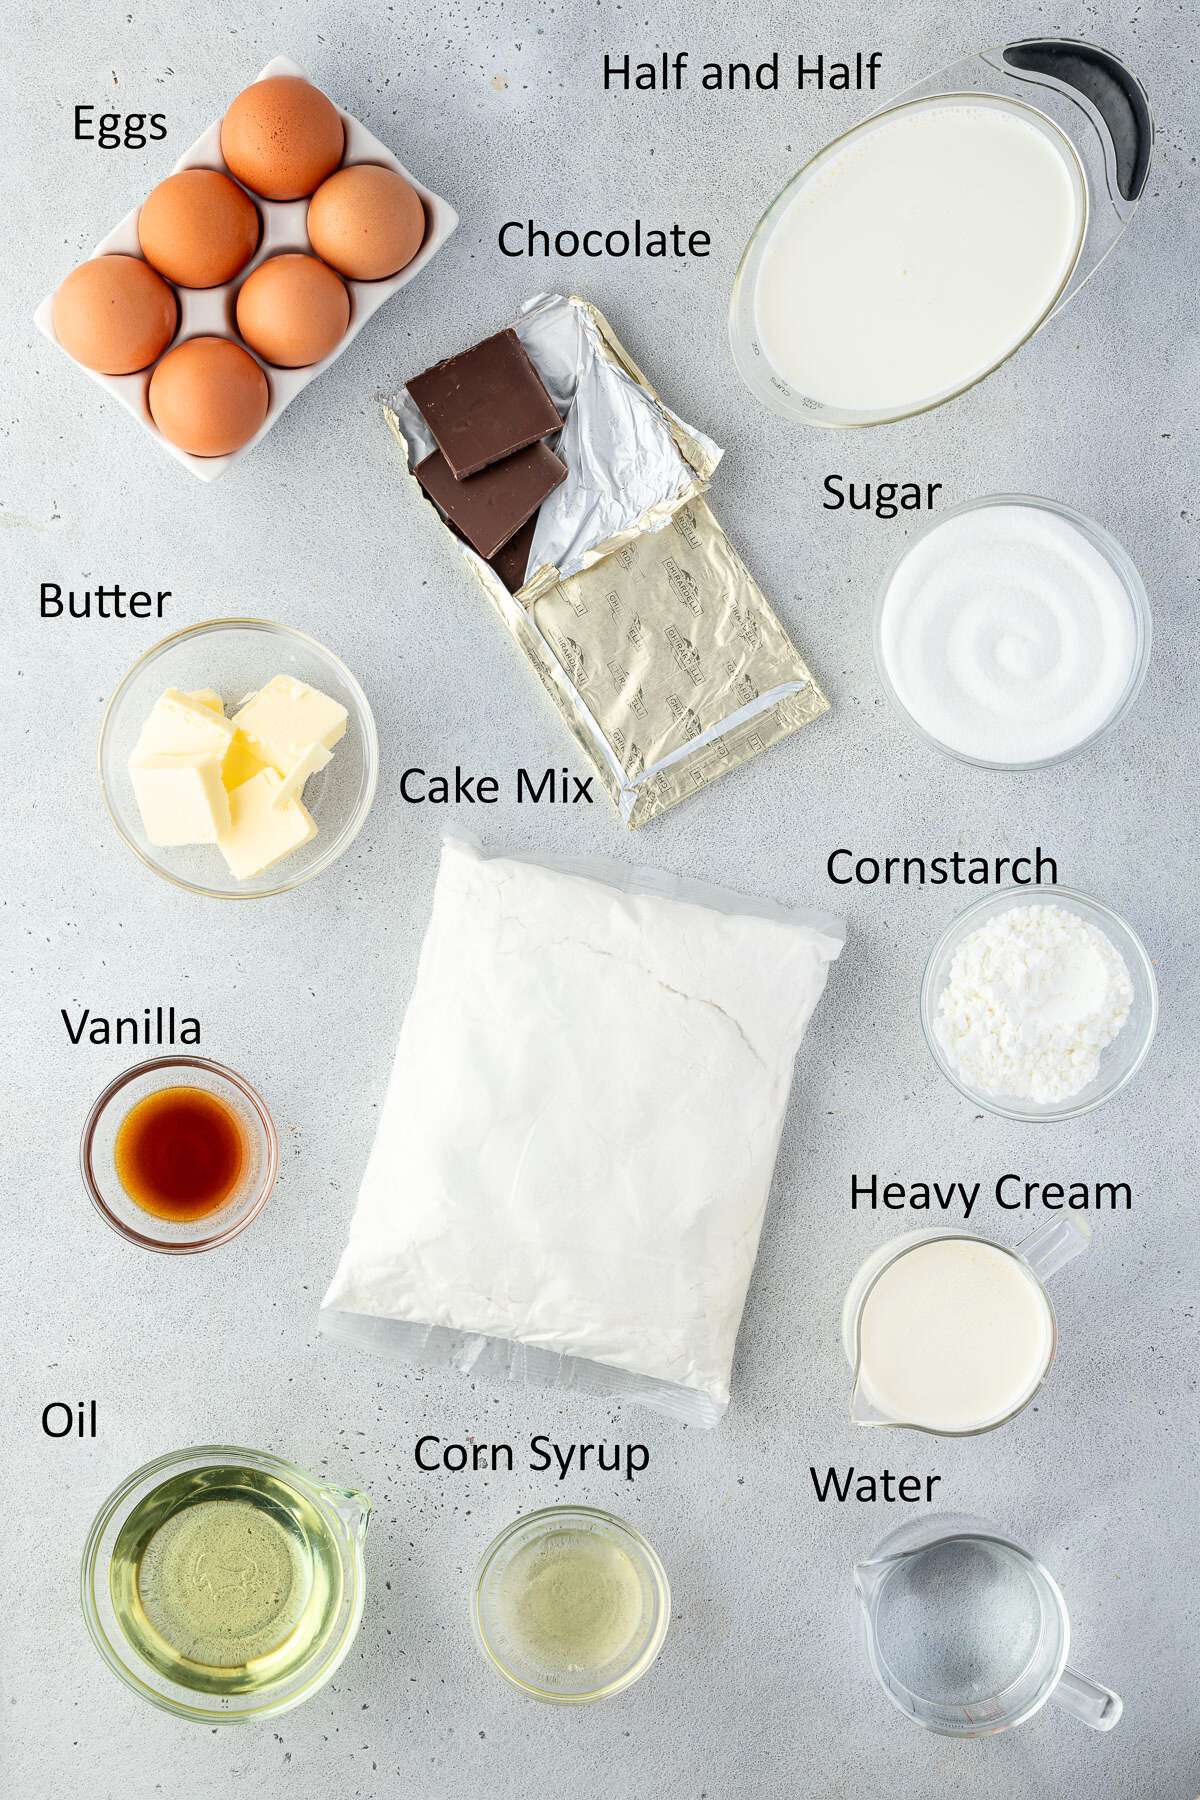
Cake Mix - Use your favorite cake mix and the ingredient amounts listed on the box. The measurements in the recipe card are based on a Betty Crocker Vanilla Cake mix.
Eggs - This recipe uses 7 eggs total. Keep them cold until you are ready to separate the whites from the yolks.
Half and Half - If you do not have half and half, you can make your own by mixing 1 ½ cups of whole milk with ½ cup of heavy cream.
Baking Chocolate - Use bittersweet baking squares for the smoothest consistency. Chocolate chips will also work, but the texture will be a little different due to the stabilizers used in chocolate chips and the amount of cocoa butter.
Heavy Cream - The higher your cream's fat content, the more stable your ganache will be.
Corn Syrup - Light corn syrup is what makes the ganache glossy. You can substitute honey or leave it out entirely if you prefer.
How to Make Boston Cream Pie
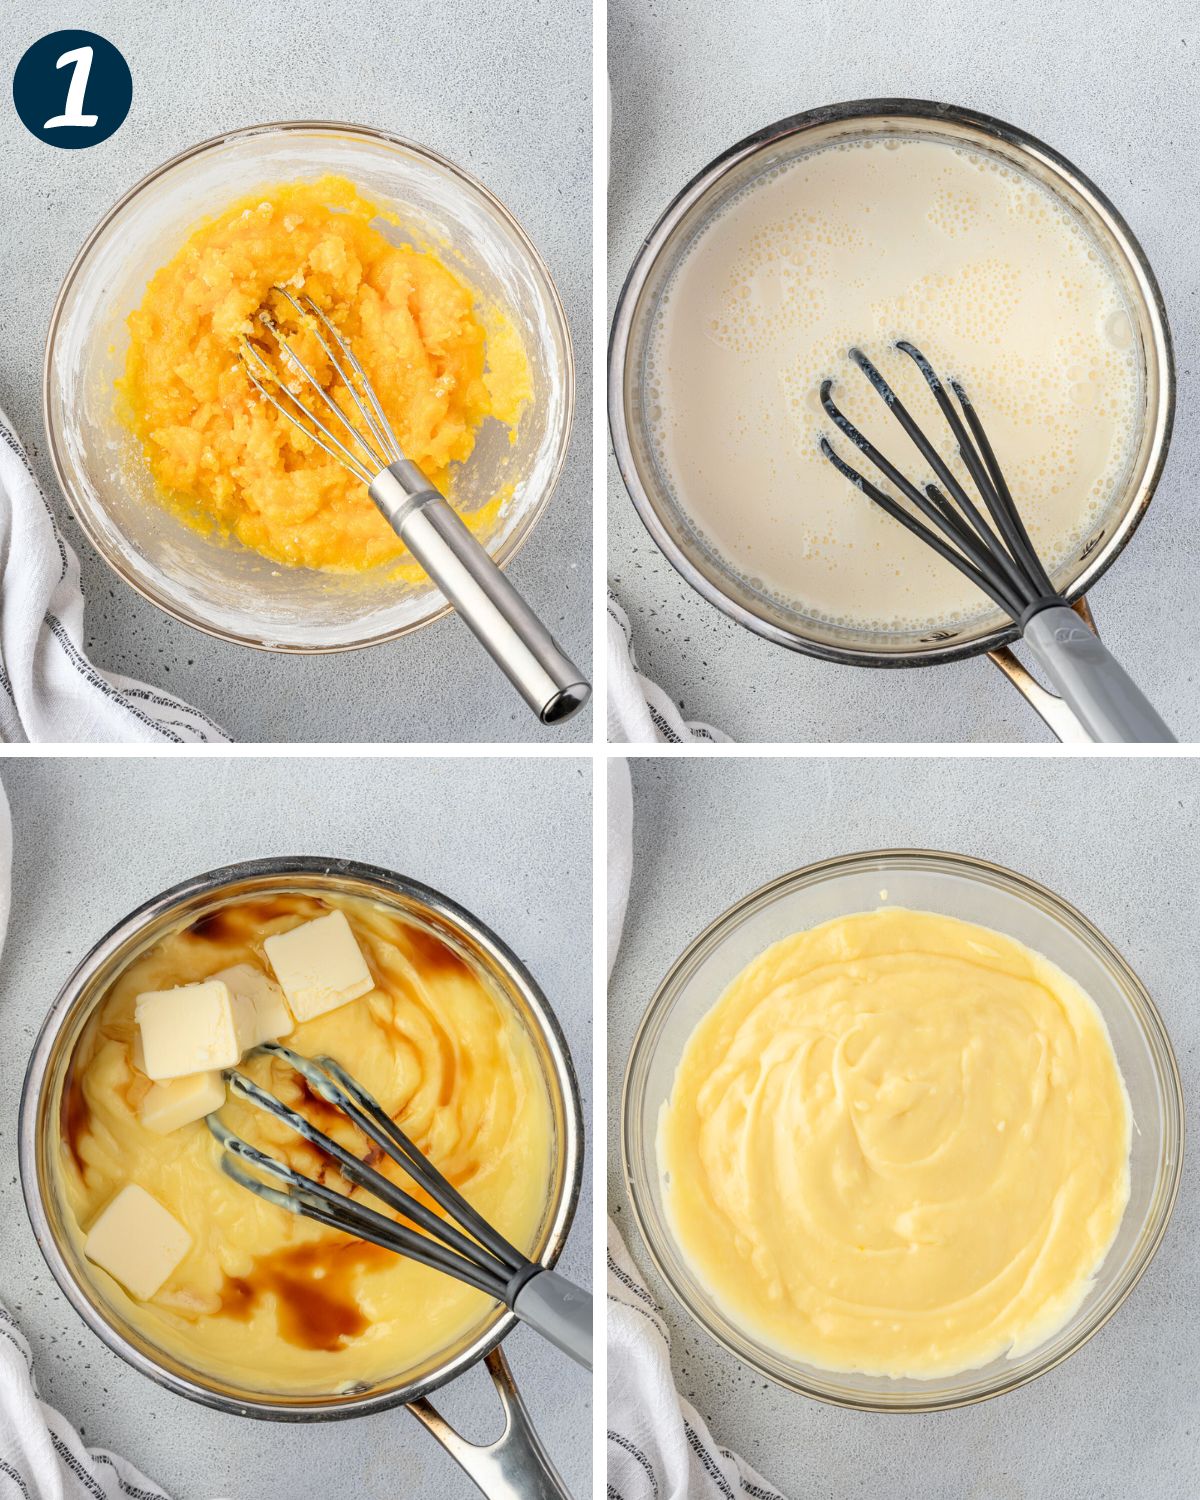
1) Prepare Pastry Cream
- Combine the egg yolk, sugar, and cornstarch. The mixture will resemble cooked egg yolk.
- Add the mixture and the half and half to a saucepan and cook on medium-low heat for 5 minutes. Raise the temperature and let it boil for one minute.
- Whisk continuously across the bottom and sides of the pan so that the custard does not burn.
- Remove the pan from the stove and whisk in the butter and vanilla. The custard should be nice and thick and will continue to thicken as it cools.
- Transfer the vanilla custard to a clean bowl. Press a piece of plastic wrap directly against the custard's surface. This prevents a film from forming on top of the custard.
- Refrigerate for at least 2 hours or up to 2 days.
2) Bake Cake Layers
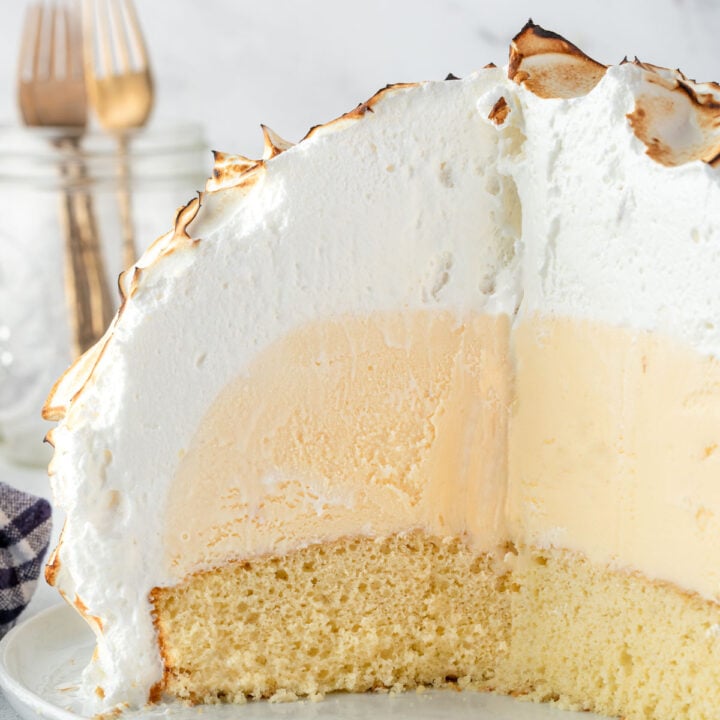
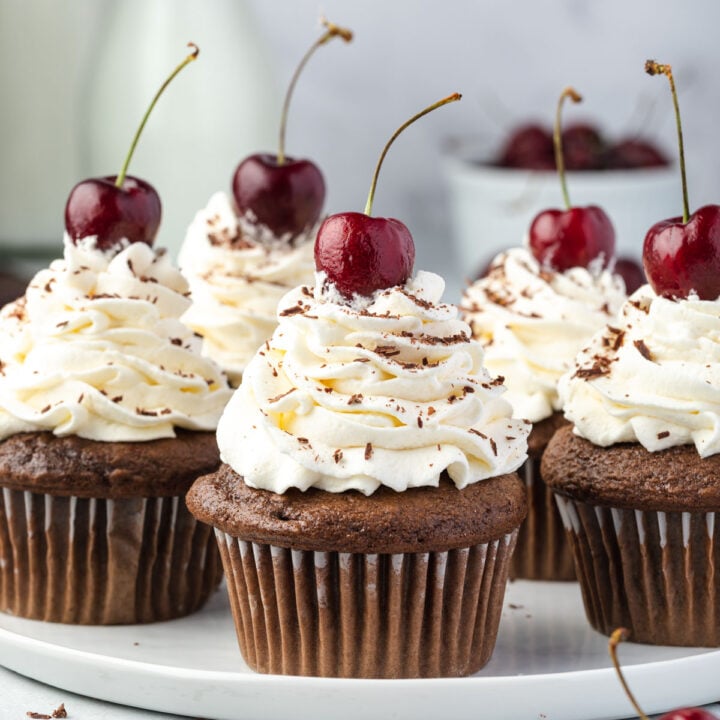
- This recipe uses cake mix to easily make a buttery sponge cake. These Baked Alaska and Black Forest Cupcakes also use cake mix as a shortcut!
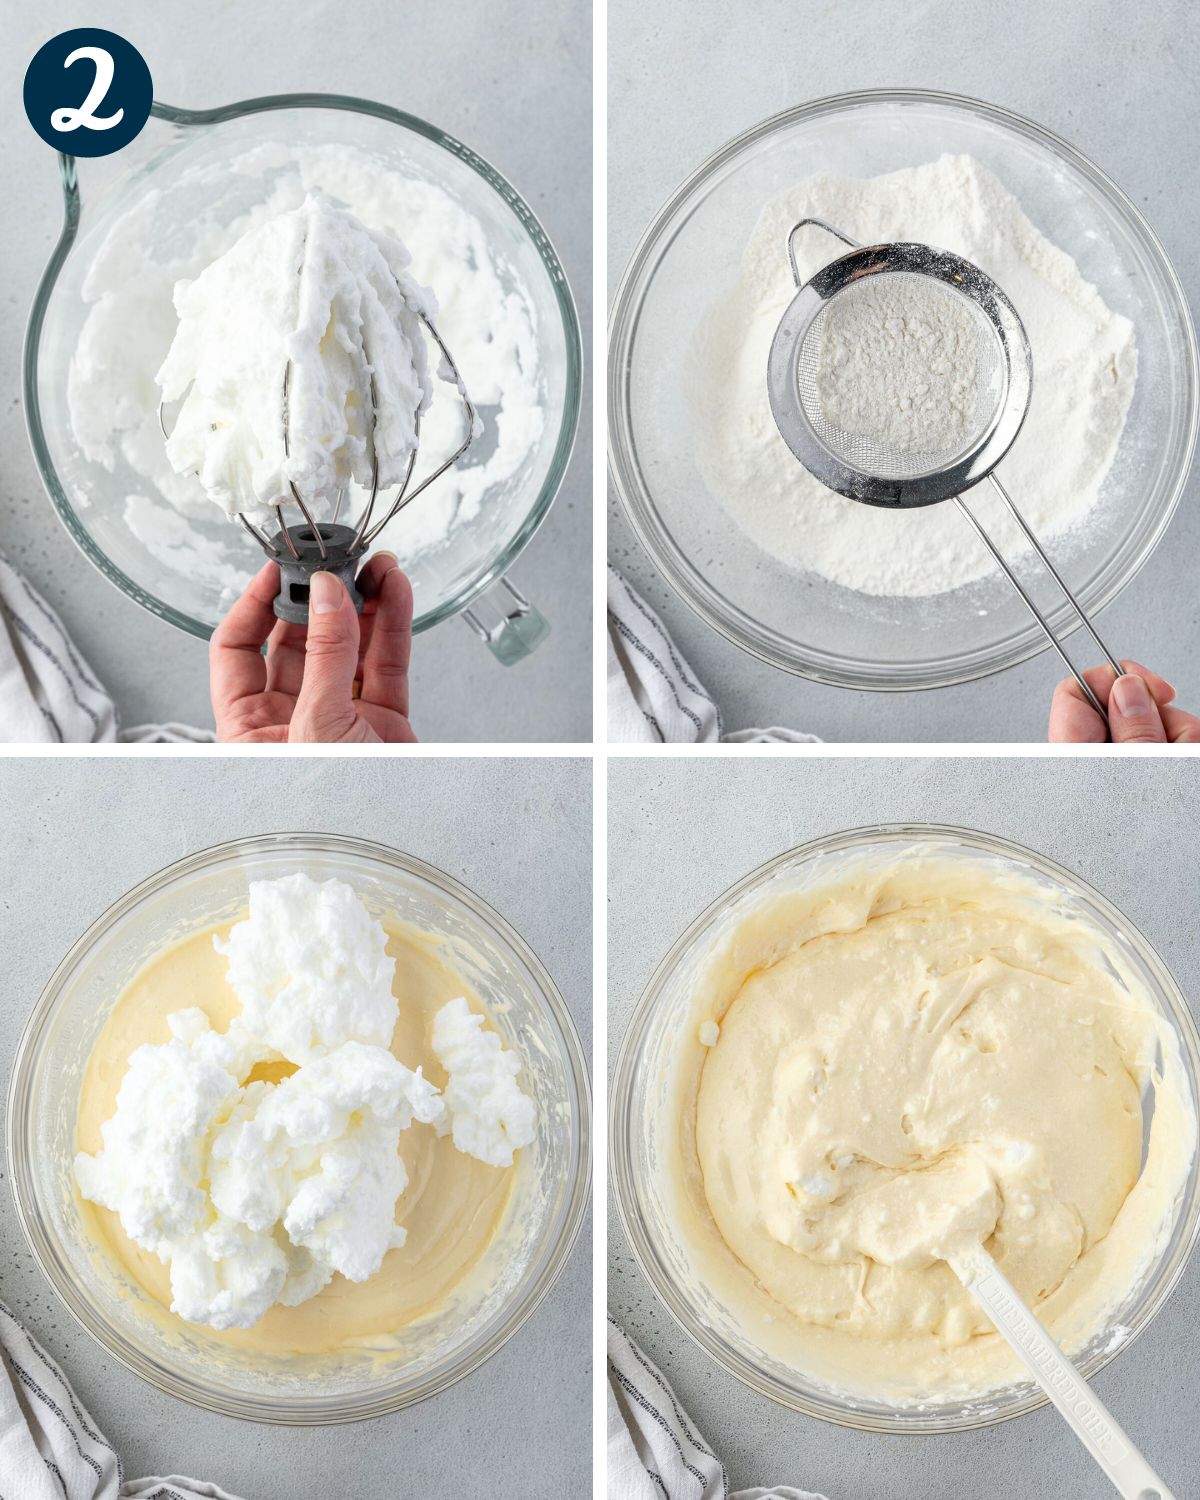
- Sift the cake mix to make a lighter batter.
- Beat the egg whites on high speed with a whisk attachment until they form stiff peaks.
- Put all the cake ingredients, except for the egg whites, into a large mixing bowl and beat for two minutes.
- Gently fold the egg whites into the batter by scooping the spatula under it, then turning it over onto the egg whites. Do this softly so that you keep the texture of the egg whites.
- You will end up with pockets of egg whites distributed throughout the batter.
- Pour the batter into two 9-inch pans and bake according to the directions on the box, then cool completely.
WANT TO SAVE THIS RECIPE?
3) Make Ganache
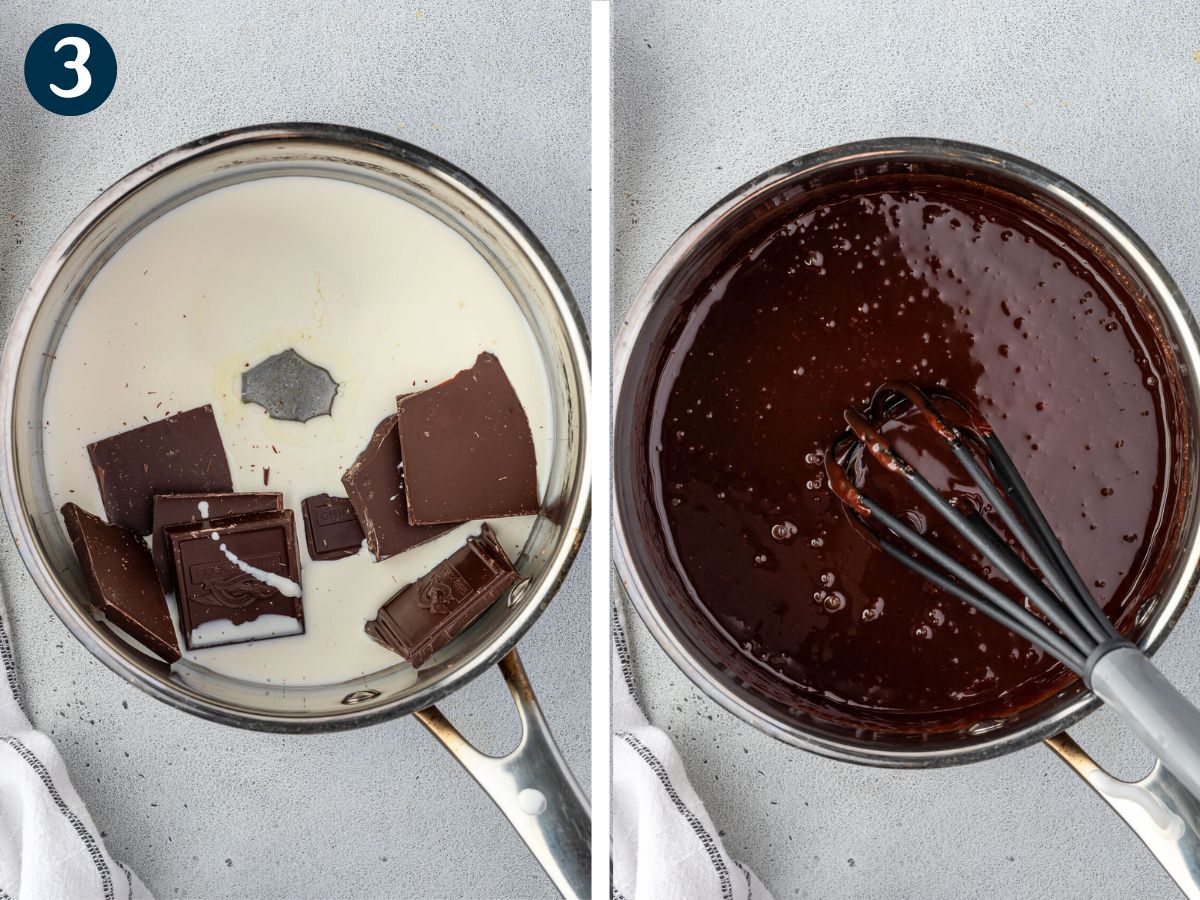
- Place the cream, corn syrup, and chocolate in a saucepan over medium heat. Stir continuously until the chocolate is melted.
- Remove the pan from heat and stir in the vanilla.
- Let cool for about 10 minutes while you assemble the cake.
4) Assemble the Cake
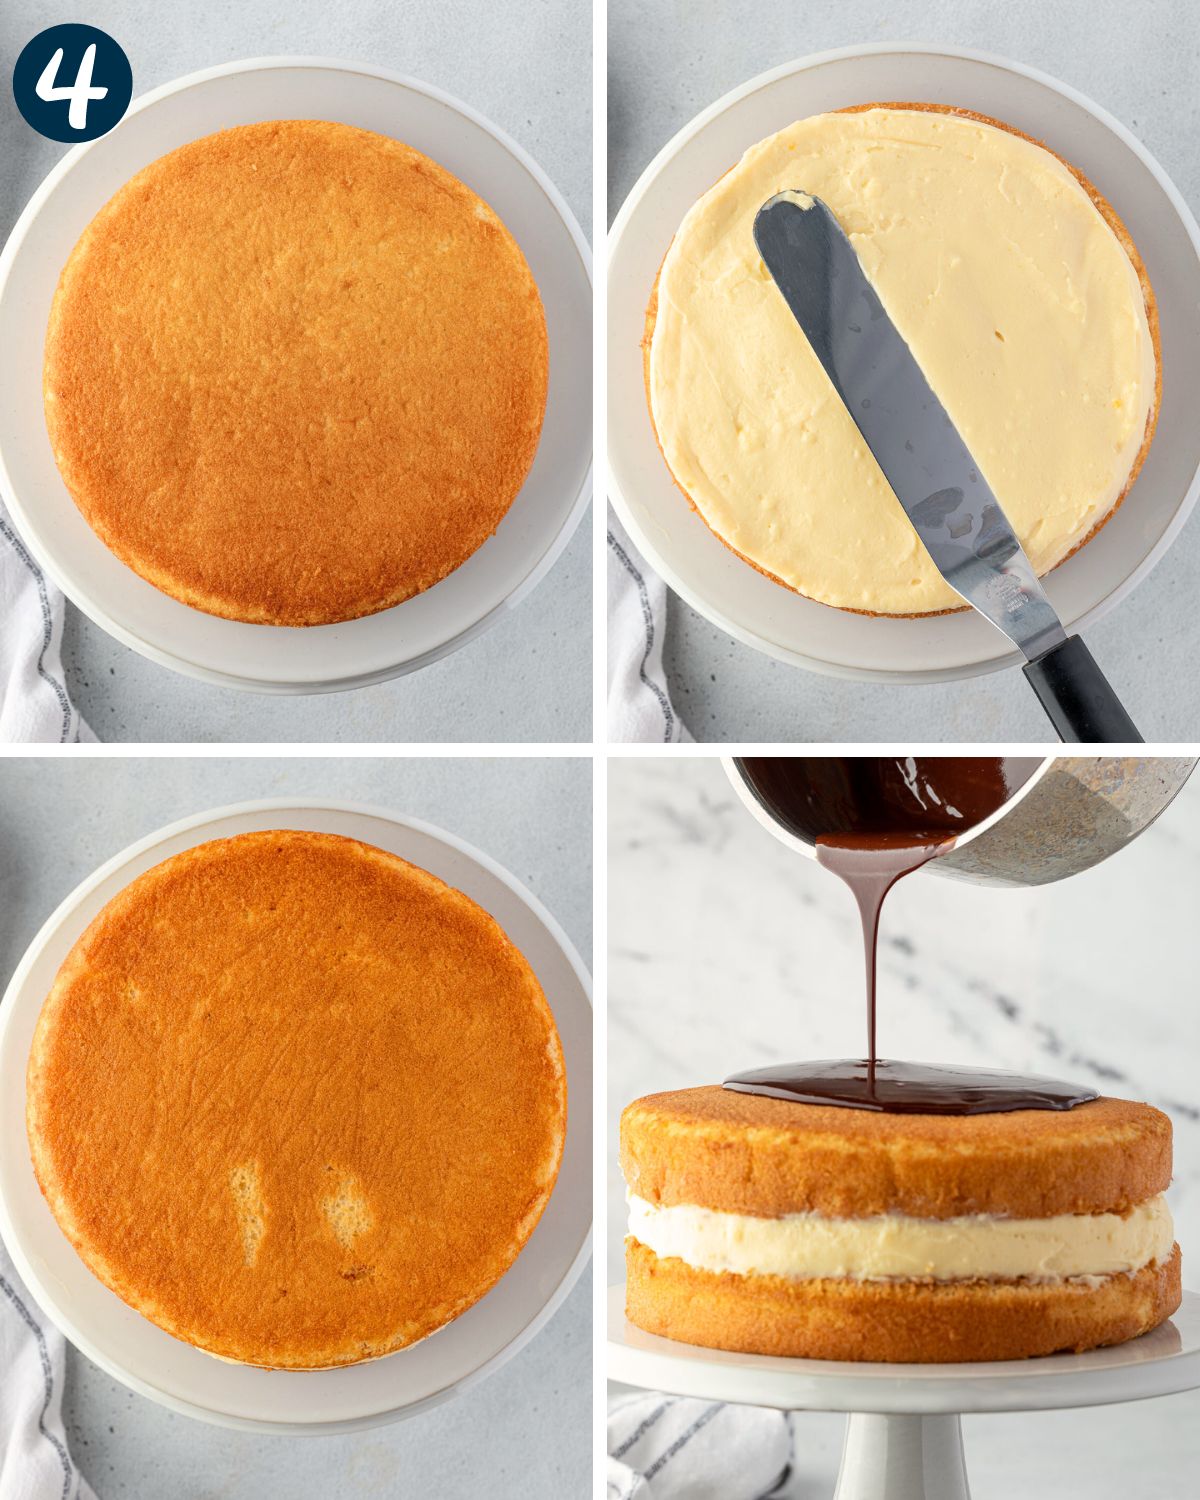
- Place one layer of the cake onto a cake plate or serving platter.
- Spoon the custard filling over the top of the cake to the ends.
- Place the second layer on top of the vanilla cream.
- Pour the chocolate ganache over the top, letting it spill down the sides of the cake.
Expert Tips
- Eggs separate best when they are cold, but egg whites whip more fully when they are at room temperature. Separate all of the eggs about 30 minutes before you begin making the recipe.
- To test if the egg whites are stiff, use a spoon or the whisk attachment to scoop into the egg whites and pull up. It is ready if it will leave a crevice and a tall peak. If the peak starts to droop, beat it some more.
- If you skip sifting the cake mix, you'll still have a great cake, but this extra step makes it more like a traditional sponge cake.
- Let the chocolate cool until it has the texture of heavy cream.
Storage Guidelines
Because of the custard filling, Boston Cream Pie needs to be refrigerated. Wrap in plastic wrap and store in the refrigerator for up to 5 days.
You can make the custard and filling up to 2 days in advance, but wait to make the ganache until you are ready to assemble the dessert. If you want the entire cake made and assembled in advance, you can do that up to 24 hours ahead.
Making a Perfectly Smooth Cream
Some small lumps in the custard will not be noticeable in the finished cake. To achieve a completely smooth custard, strain it using a fine-mesh sieve.
Recipe
Easy Boston Cream Pie (Using Cake Mix)
Recipe by:Ingredients
Pastry Cream
- 4 egg yolks
- ¾ cup (150 grams) sugar
- 4 tablespoons (32 grams) cornstarch
- 2 cups (473 ml) half and half
- ¼ cup (57 grams) butter, cut into 1-inch pieces
- 2 teaspoons (10 ml) vanilla extract
Sponge Cake
- 1 (375 grams) vanilla cake mix
- 3 eggs, separated
- 1 cup (237 ml) water
- ⅓ cup (79 ml) canola oil
Chocolate Ganache
- ½ cup (118 ml) heavy cream
- 2 tablespoons (30 ml) corn syrup
- 4 ounces (113 grams) bittersweet baking chocolate
- ½ teaspoon (2.50 ml) vanilla extract
Instructions
Pastry Cream
- Separate eggs and store egg whites for another use. Whisk the egg yolks with sugar and cornstarch in a medium saucepan.¾ cup sugar, 4 tablespoons cornstarch, 4 egg yolks
- Whisk half and half into the egg mixture and cook over medium-low heat for 5 minutes, whisking frequently.2 cups half and half
- Once the mixture starts to bubble, increase to medium heat and stir continuously for 1 minute. Remove the pan from the heat and whisk in the butter and vanilla extract.¼ cup butter, cut into 1-inch pieces, 2 teaspoons vanilla extract
- Pour the custard into a medium bowl. Cover tightly with plastic wrap, pressing the plastic wrap directly against the custard. Refrigerate for at least 2 hours.
Sponge Cake
- Preheat the oven to 350°F (177°C). Spray two 9-inch cake pans with nonstick spray.
- Separate egg whites from egg yolk. Save egg yolk for later in the recipe. Place the egg whites in a large mixing bowl and using the whisk attachment of your stand or hand mixer, beat on high speed for several minutes, until stiff peaks form.3 eggs, separated
- In a separate large bowl, mix the cake mix, egg yolks, water and oil with an electric mixer on medium speed for 2 minutes.1 vanilla cake mix, 1 cup water, ⅓ cup canola oil
- Use a rubber spatula to gently fold the egg whites into the cake batter, being careful not to deflate them.
- Evenly pour batter into the cake pans. According to the directions on your cake box (mine was 22-25 minutes), or until a toothpick inserted comes out clean.Cool for 5 minutes. Remove the cake from pans and cool completely.
Making the Chocolate Ganache
- Heat cream, corn syrup, and chocolate in a small saucepan over medium heat. Stir continuously until the chocolate is completely melted.½ cup heavy cream, 2 tablespoons corn syrup, 4 ounces bittersweet baking chocolate
- Remove the pan from heat and stir in the vanilla. Let the chocolate cool for about 10 minutes while you are assembling the cake.½ teaspoon vanilla extract
Assembling the Cake
- Place one layer of cake onto a cake plate or serving platter. Pipe or spoon the custard on top of the cake and use an offset spatula to spread the filling to the cake edges.
- Place the second cake layer on top of the custard. Pour the ganache onto the center of the top cake layer. Once all of the ganache has been poured onto the cake, use a spatula to spread to the edges. Allow some of the ganache to drip down the sides.
- Refrigerate the cake for at least 2 hours or up to 24 hours before serving.
Notes
Equipment
Nutrition
The nutritional facts provided are only estimates. The accuracy of the nutritional information for any recipe on this site is not guaranteed.
Recommended Recipes
This recipe was originally published on October 20, 2020. It was updated on April 25, 2024 with new photos, additional information, and clarified instructions.
Sonya says
You failed to put the amounts of each butter, seven egg whites etc.
sonya
Erin Gierhart says
Hi Sonya! If you scroll to the bottom of the post (or hit the "jump to recipe" button at the top of the post) you will get to the recipe card that has all of the recipe ingredients. Enjoy!
Dorie says
I made this gluten free and the cakes came out looking great now that they’re cool they appear to have fallen a bit. Is that normal I’ve never seen a cake fall during cooling.
Erin Gierhart says
Hi Dorie! I haven’t tested this recipe gluten-free, but it’s common for gluten-free cakes to fall a bit as they cool since they lack the structure gluten provides. As long as they’re fully baked, that slight sinking is usually normal.
Kymbelree says
I only have a 8 inch cake pan do I need to do anything different?
Erin says
An 8-inch pan will work — the layers will just be a bit thicker and might need a few extra minutes in the oven. I’d start checking for doneness around the original bake time, then go from there.
Melissa Abrams says
My custard came out super runny. I left in the refrigerator overnight, and it is slightly thicker than milk. I ended up using boxed pudding mix to save the cake, but any idea what I did wrong? I measured everything well and am normally a decent cook. Maybe I didn’t heat as long as necessary?
Erin says
Hi Melissa! It sounds like the custard may not have been heated long enough for the cornstarch to activate. It should be thick before removing it from the stove. I'm sorry this didn’t work out for you, but am glad you were able to save the cake!
Terrie says
I’m a bit confused. On the recipe for the cake it says 3(4)eggs and in the directions it says 3. Am I using 3 or 4 large eggs?
Erin says
How strange! The amount in the parentheses comes from my conversion tool for metric measurements. The number of eggs is 3 - I'm not sure why it populated as 4. I will fix that and thank you for letting me know!
Wanda Starr says
Today is the second time I've made this cake and this time as a special request. Need I say the first one was a hit? It's delicious! The recipe is well written and easy to follow. I even use a gluten free cake mix for anyone out there who may wonder if this can be made gluten free. I didn't make any changes to the recipe and it turned out perfect both times.
Erin says
It's sure a great feeling when a recipe is loved enough to receive a special request! Thanks for sharing that your gluten-free cake mix worked well!
chris says
I haven't made the ganache yet. But 1/2 cup of cream doesn't seem like enough.? I'm just checking to be sure the amount in not a typo. The cake and pastry cream both turned out great!!
Erin says
1/2 cup is the correct amount. Enjoy!
chris says
I want to transport this cake via car. will it stay intact if assembled before transport??
Erin says
Hi Chris! With very careful packaging and handling it is possible it would stay in tact as you traveled. However, the safest bet would be to transport the cake separately, and prepare the frosting when you get there.
Jojo Brown says
I just made this recipe & it turned out beautifully!! I won't be making it from scratch anymore that's for sure!
Erin says
I'm happy you enjoyed the shortcuts in this recipe, Jojo! Thank you for sharing!
DSP says
Unable to print your Boston Cream recipe. Why not?
Thanks
Erin says
Hi there! I am not sure why it is not working for you. I just double-checked and it works fine on my end. Are you clicking "print recipe" in the recipe card?
Nicole says
Unfortunately I thought cooled butter meant it came straight from the refrigerator. No mention of melting the butter first. Oops
Erin says
Oh no! I have added some clarification to the recipe. Thanks for letting me know!
Mary says
Overall, I found the recipe easy to follow. However, the custard filling came out very thick and it was hard to spread on the cake. I followed the recipe as written, so I don't understand why the custard was so thick. Any suggestions? The ganache came out very well and went onto the cake easily.
Erin says
I am sorry that you had difficulty with the custard. It sounds like you may have had too much cornstarch, which would occur if the cornstarch was packed into the measuring spoon. The total cornstarch should weigh 30 grams. You can thin your custard by whisking in a little additional half and half or even regular milk.
Kearstin says
I love Boston Cream Pie but always thought it would be too complicated to make. This recipe is so easy! I am not a great cook but your instructions were easy to follow, and using a cake mix made it so simple!
Erin says
Such a fun surprise! I am glad to hear that the instructions were helpful and that you enjoyed the cake!