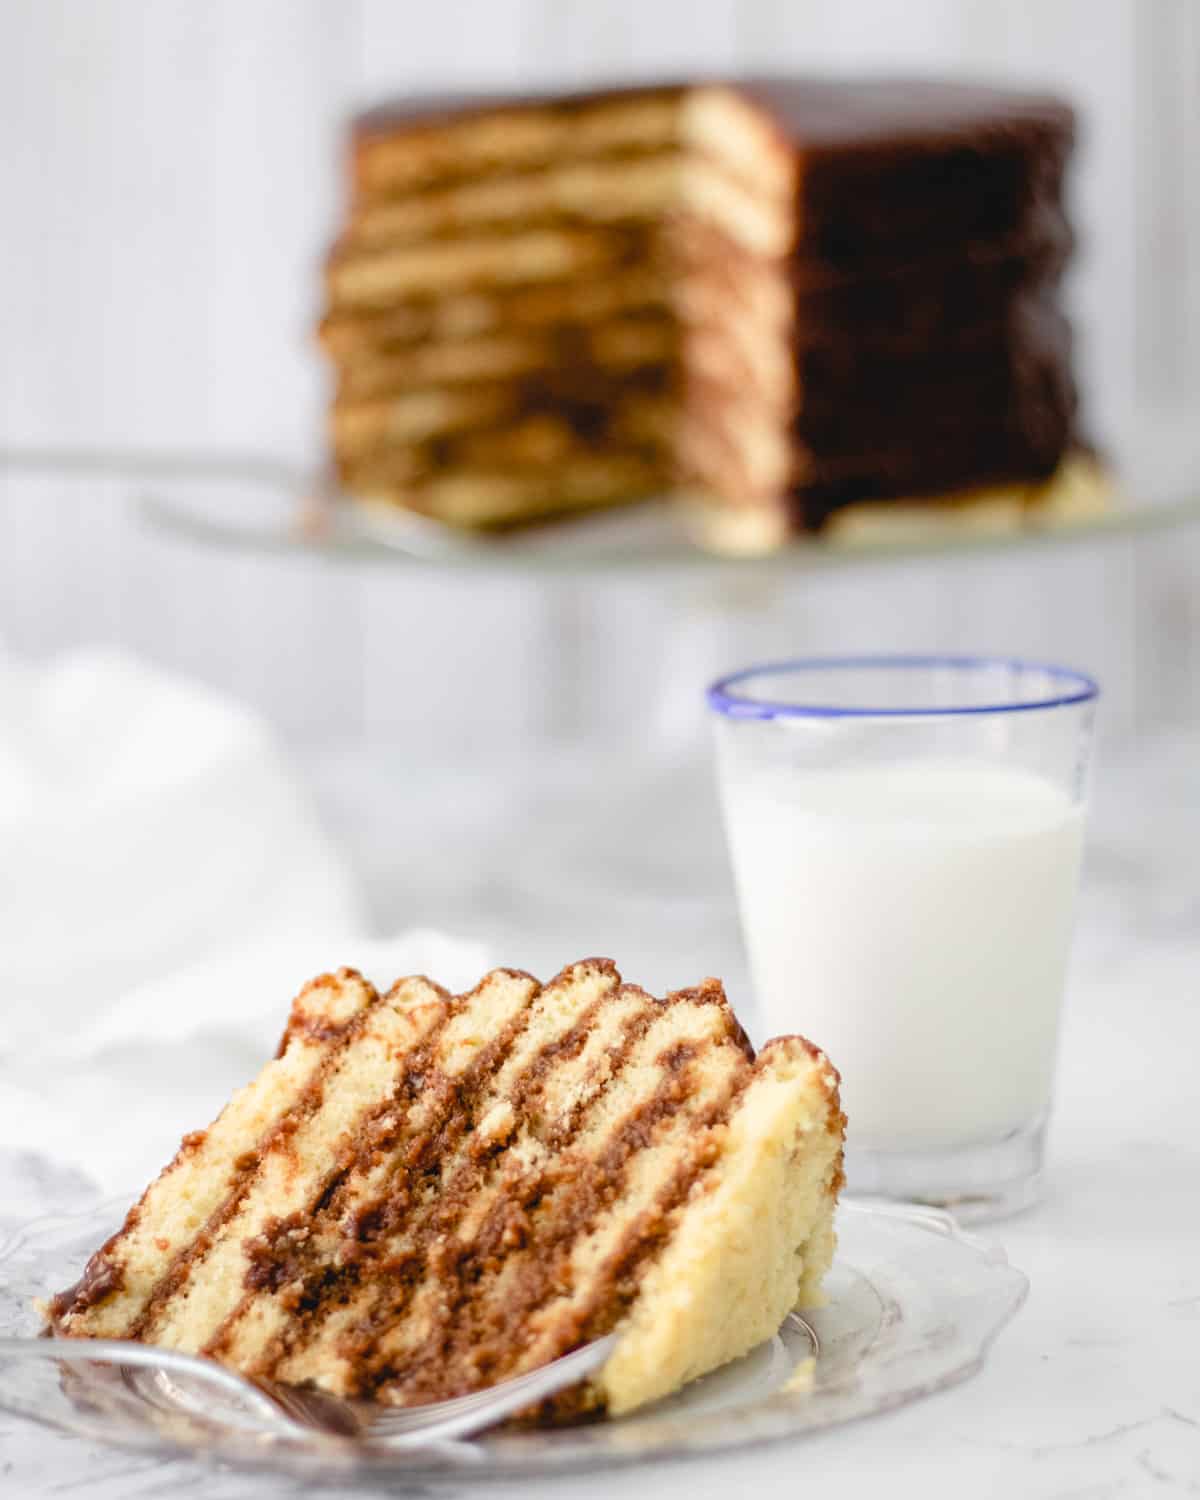
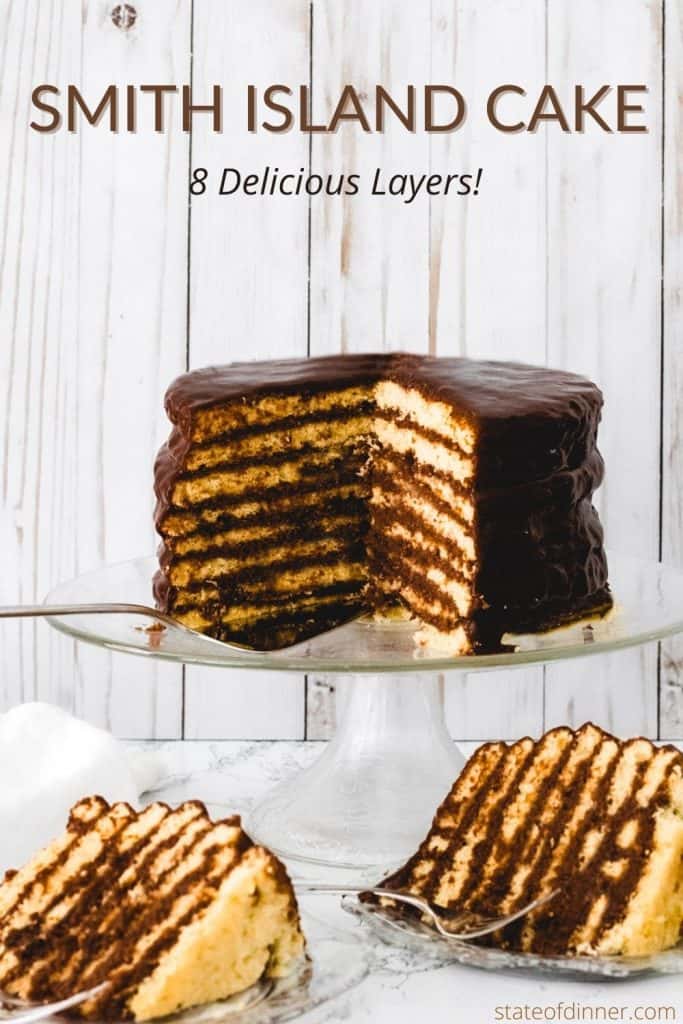
A Smith Island Cake is one of the moistest and most decadent cakes you will find and this one is made simple using cake mix! 8-12 layers of yellow cake are enrobed in fudge frosting that seeps down into the cake. It is an impressive cake that is a must-try for any chocolate lover!
Jump to:
The Smith Island cake is the state dessert of Maryland. We enjoyed this as our dessert for our Maryland State Dinner. In that state dinner post, you can read about the history behind this incredible cake.
A traditional Smith Island cake be anywhere between 8-12 layers. I love this range because if one of the layers falls apart you don't have to sweat it! And if all of the layers are perfect, you can either use them all or set a couple aside to snack on while you are making the rest of the cake. My kids love to enjoy a layer with powdered sugar sprinkled on top.
A Simple Cake Mix With Homemade Taste
At first glance, this cake seems really difficult. But it is actually pretty simple! One of the keys to simplicity is that we use cake mix as the foundation, instead of making a completely from-scratch cake. When you take a bite of this cake you would have no idea that it was from a box because we add some special ingredients to make it taste homemade.
Each ingredient gets a little adjustment to produce a very moist, rich cake.
- Use milk instead of water. This adds flavor to the mix.
- Replace the oil with butter to add richness and also creates a cake with a finer texture.
- Add an extra egg to build volume and add moisture to the cake.
- Add 1 teaspoon of vanilla. This adds flavor to the cake and makes it taste homemade.
If your cake mix has different measurements than are in this cake recipe then follow your box mix measurements, with the above ingredients substitutions.

How to Make a Smith Island Cake
Step One: Make the Cake Batter
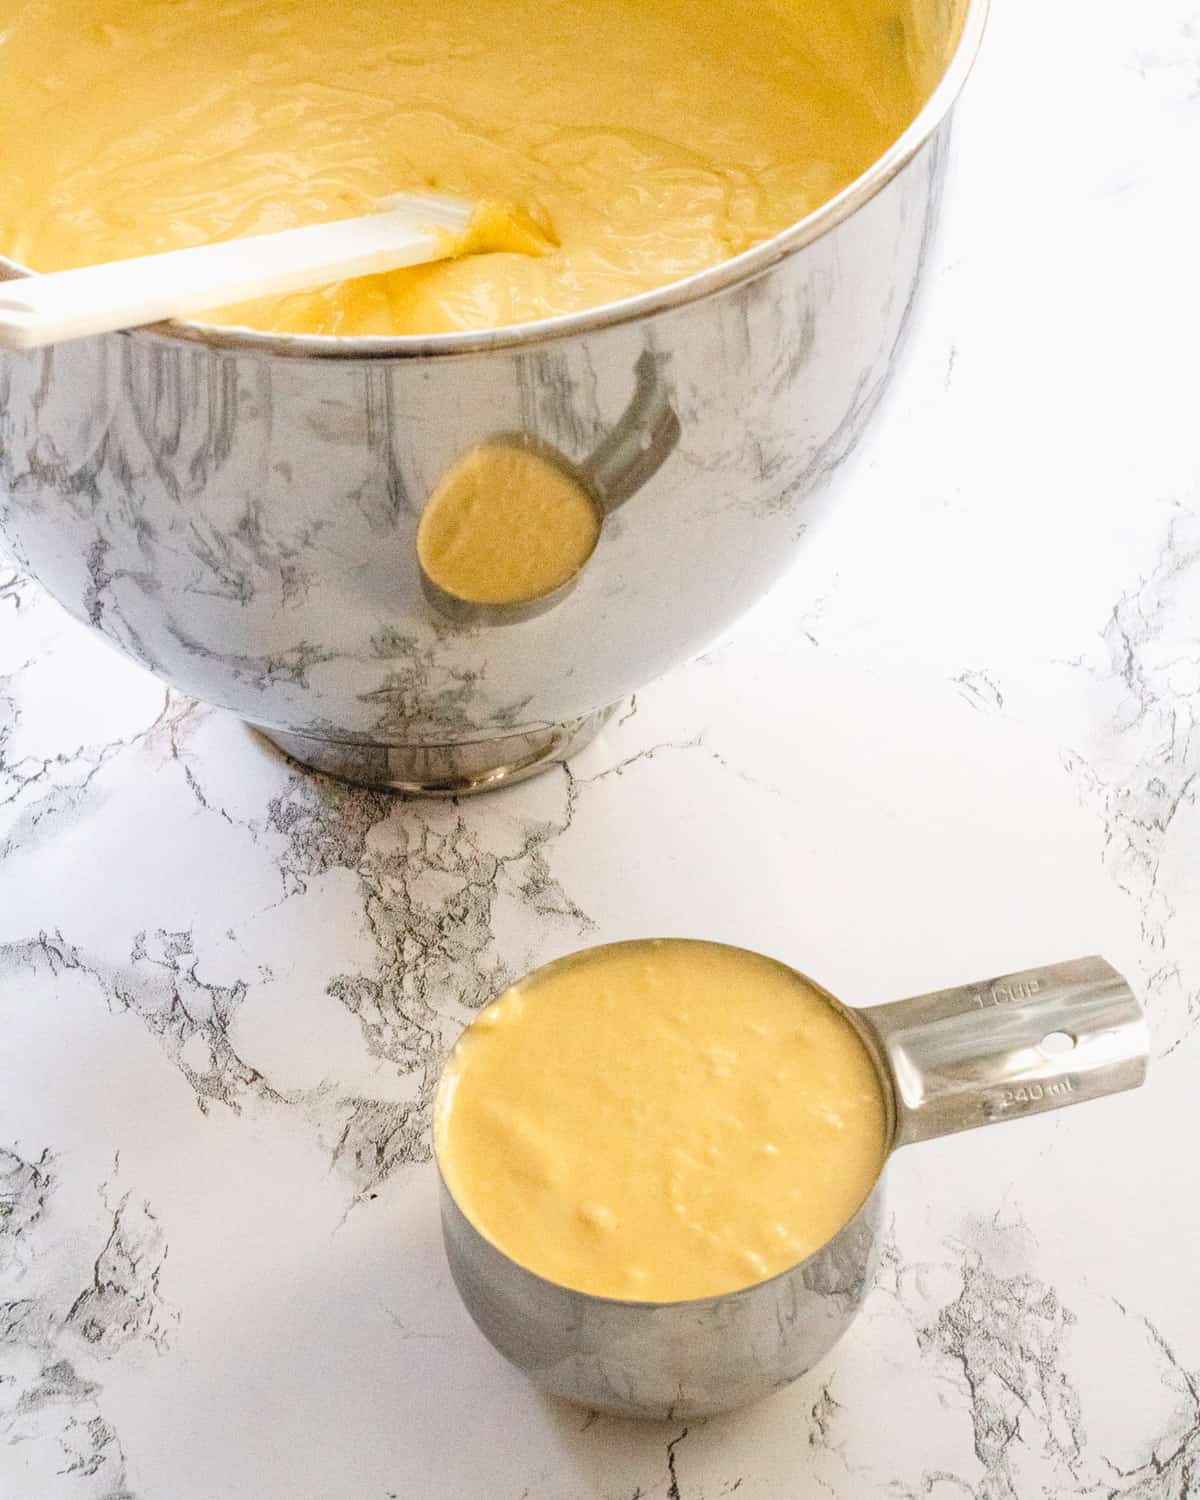
Making the batter is just about as simple as whipping up a regular cake mix. We mix the cake mix, milk, butter, eggs, and vanilla together for a couple of minutes until you have a nice, fluffy batter.
Each layer of cake batter will use just under a cup of batter. You want the layers to be about the thickness of a pencil.
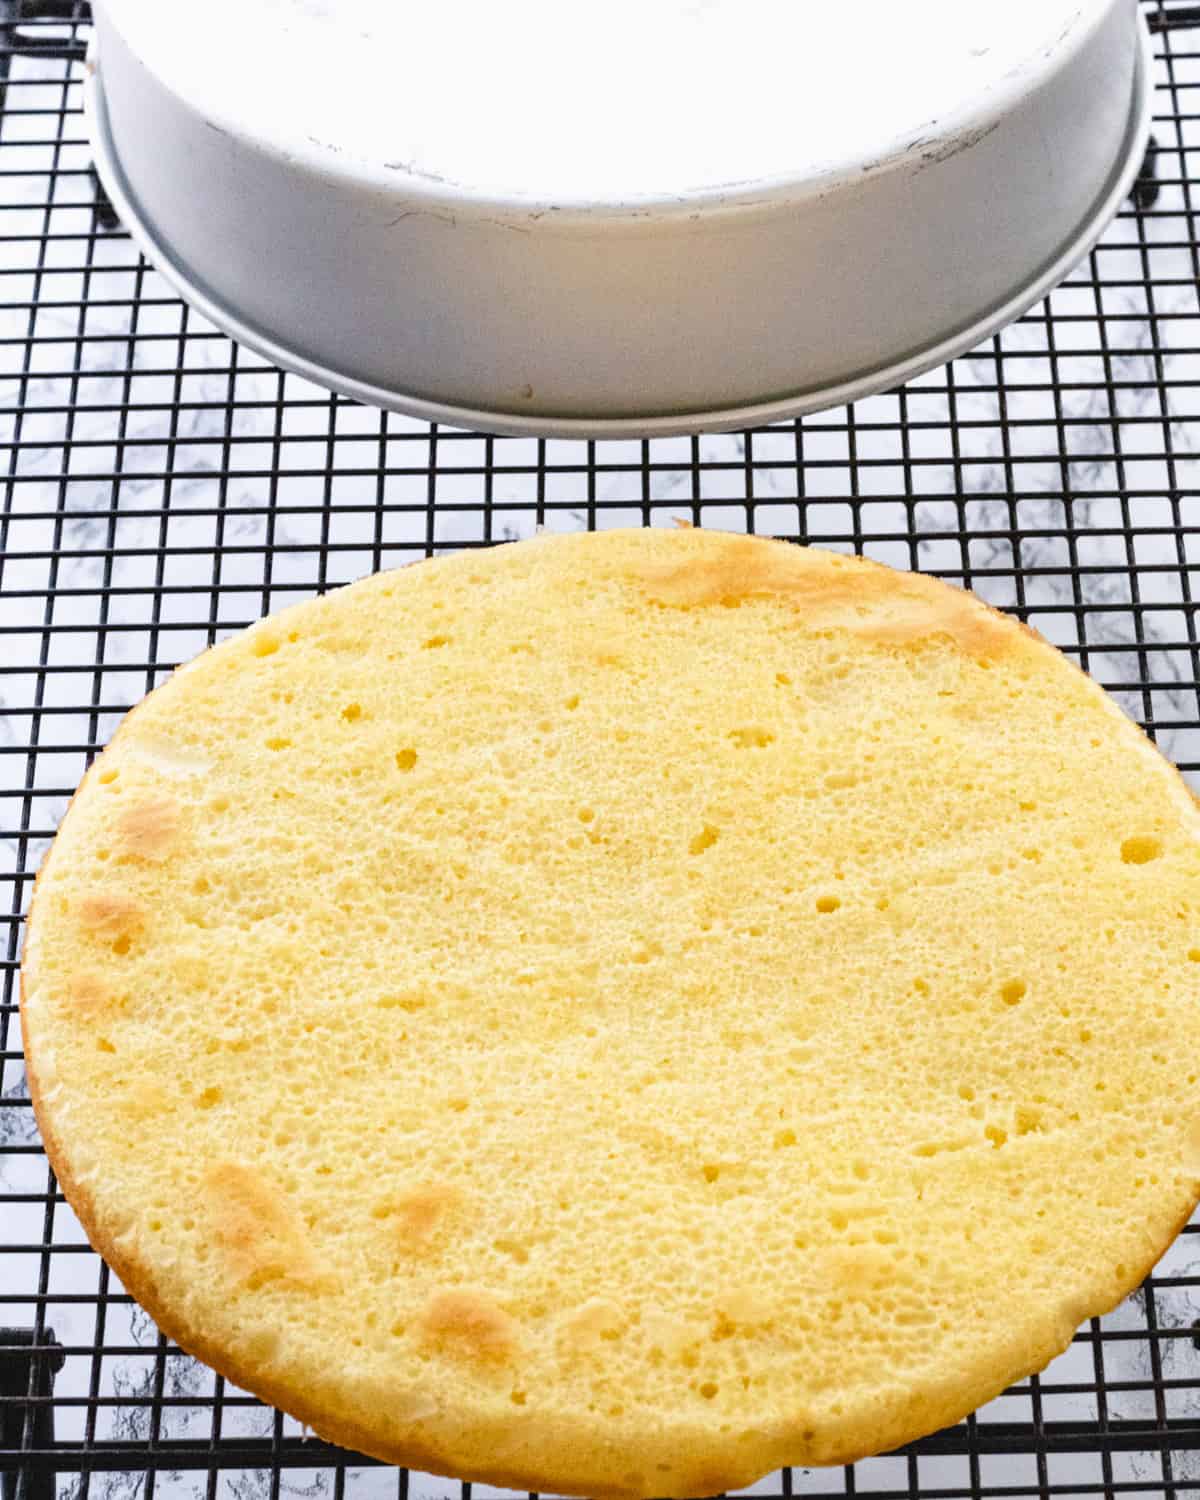
Step Two: Bake the Cakes
Because the layers are so thin they cook up very quickly. They will cook at 350 degrees for 10-12 minutes. Line your cake pan with a parchment paper circle to help prevent the cake from sticking. Here is a helpful video on how to cut parchment circles.
Once the cake is done, let it cool for just a few minutes in the pan, then turn it out onto a cooling rack. Another benefit to the thin layers is that they also cool very quickly!
WANT TO SAVE THIS RECIPE?
Step Three: Make Your Frosting
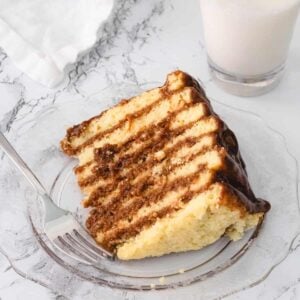
This frosting really is the hallmark of the cake. It tastes like the frosting on a chocolate glazed donut. It is thin enough to seep into the cake a little, making each bite a blend of buttery cake and chocolate fudge.
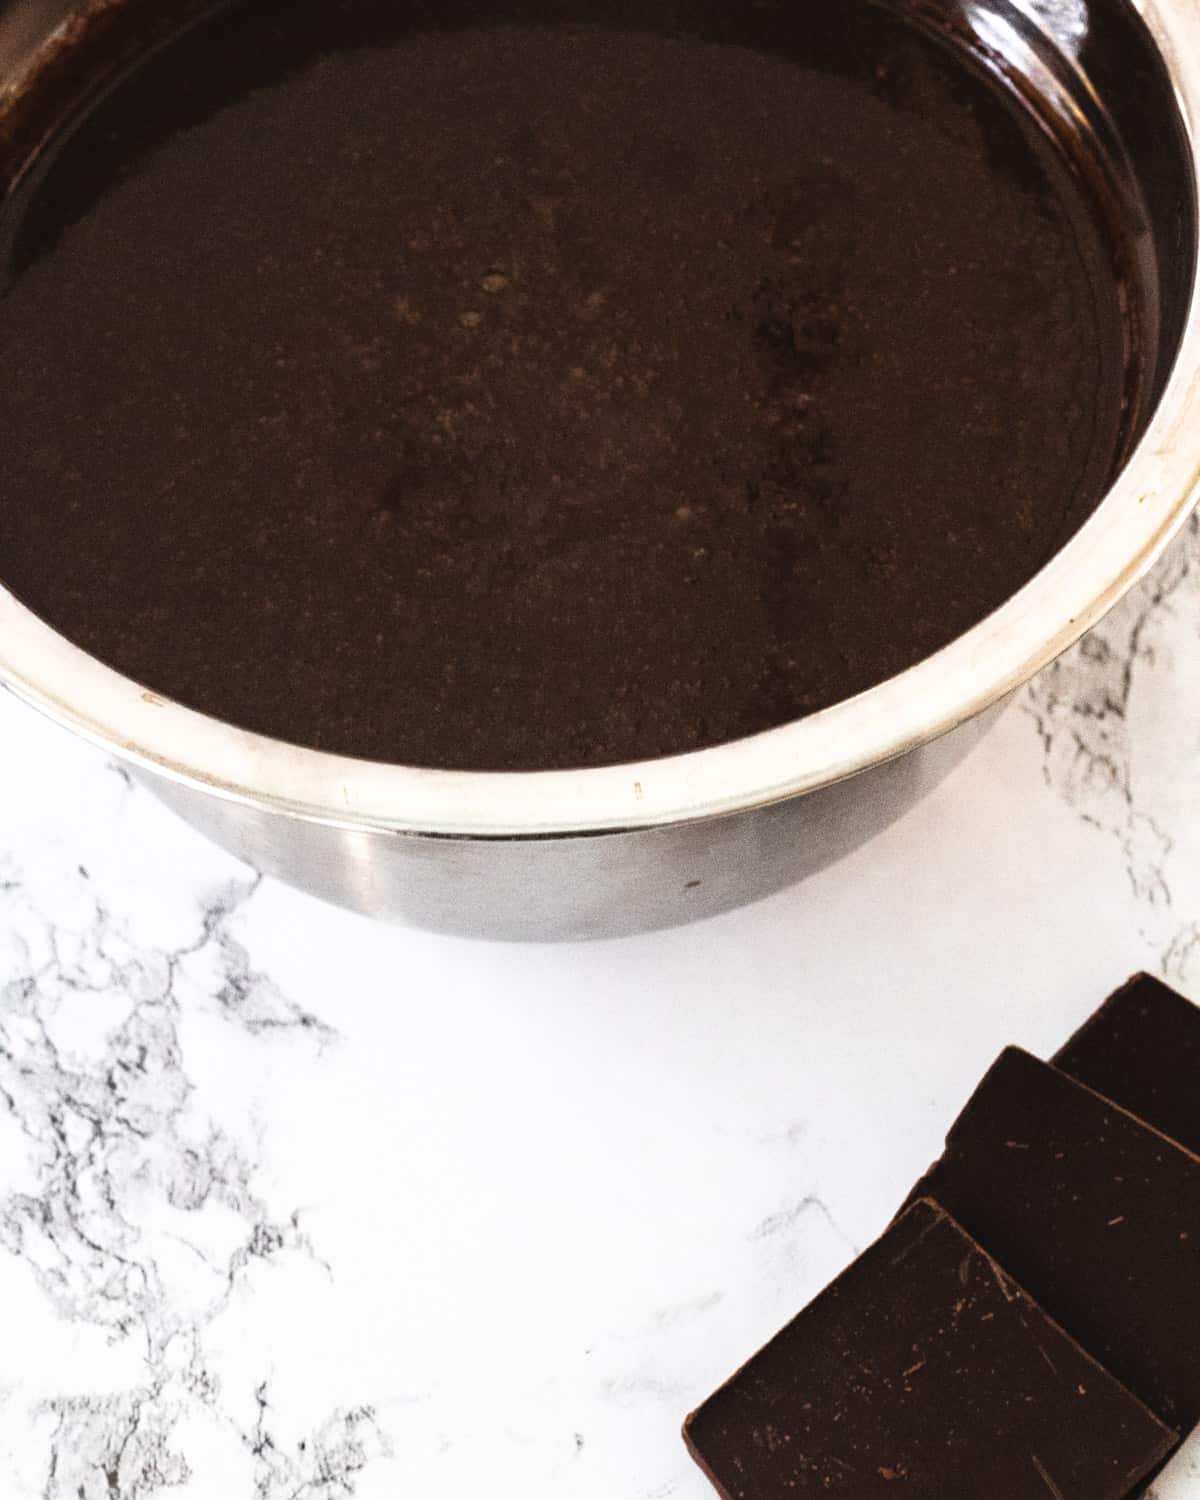
Making the frosting is pretty easy as well! All of the ingredients except the vanilla extract go into a medium-sized pan over medium heat. The important thing here is that you stir frequently. You don't want your chocolate to burn on the bottom of your pan. By stirring it often, it melts into the cream smoothly. Once the mixture comes to a boil, cook it an additional minute, then remove from the burner and mix in the vanilla.
This frosting needs to cool completely before pouring it over the cake. Plan to make it at least an hour before you assemble the cake, though it can even be made a day ahead.
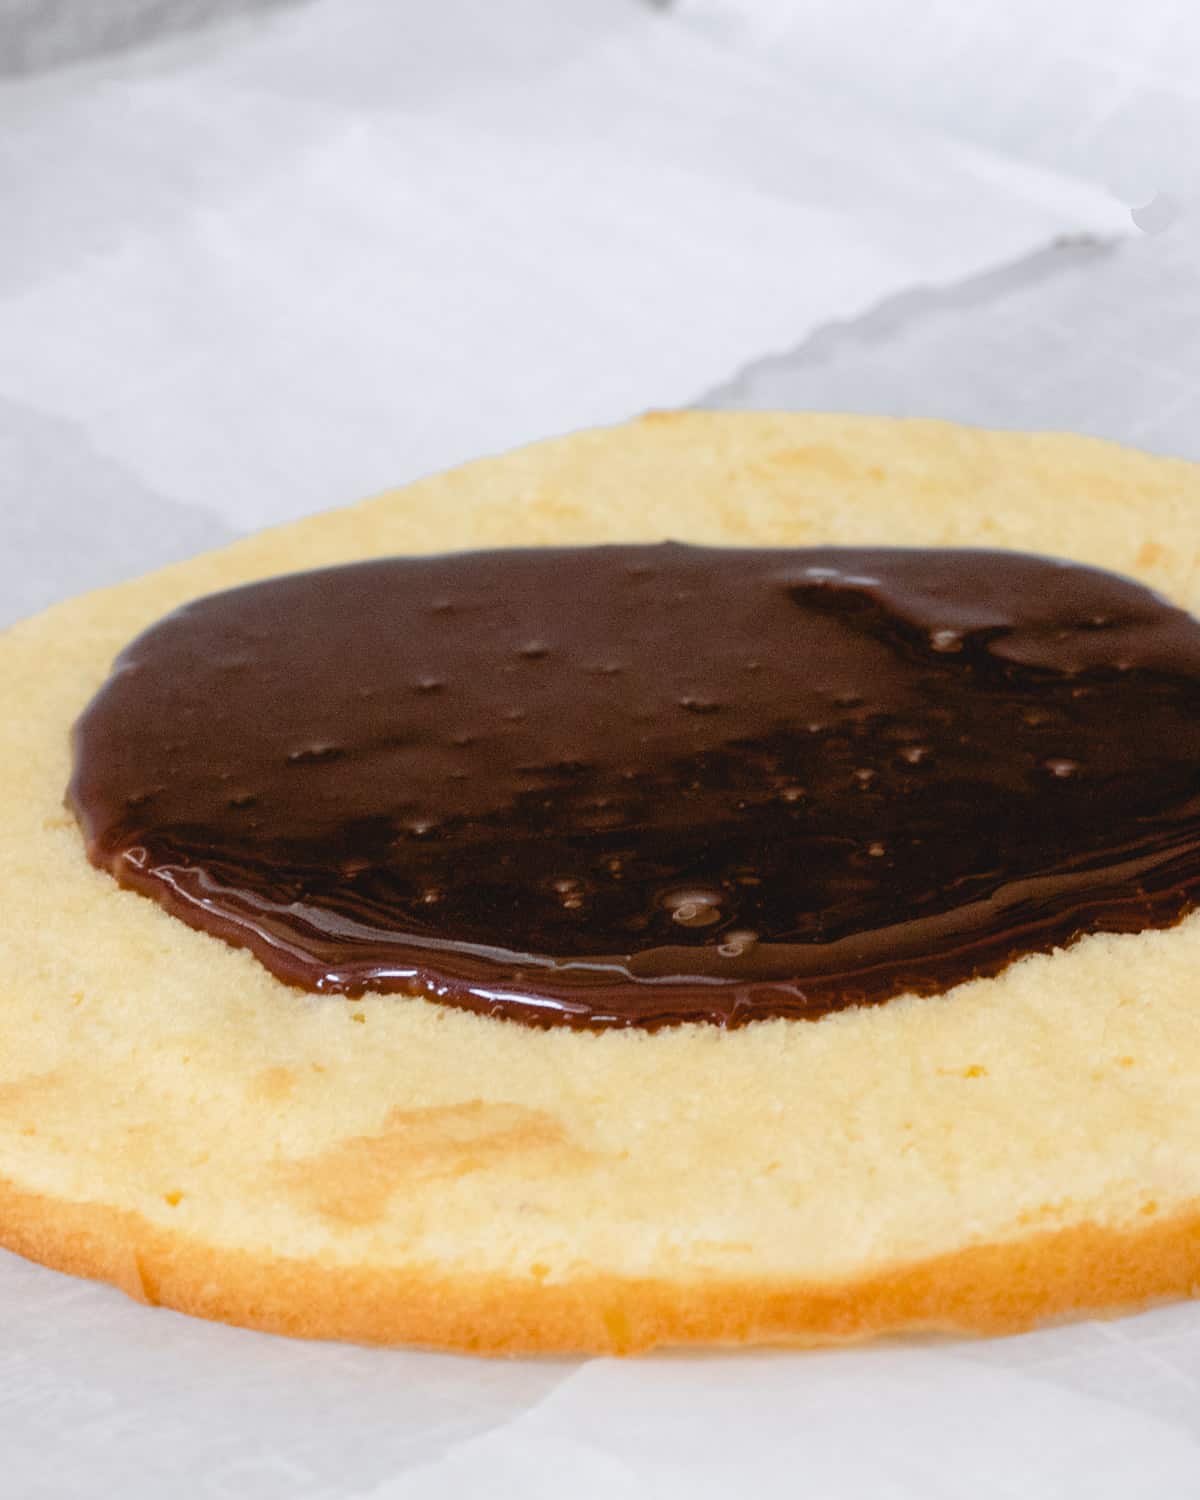
Step Four: Pour Frosting Between Each Layer
Now we have come to the fun part! Stacking up this mighty cake! I like to tear strips of parchment to tuck under the cake so that the frosting doesn't spill all over the cake stand. We'll remove the parchment after the cake is fully assembled.
Each layer gets about a quarter cup of frosting poured over it. Then spread to cover the layer of cake. It will spill over the sides and that is completely okay.
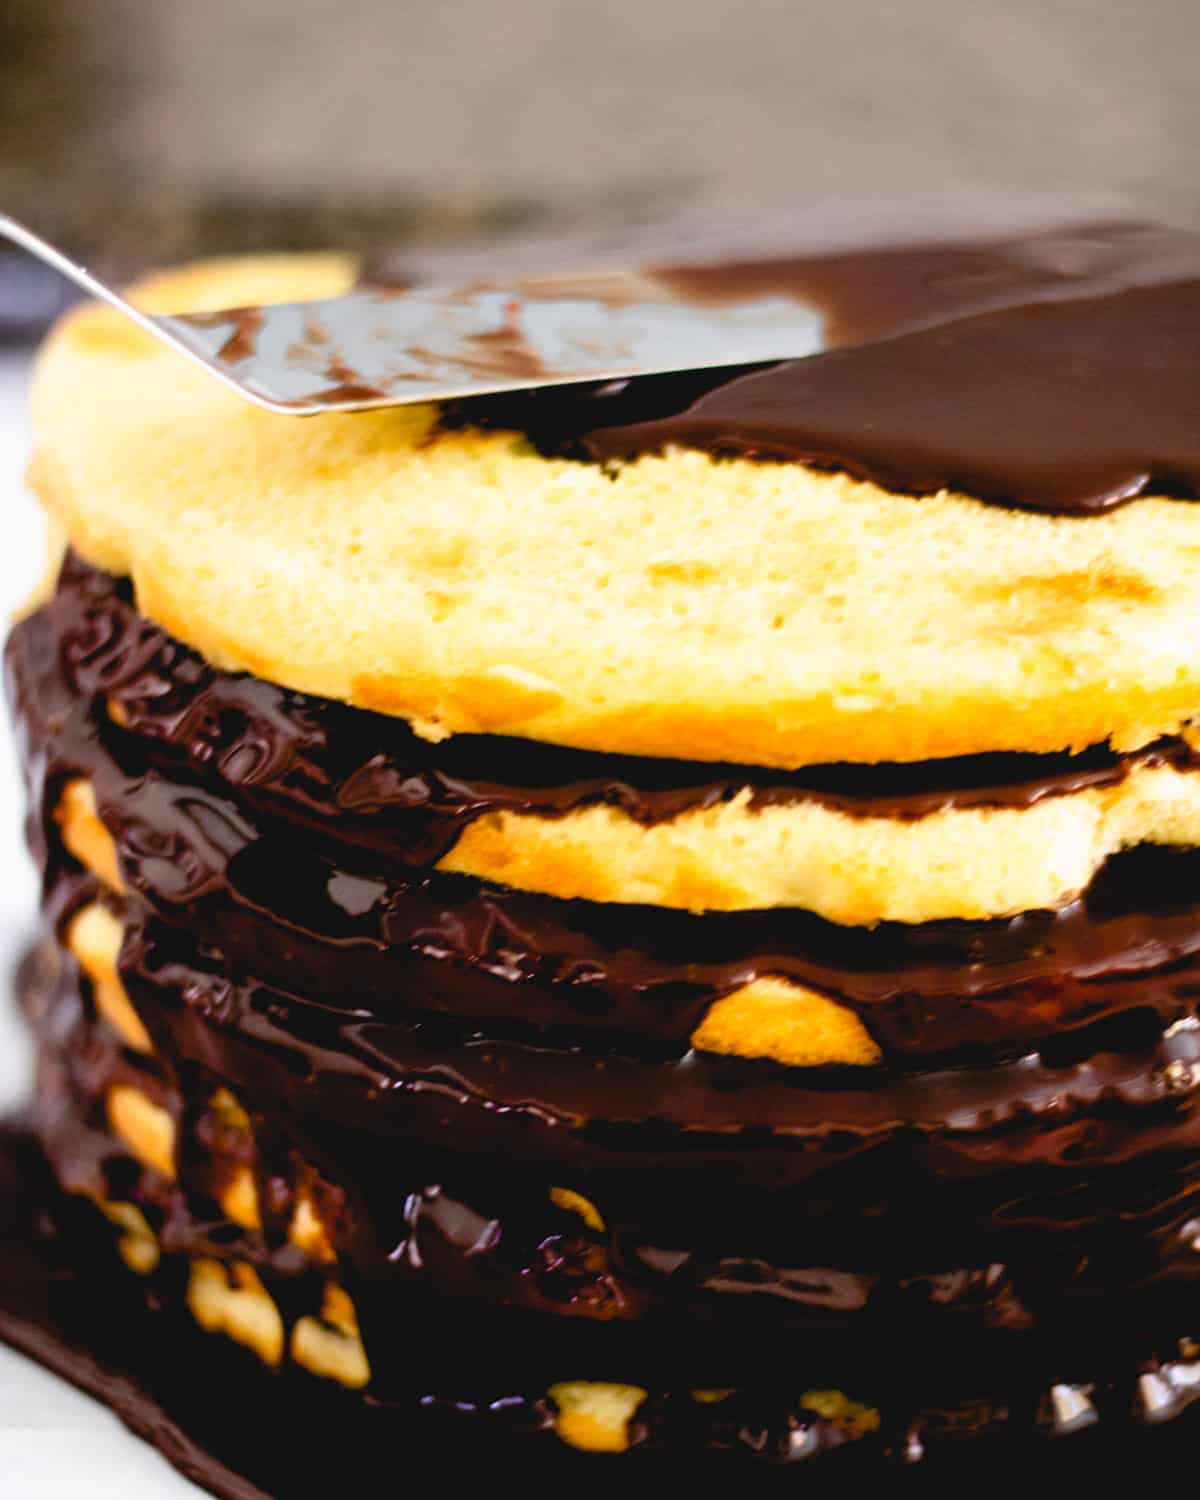
Step Five: Frost the Outside and Refrigerate
Pour half of the remaining mixture over the top. Then use the rest to cover the sides. It will get a little messy, but that is a part of the beauty of this cake. Embrace the mess!
This cake is fine left at room temperature, but I like to refrigerate it so that the frosting really sets up. If you refrigerate your cake, just bring it out of the refrigerator about 30 minutes before serving.
Recipe FAQs
You probably don't have 12 cake pans lying around, or room in your oven for 12 pans. I only have two 9-inch cake pans and it worked just fine! Just cook however many at a time that you have the pans and space for, then repeat the steps until all cake layers have been baked.
Stick a toothpick into the middle of one of the layers, then remove it. If there is wet batter on the toothpick then it still needs to cook, but if the toothpick is clean then it is done.
Cool each layer on a cooling rack. When the next batch is ready to be placed onto the cooling rack, remove the first set of (cooled) cakes and stack them on top of each other. To remove them from the cooling rack I find it easiest to turn the rack over onto the counter, and then gently peel off of the cake.
Related Recipes
- Another classic Maryland dish is crab cakes! Ours are oven-baked and perfectly seasoned!
- If you love chocolate, check out these Ultimate Gooey Chocolate Brownies
- Bordeaux is the perfect wine pairing for this cake.
Let me know how you like this recipe by leaving a review! And follow along on Instagram @stateofdinner for behind-the-scenes and to be among the first to know when new recipes post!
Recipe
Smith Island Cake Using Cake Mix
Recipe by:Ingredients
Cake
- 2 boxes yellow cake mix
- 2 cups milk
- 1 cup butter, melted and cooled
- 8 eggs
- 1 teaspoon vanilla
Frosting
- 9 tablespoon butter, cut into pieces
- 6 ounce bittersweet chocolate (60% cacoa), broken into squares
- 2 ½ cup sugar
- 1 ¼ cups heavy cream
- 1 tablespoon light corn syrup
- 2 teaspoon vanilla
Instructions
Frosting
- Place butter, chocolate, sugar, heavy cream, and corn syrup in a medium-sized pan over medium heat. Stir frequently.9 tablespoon butter, cut into pieces, 6 ounce bittersweet chocolate (60% cacoa), broken into squares, 2 ½ cup sugar, 1 ¼ cups heavy cream, 1 tablespoon light corn syrup
- When the mixture comes to a boil, give it a good stir and then let it boil without stirring for 1 minute.
- Remove from heat. Stir in the vanilla extract.2 teaspoon vanilla
- Set aside, uncovered, and allow to cool for 1-2 hours.
Cake
- Preheat oven to 350 degrees. Spray 9-inch cake pans with non-stick cooking spray. Line with parchment paper circles and spray again.
- Using a handheld or stand mixer, combine cake mix, milk, butter, eggs, and vanilla extract on low speed for 30 seconds. Scrape the sides.Increase speed to medium-high and continue beating for 2 minutes.2 boxes yellow cake mix, 2 cups milk, 1 cup butter, melted and cooled, 8 eggs, 1 teaspoon vanilla
- Use a 1-cup measuring scoop to remove slightly less than a cup of cake batter. Pour this small amount of cake batter into a parchment-lined cake pan. Repeat to fill as many cake pans as you have.Bake for 10-12 minutes, or until a toothpick inserted comes out clean.Remove from oven and let cool for 5 minutes, then invert onto a cooling rack. (See FAQ notes for tips on cooling and stacking.)
- Grease pans and place a parchment circle inside. It is okay to reuse the parchment circles, as long as you grease/spray them each time. Repeat the above steps, filling each cake pan with just under a cup of batter, and baking, until all of the cake layers have been baked.Cool cakes completely.
Assembling the Cake
- Place the first layer of cake onto a serving plate or cake stand. Tear off 4 strips of parchment paper, each about 2-inches long (as wide as your roll - do not cut). Tuck a strip of parchment about a half-inch under each side of the cake, so that the paper will catch any frosting that drips down. This will help your serving plate stay clean.
- Spread ¼ cup of frosting over the top of your first layer. Stack the next cake layer on top of the first, and top with ¼ cup of frosting. Repeat with each layer.Pour remaining frosting over the top of the cake and onto sides.
- Remove parchment strips. Place the cake in the refrigerator for at least 30 minutes, so that the frosting sets up. If the cake is refrigerated for longer than 2 hours, remove from the refrigerator 30 minutes prior to serving.
- Cover leftover cake and store at room temperature for 2 days, or in the refrigerator for up to 5 days.
Notes
Nutrition
The nutritional facts provided are only estimates. The accuracy of the nutritional information for any recipe on this site is not guaranteed.
cindy says
How can u make this with red velvet cake mix? Icing hubby's favorite big birthday coming would love to make it
thanks
Cindy
Erin says
You could follow the same steps for baking thin cake layers using any kind of cake mix. I have not tested this cake with other frostings and do not know how the thin layers would hold up.
Valerie says
Can you cook the cake ahead of time and freeze the layers (a few days ahead), and then defrost after?
Erin says
Yes. Just wait to frost it until the layers are back to room temperature.