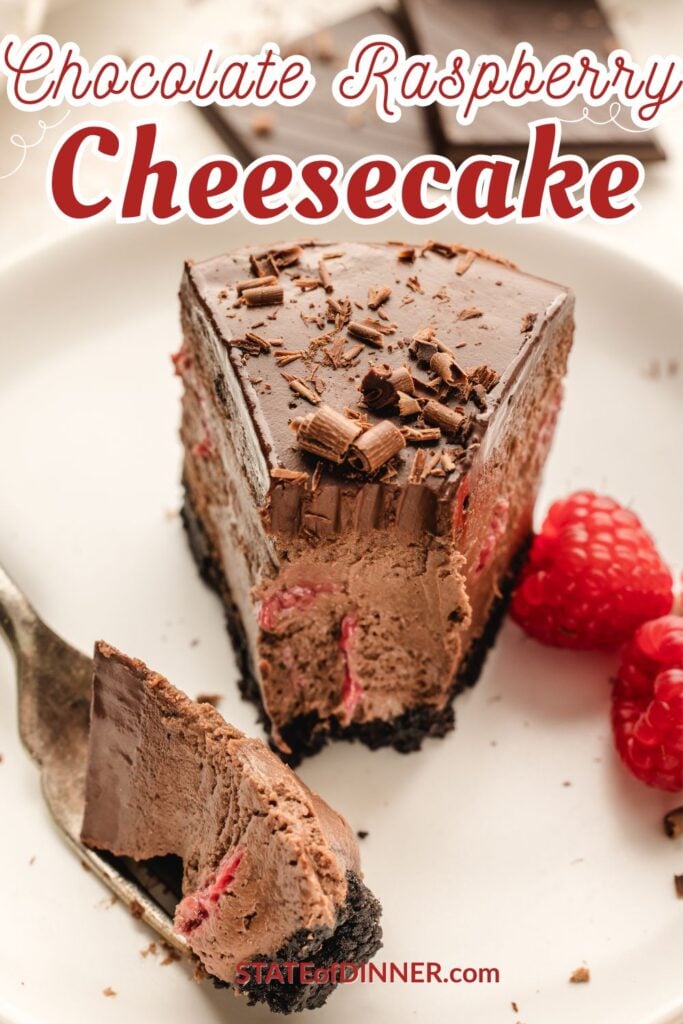
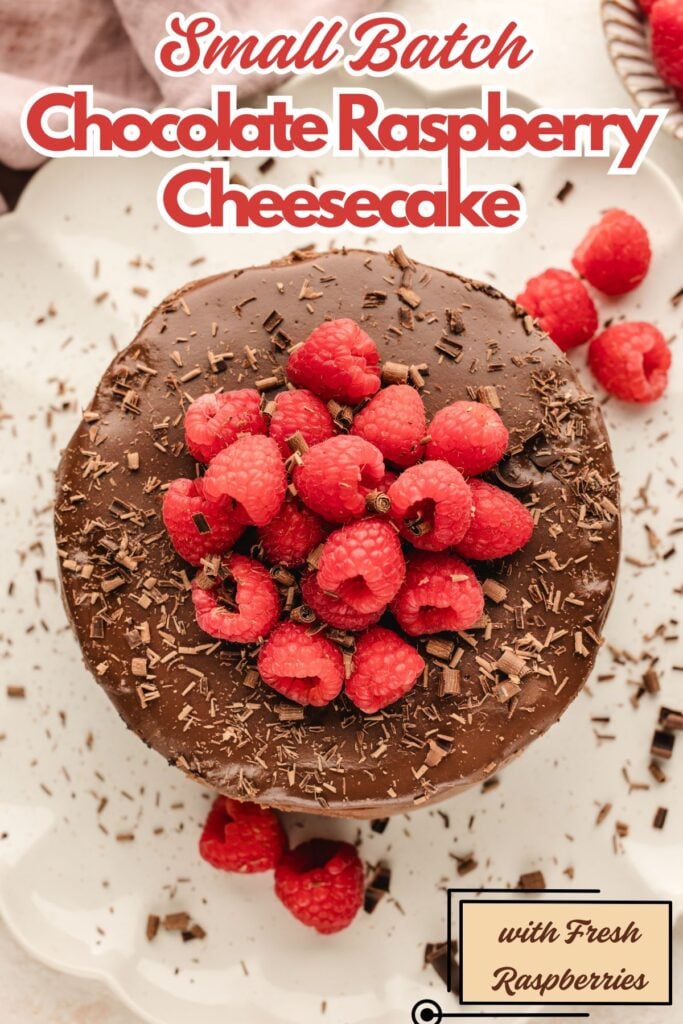
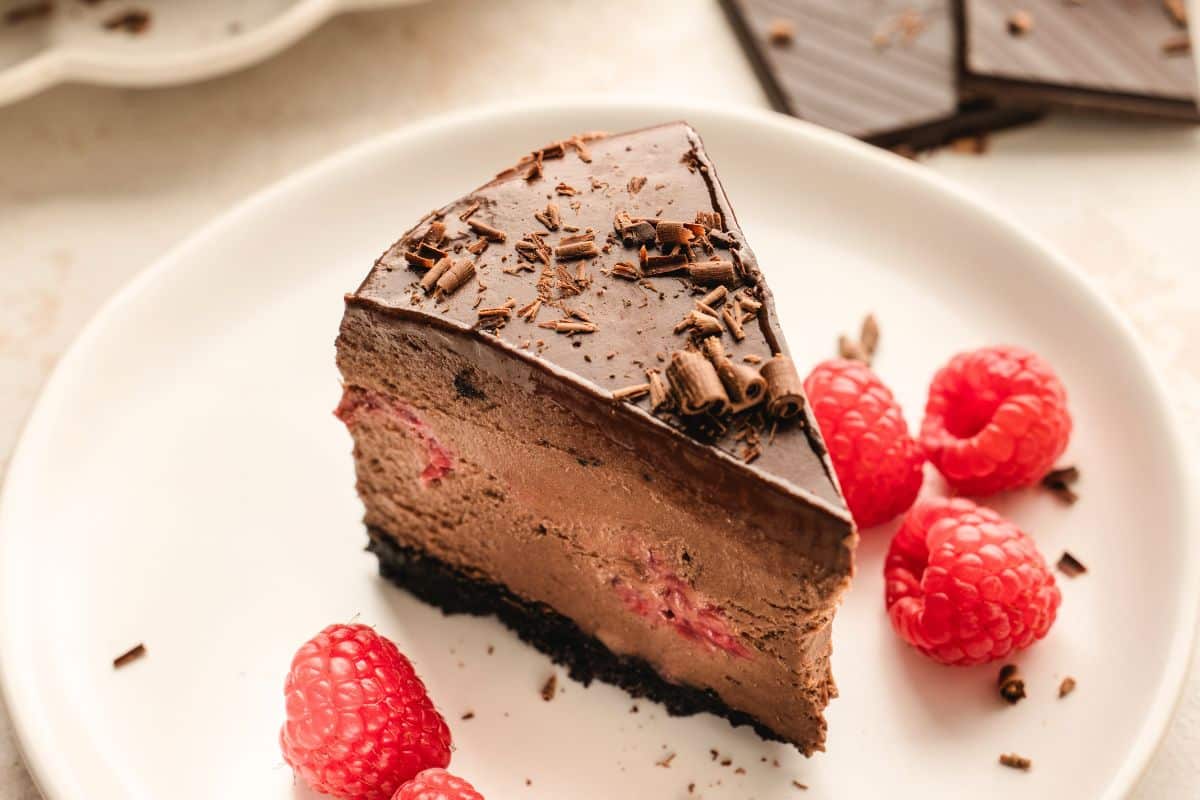
This baked Chocolate Raspberry Cheesecake is rich and decadent, with chocolate in every layer, and juicy raspberries tucked right into the center. I make this in a 6-inch pan, so it's just the right size for a small group or a special date night.

Note from Erin
Cheesecake has always been one of my favorite desserts, and I wanted a small-batch cheesecake that tasted impressive, but with simple steps for when I didn't need to serve a crowd.
This cheesecake is the best because it has a rich chocolate flavor, and the fresh raspberries bring a brightness that keeps it from feeling too heavy. It's perfect for Valentine's Day and other special occasions!
Ingredient and Testing Insights
The recipe card at the bottom of this post includes the complete list of ingredients, measurements, and instructions.
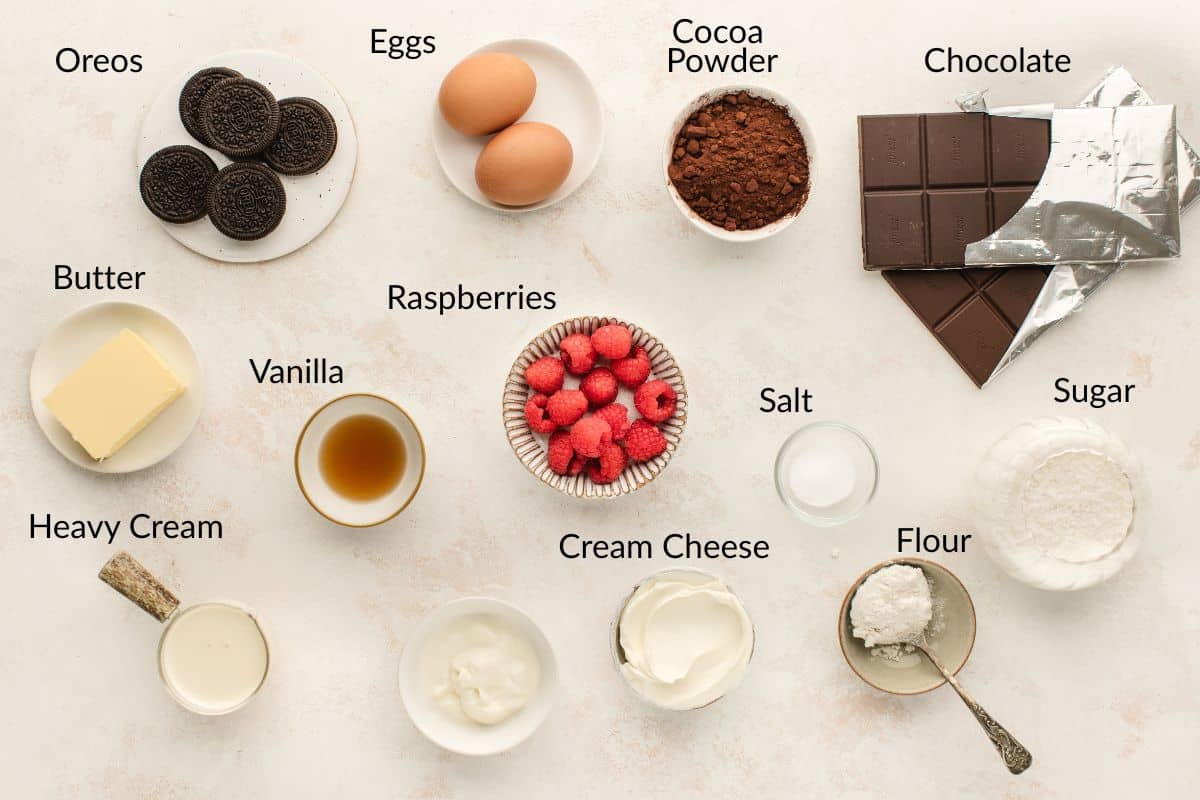
- Chocolate: We tested this recipe with bittersweet chocolate first, but it produced a creamier, mousse-like texture. Switching to semi-sweet chocolate gave the cheesecake more structure and a set closer to a classic New York–style cheesecake.
- Raspberries: It is important to use fresh raspberries, as frozen berries release extra moisture, which makes them mushy.
- Flour: I found a little bit of all-purpose flour adds just enough structure to help the cheesecake hold together and keeps the raspberries from sinking.
Tips to Make the Best Chocolate Raspberry Cheesecake
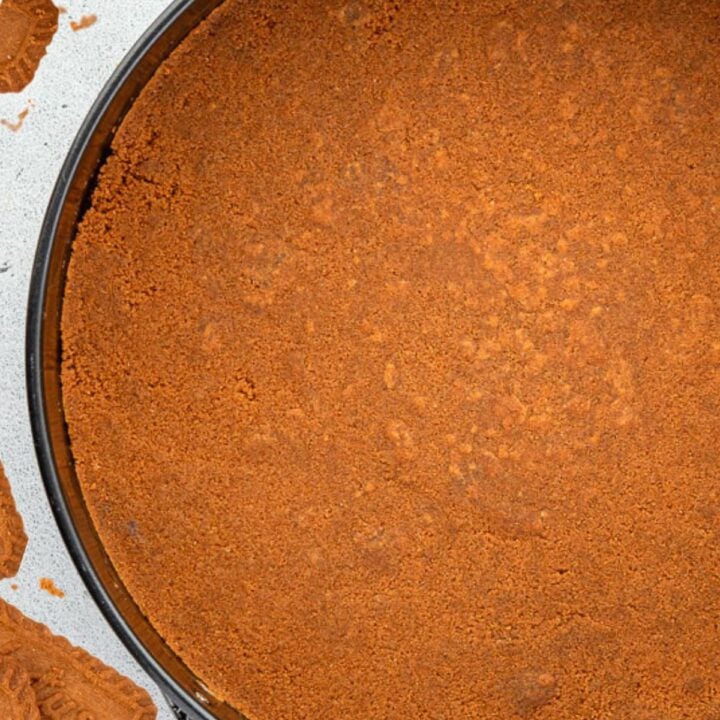
Make the Cookie Crust
- I like to press the cookie crumb mixture evenly across the bottom, instead of bringing it up the sides. It tastes more balanced and is also easier to slice.
Mix the Filling
- Temper the melted chocolate by mixing in a spoonful of creamy cheesecake batter before adding it to the bowl. This helps it blend smoothly and prevents grainy bits in the filling.
- Lightly beat the eggs together before adding them to the batter to help them mix in quickly without adding a bunch of air.
WANT TO SAVE THIS RECIPE?
Layer and Bake
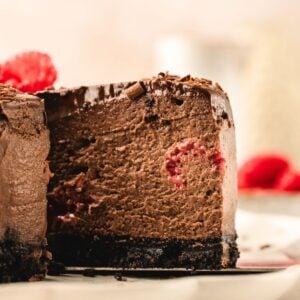
- Layer the raspberries between the batter to keep them visible in the finished slices and help the cheesecake set more evenly.
- With a small cheesecake, a water bath really helps the center set without the edges overbaking. I love to use this silicone pan protector to keep water from seeping in.
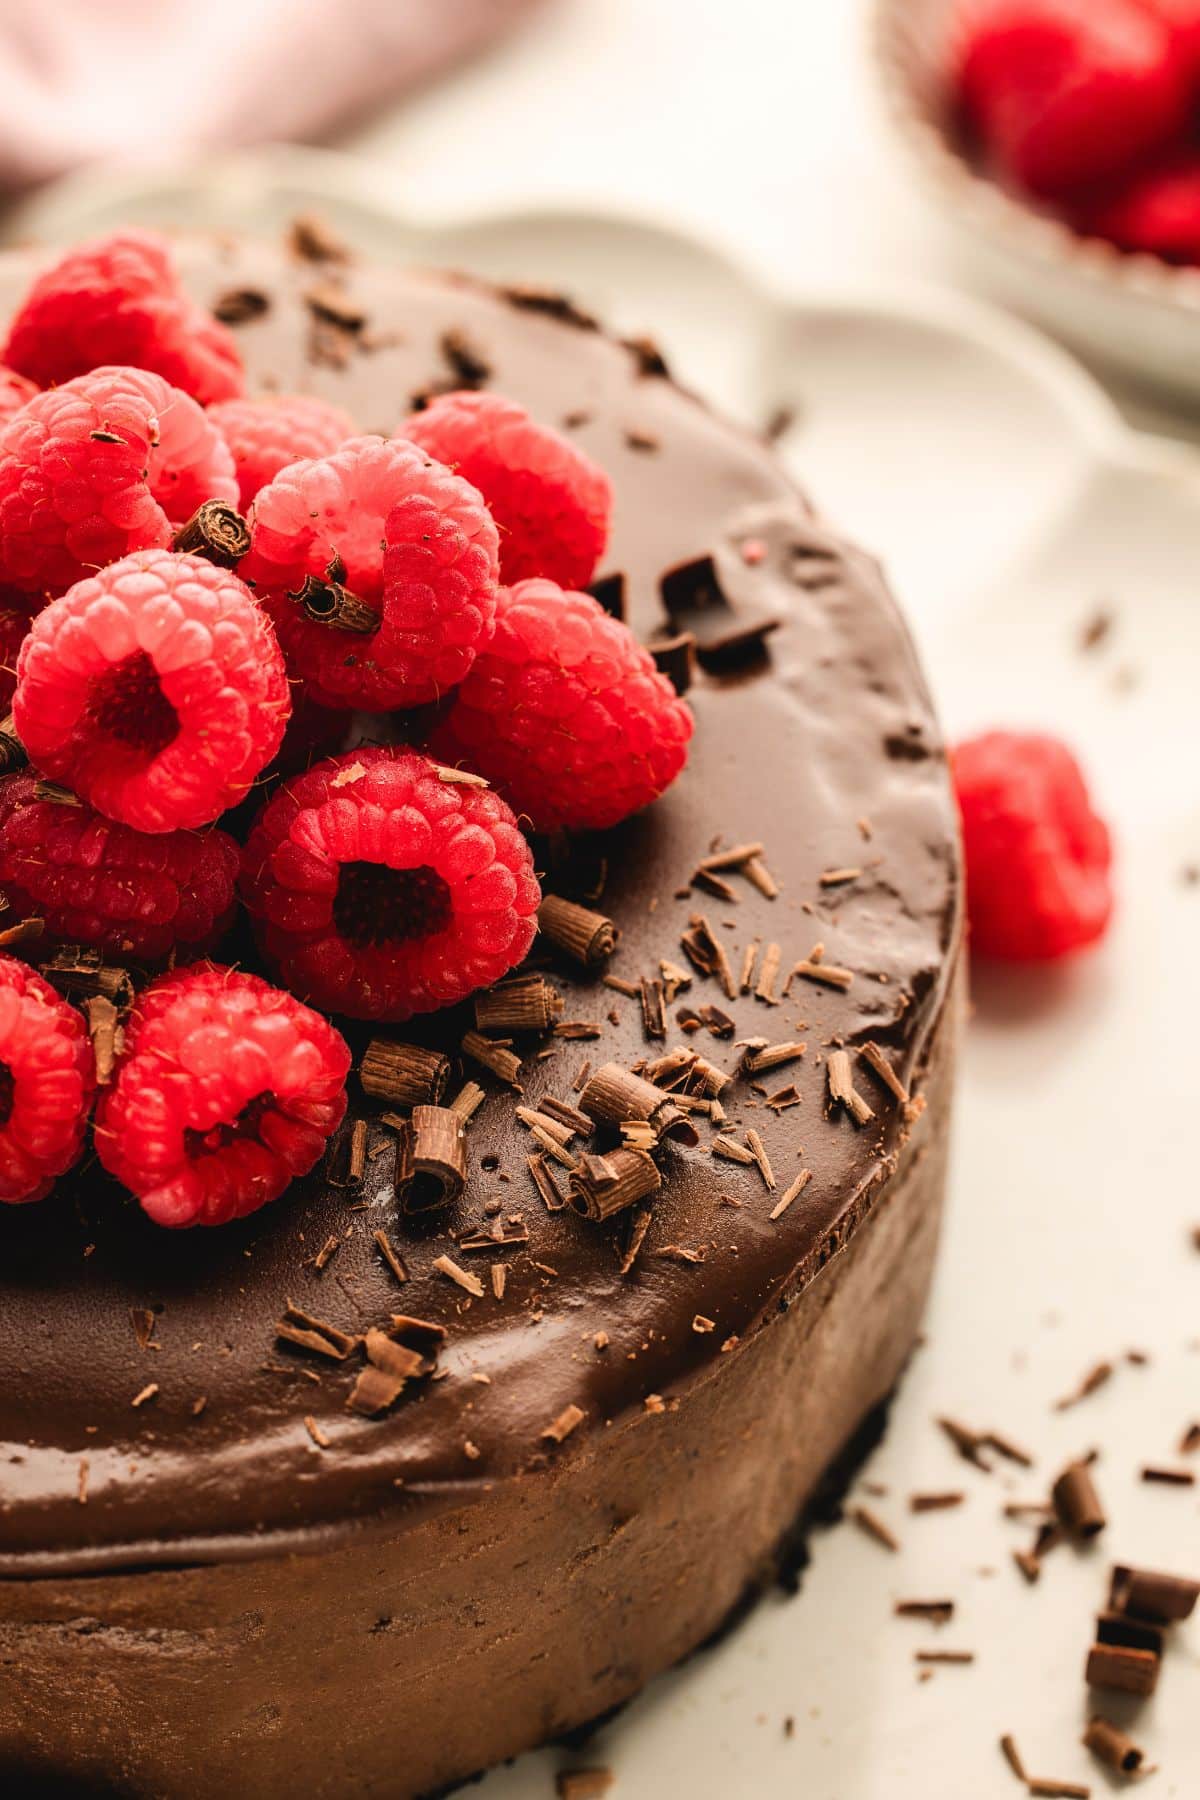
Top with Ganache
- A thin dark chocolate ganache adds contrast to the cheesecake, balancing the richness of the filling.
- Leave the cheesecake in the springform pan when adding the ganache. This keeps the edges clean and prevents drips down the sides as it sets.

Top Tip!
Wash the raspberries ahead of time so they are fully dry before adding them in. This will help them stay intact and visible after baking.
Make it Special✨
To really impress, drizzle some homemade chocolate sauce over each slice and finish it with a rosette of chocolate whipped cream.
Recipe
Small Batch Chocolate Raspberry Cheesecake
Recipe by:Ingredients
Oreo Base
- 14 (158 grams) Oreo cookies with filling
- 3 tablespoons (40 grams) unsalted butter melted
Chocolate Cheesecake Filling
- 4 ounces (113 grams) semi-sweet chocolate finely chopped
- 12 ounces (340 grams) full-fat cream cheese room temperature
- ½ cup (100 grams) granulated sugar
- 2 tablespoons (10 grams) Dutch-processed cocoa powder see notes
- 1 tablespoon (8 grams) all-purpose flour
- ¼ teaspoon fine sea salt
- ¼ cup (60 ml) sour cream room temperature
- 1 teaspoon vanilla extract
- 2 large eggs at room temperature, lightly beaten
- 1 cup fresh raspberries washed
Chocolate Ganache Topping
- 3 ounces (85 grams) bittersweet chocolate very finely chopped
- ¼ cup (60 ml) heavy cream plus more as needed
Optional Garnish
- 2 squares bittersweet chocolate for curls
- ½ cup fresh raspberries
Instructions
Oreo Crust
- Preheat the oven to 325°F (165°C). Lightly grease a 6-inch springform pan with cooking spray. Place the pan inside a silicone pan protector, or wrap the outside of the pan with two layers of heavy-duty foil, bringing the foil high up the sides.
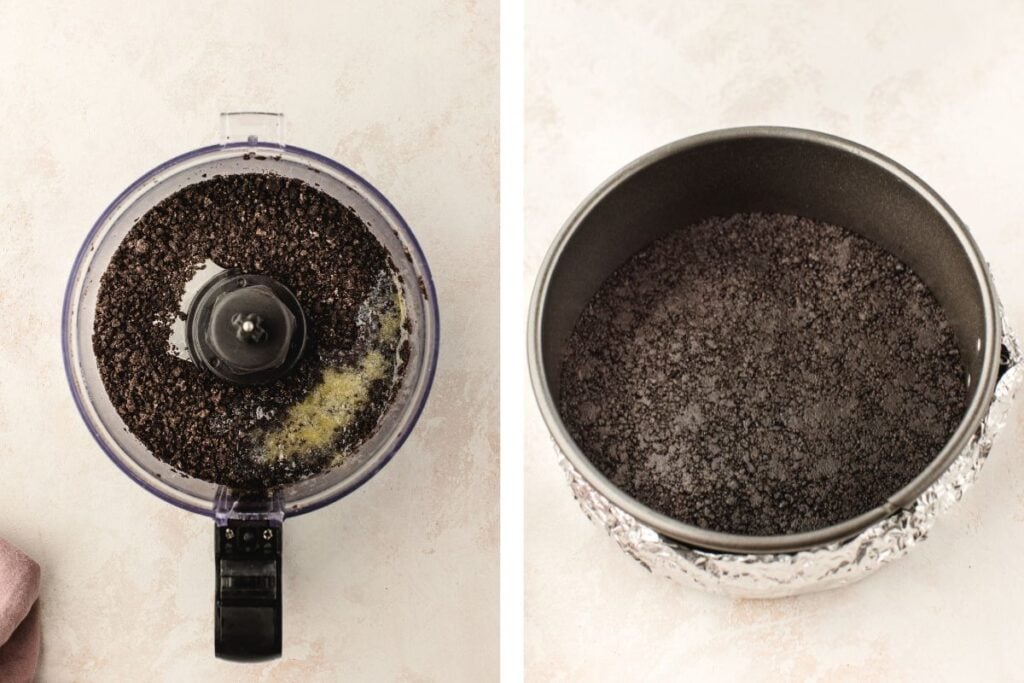
- Add the Oreo cookies to a food processor and process until fine crumbs form. Add the melted butter and process again until fully combined.14 Oreo cookies, 3 tablespoons unsalted butter
- Press the mixture firmly into the bottom of the prepared springform pan using a measuring cup to form an even layer. Bake for 10 minutes, then remove from the oven and set aside. Keep the oven at 325°F (165°C)
Chocolate Cheesecake Filling
- Place the finely chopped semi-sweet chocolate in a heatproof bowl and microwave at 50% power in 30-second intervals, stirring after each, until smooth. Let it cool for 5 to 8 minutes, so it is warm but not hot.4 ounces semi-sweet chocolate
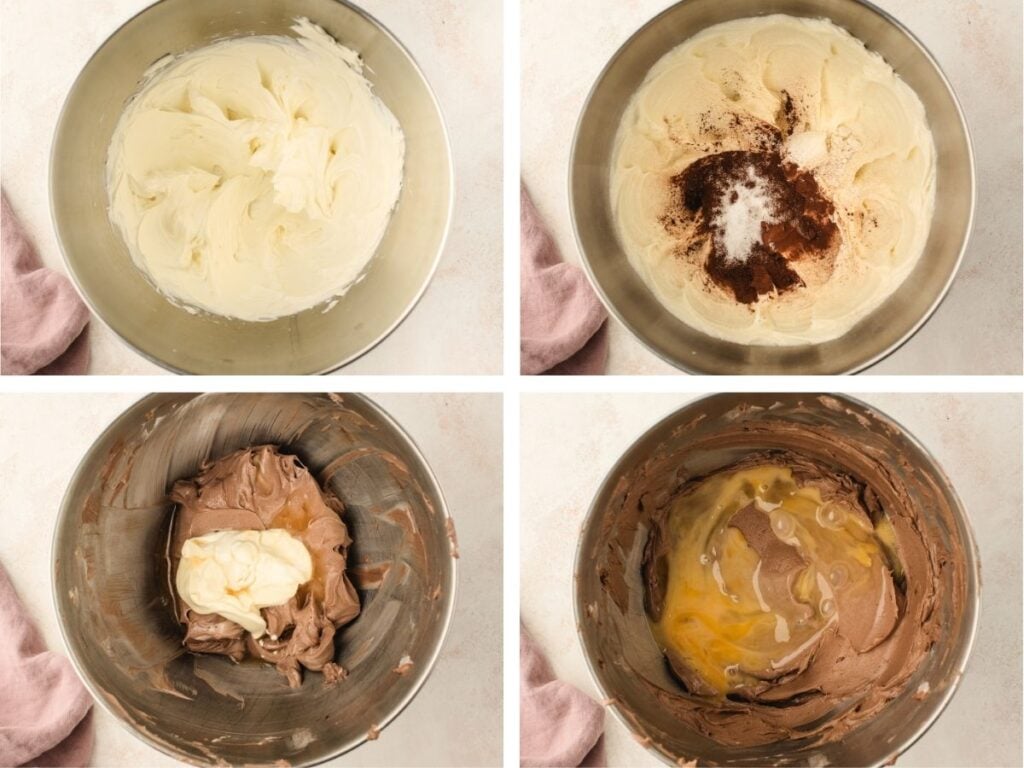
- In the bowl of a stand mixer fitted with the paddle attachment, beat the cream cheese on low speed until completely smooth, scraping the sides and bottom of the bowl several times. Add the sugar and mix on low speed until fully combined.12 ounces full-fat cream cheese, ½ cup granulated sugar
- Then mix the cocoa powder, flour, and salt on low speed until they are just mixed in. Add the sour cream and vanilla and mix briefly until smooth.2 tablespoons Dutch-processed cocoa powder, 1 tablespoon all-purpose flour, ¼ teaspoon fine sea salt, ¼ cup sour cream, 1 teaspoon vanilla extract
- Temper the melted chocolate by stirring 1 tablespoon of the cheesecake batter into the chocolate. Pour the chocolate mixture into the main bowl and mix on low speed just until the color is uniform.
- Add half of the beaten eggs and mix on the lowest speed until just incorporated, about 15 seconds. Scrape the bottom and sides of the bowl, then add the remaining eggs and continue mixing, stopping as soon as the eggs are fully incorporated.2 large eggs
- Bring 4-6 cups of water to a boil.
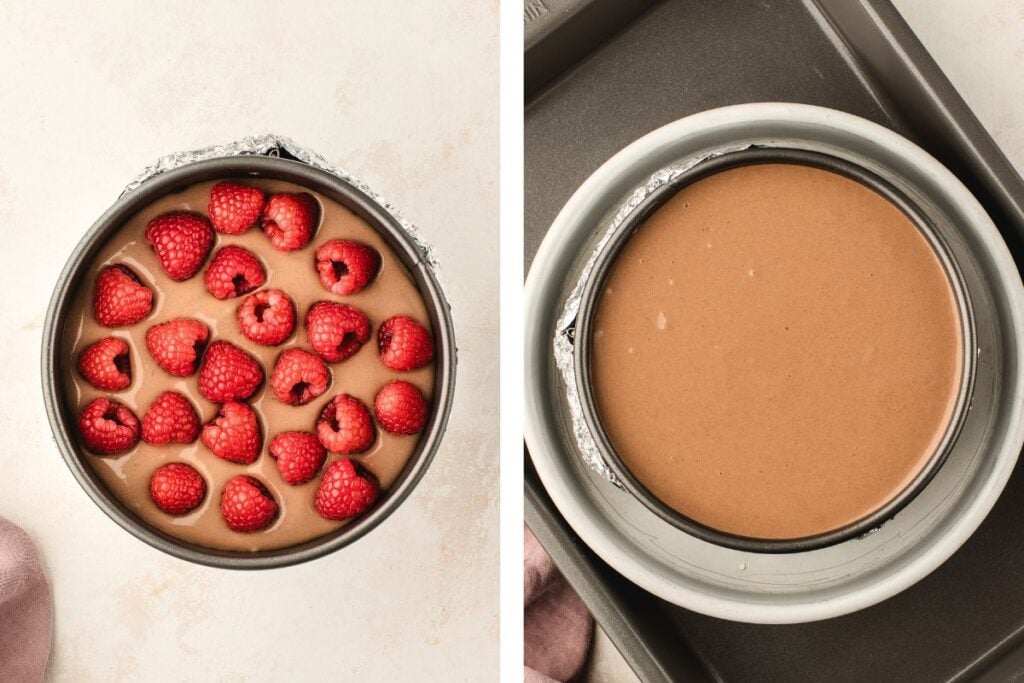
- Pat the raspberries dry with a paper towel. Pour about half of the cheesecake batter over the crust and arrange the raspberries in a single layer across the batter. Spoon the remaining batter over the raspberries and gently smooth the top.1 cup fresh raspberries
- Place the wrapped springform pan inside a roasting dish. Carefully pour the boiling water into the roasting pan until it reaches about halfway up the sides of the larger pan.
- Bake at 325°F (165°C) for 65 to 70 minutes, checking at 65 minutes. Insert an instant-read thermometer into the center of the cheesecake. The cheesecake is done when the center reads 155°F (68°C). The edges should look set, and the center should have a small, thick wobble. If the temperature is below 155°F (68°C), continue baking in 5-minute increments until it reaches the desired temperature.
- Turn off the oven, crack the door, and let the cheesecake cool in the oven for 1 hour. Remove from the water bath, unwrap the foil, and cool at room temperature for 60 to 90 minutes. Cover and refrigerate overnight for the cleanest set and neatest slices.
Chocolate Ganache
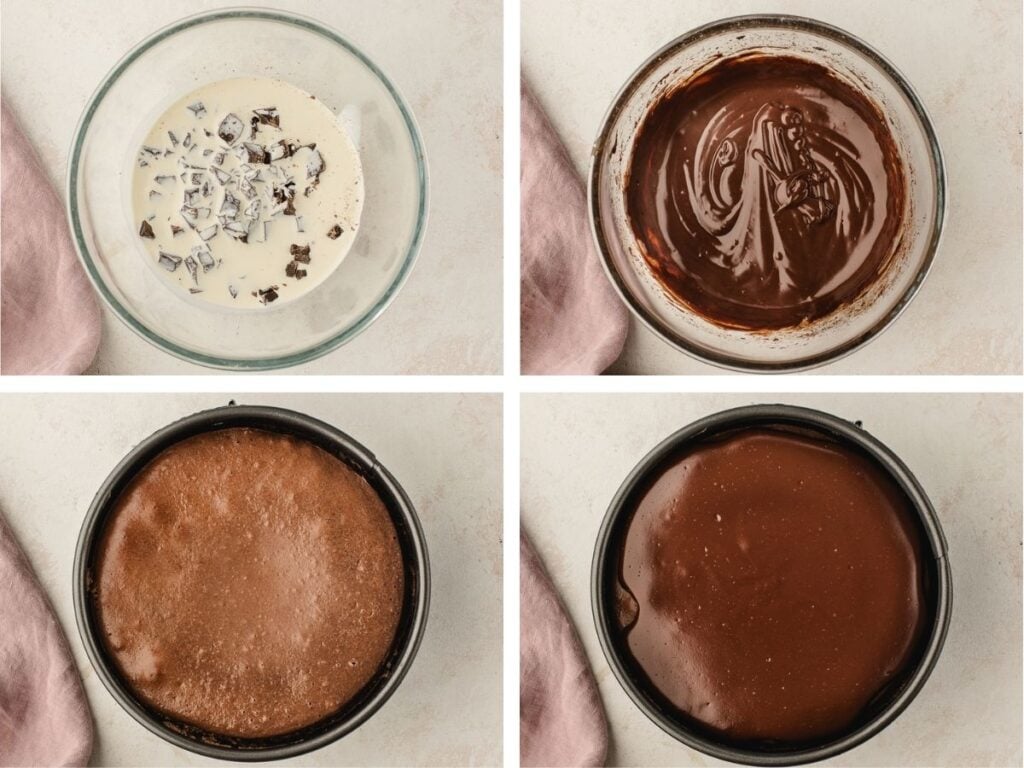
- After the cheesecake has chilled in the refrigerator for at least 6 hours, prepare the ganache by placing the chopped chocolate in a medium-sized heatproof bowl.3 ounces bittersweet chocolate
- Add the cream to a small saucepan and warm over medium-low heat until it begins to simmer. (Do not let it boil.) Pour the hot cream over the chopped chocolate, then cover the bowl with a plate and let it stand for 2 minutes.¼ cup heavy cream
- Stir gently until the chocolate is fully melted and the ganache is smooth and glossy. You are aiming for a thick yet pourable ganache. If it looks too thick, add extra heavy cream a tablespoon at a time until it is pourable.
- Remove the chilled cheesecake from the refrigerator, leaving it in the springform pan. Pour the ganache into the center of the cheesecake and gently swirl the pan until the ganache spreads to the edges. Chill for 45 minutes, then release the springform pan and transfer the cheesecake to a serving plate.
- Garnish with chocolate curls and fresh raspberries before slicing and serving.2 squares bittersweet chocolate, ½ cup fresh raspberries
Notes
Storage
Refrigerator: Cover and refrigerate for up to 4 days. For the best texture, let slices sit at room temperature for 10 to 15 minutes before serving. Freezer: Wrap individual slices tightly in plastic wrap, then foil, and freeze for up to 3 months. Thaw overnight in the refrigerator before serving.Nutrition
The nutritional facts provided are only estimates. The accuracy of the nutritional information for any recipe on this site is not guaranteed.


Comments
No Comments