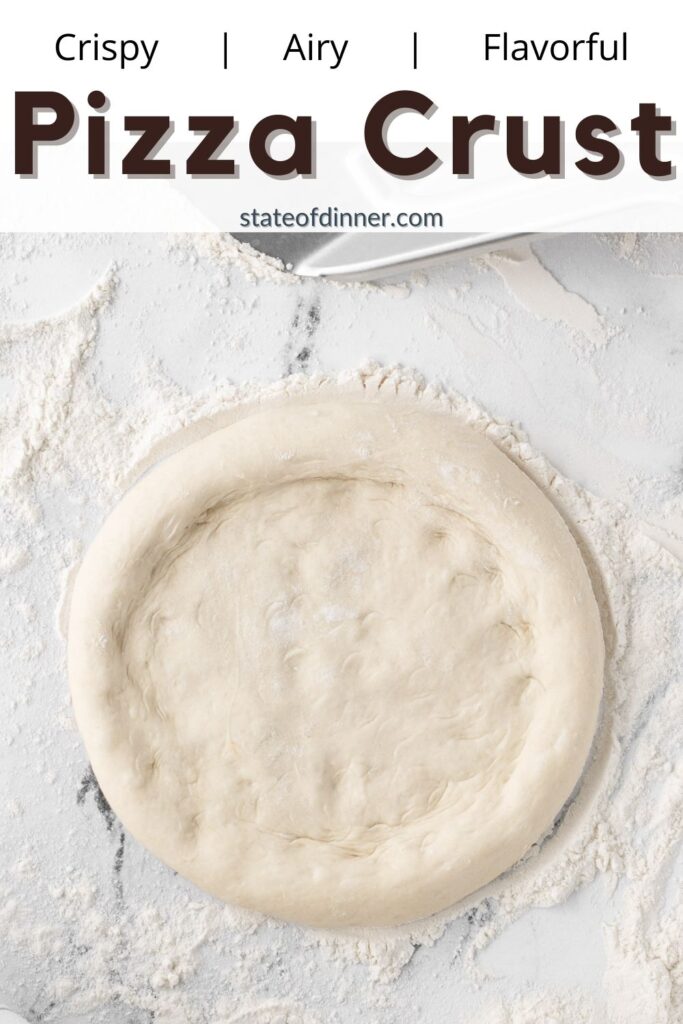
This cold ferment pizza dough rises in the refrigerator, which allows the yeast to slowly develop, resulting in a great-tasting, crispy pizza crust! It is surprisingly easy to make your own pizza dough by following these simple steps.
Jump to:
What is Cold Fermentation?
When you are working with yeast, the yeast consumes sugars in the dough, which creates oxygen. This oxygen produces air bubbles, which cause the dough to rise. The process of this chemical change is called fermentation. But it's not just about the rise. This process also causes the flavors and textures of the dough to develop.
When you are working with dough at room temperature, all of this happens quite rapidly. But cool the dough down and the yeast consumes the sugars more slowly. With long fermentation, the amazing flavors and texture develop more slowly and they become more complex.
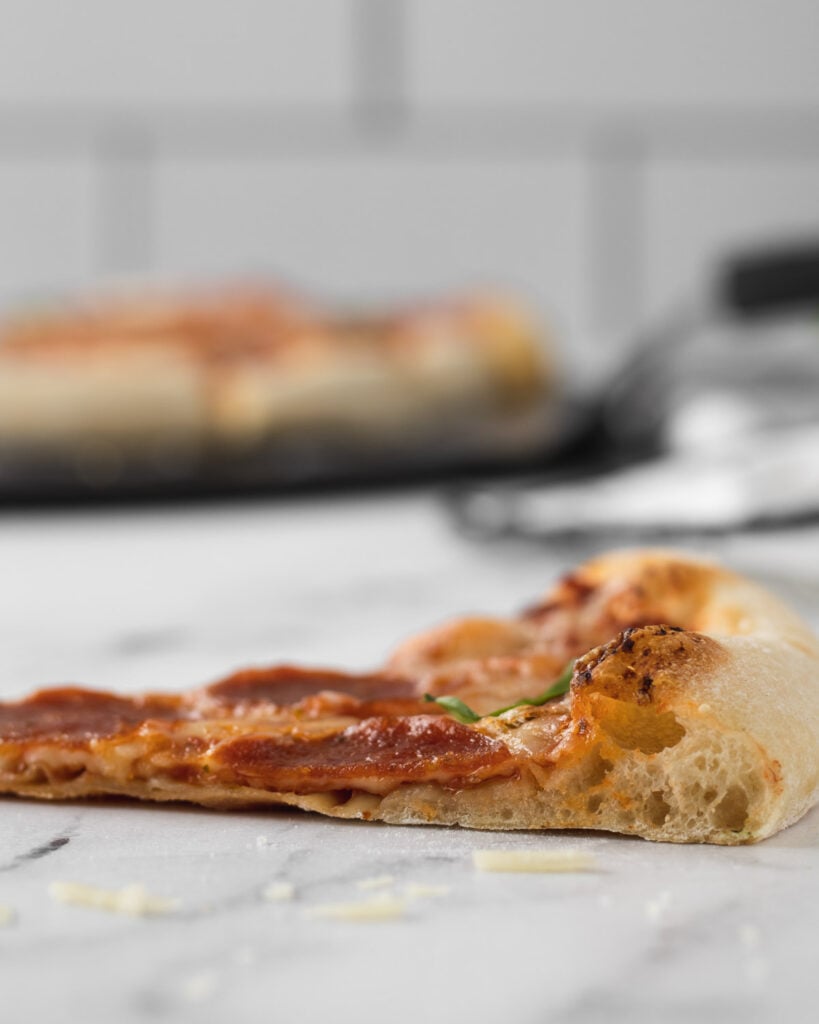
In short, allowing your dough to rise at a cool temperature over the course of a day or more results in a crust that has complex flavors, a good chew, and great crispiness, making the perfect foundation for a Neapolitan pizza.
Ingredients
The recipe card at the bottom of this post includes the complete list of ingredients, measurements, and instructions.
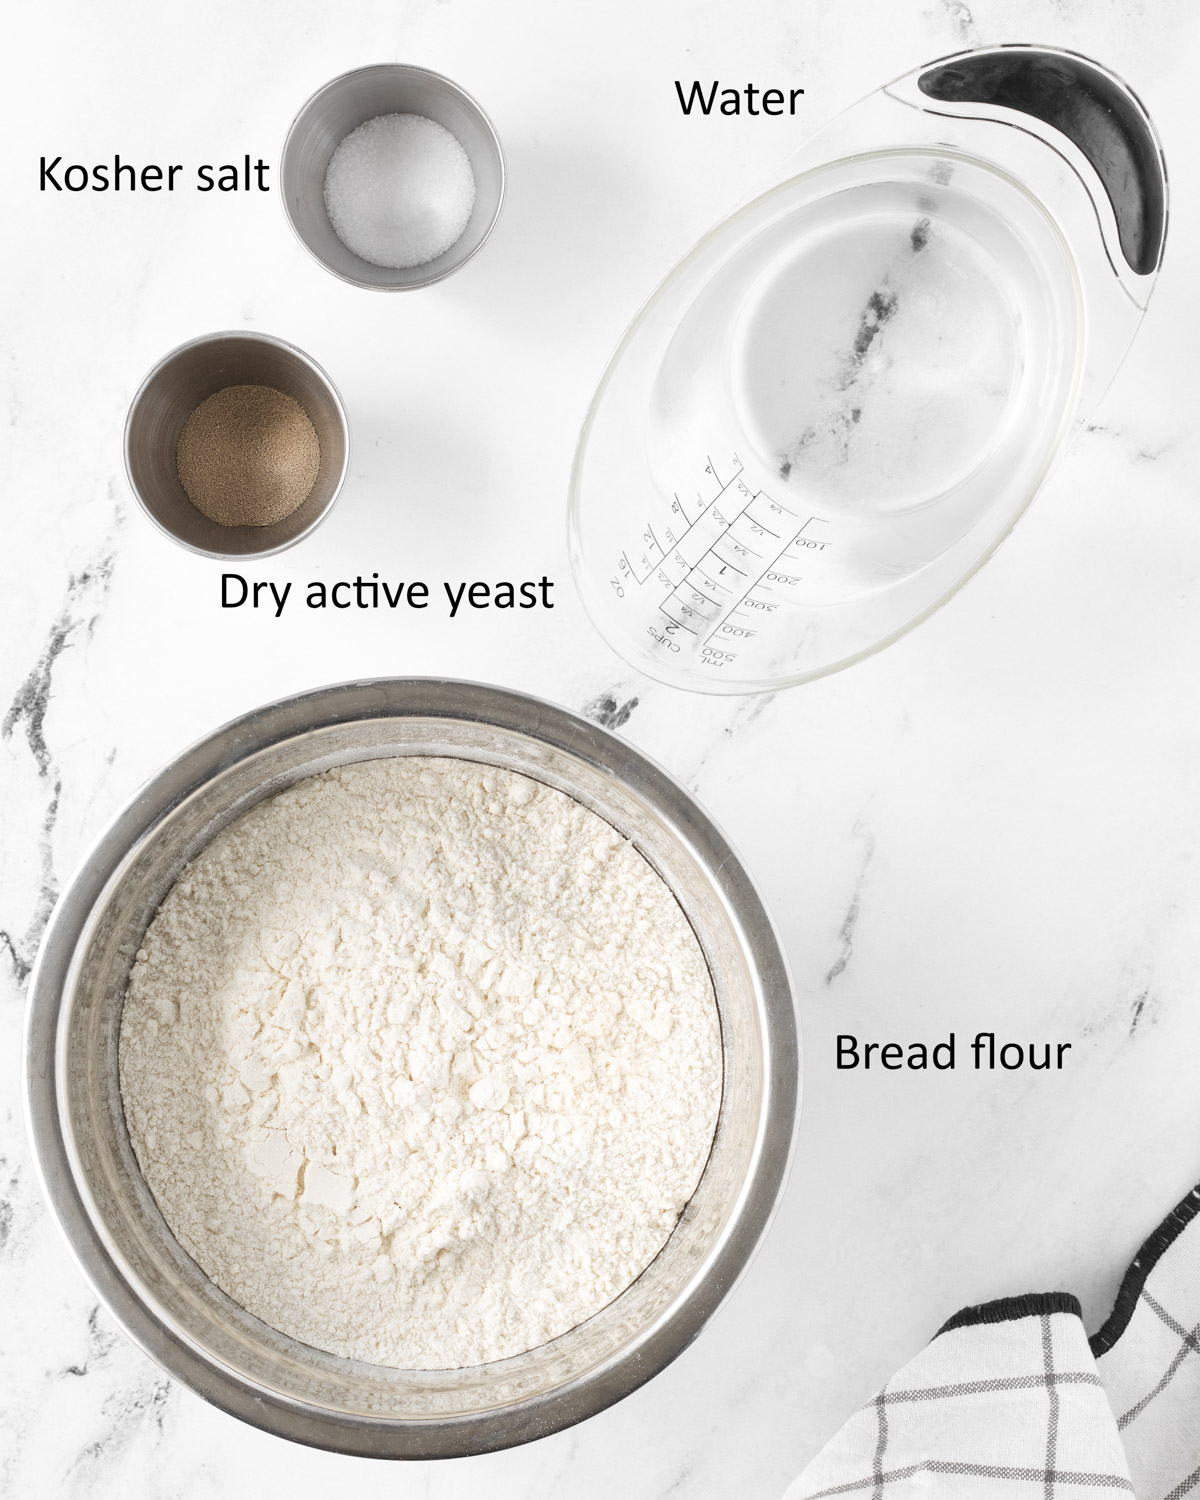
The ingredients for a great pizza dough recipe are pretty simple. There are just 4 of them!
Flour - Bread flour works best for pizza. We'll talk more about the flour a little further down the page.
Yeast - Active dry yeast is used instead of fresh yeast in thi recipe as it stands up to the longer fermentation time. We want the yeast to activate slowly, so it is not necessary to bloom the yeast when making this dough.
Salt - Kosher salt accentuates the flavors of the dough. If you do not have kosher salt on hand then you can use 1 ½ teaspoons of table salt instead. Sea salt can also be used with an equal substitution.
Water - Cool water that is around 68°F helps to nurture the yeast slowly, allowing the gluten to form without the yeast taking over. I recommend using filtered water as well, as some chemicals in water can negatively impact the yeast's production.
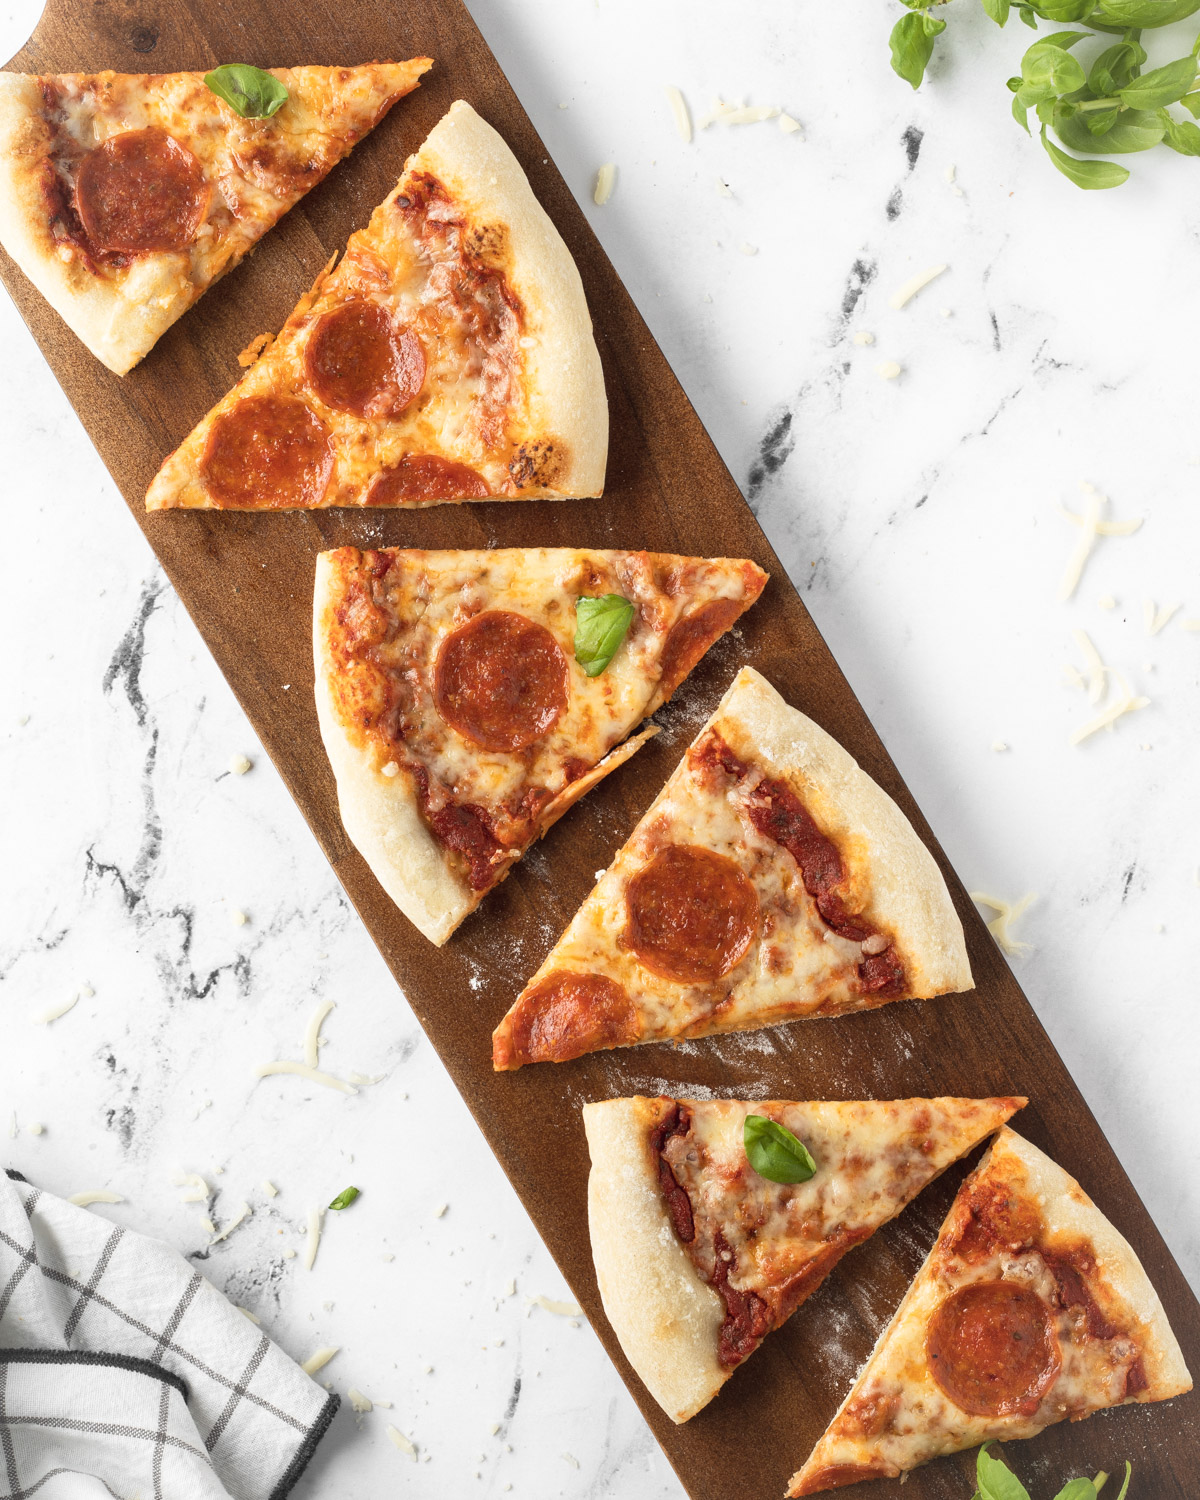
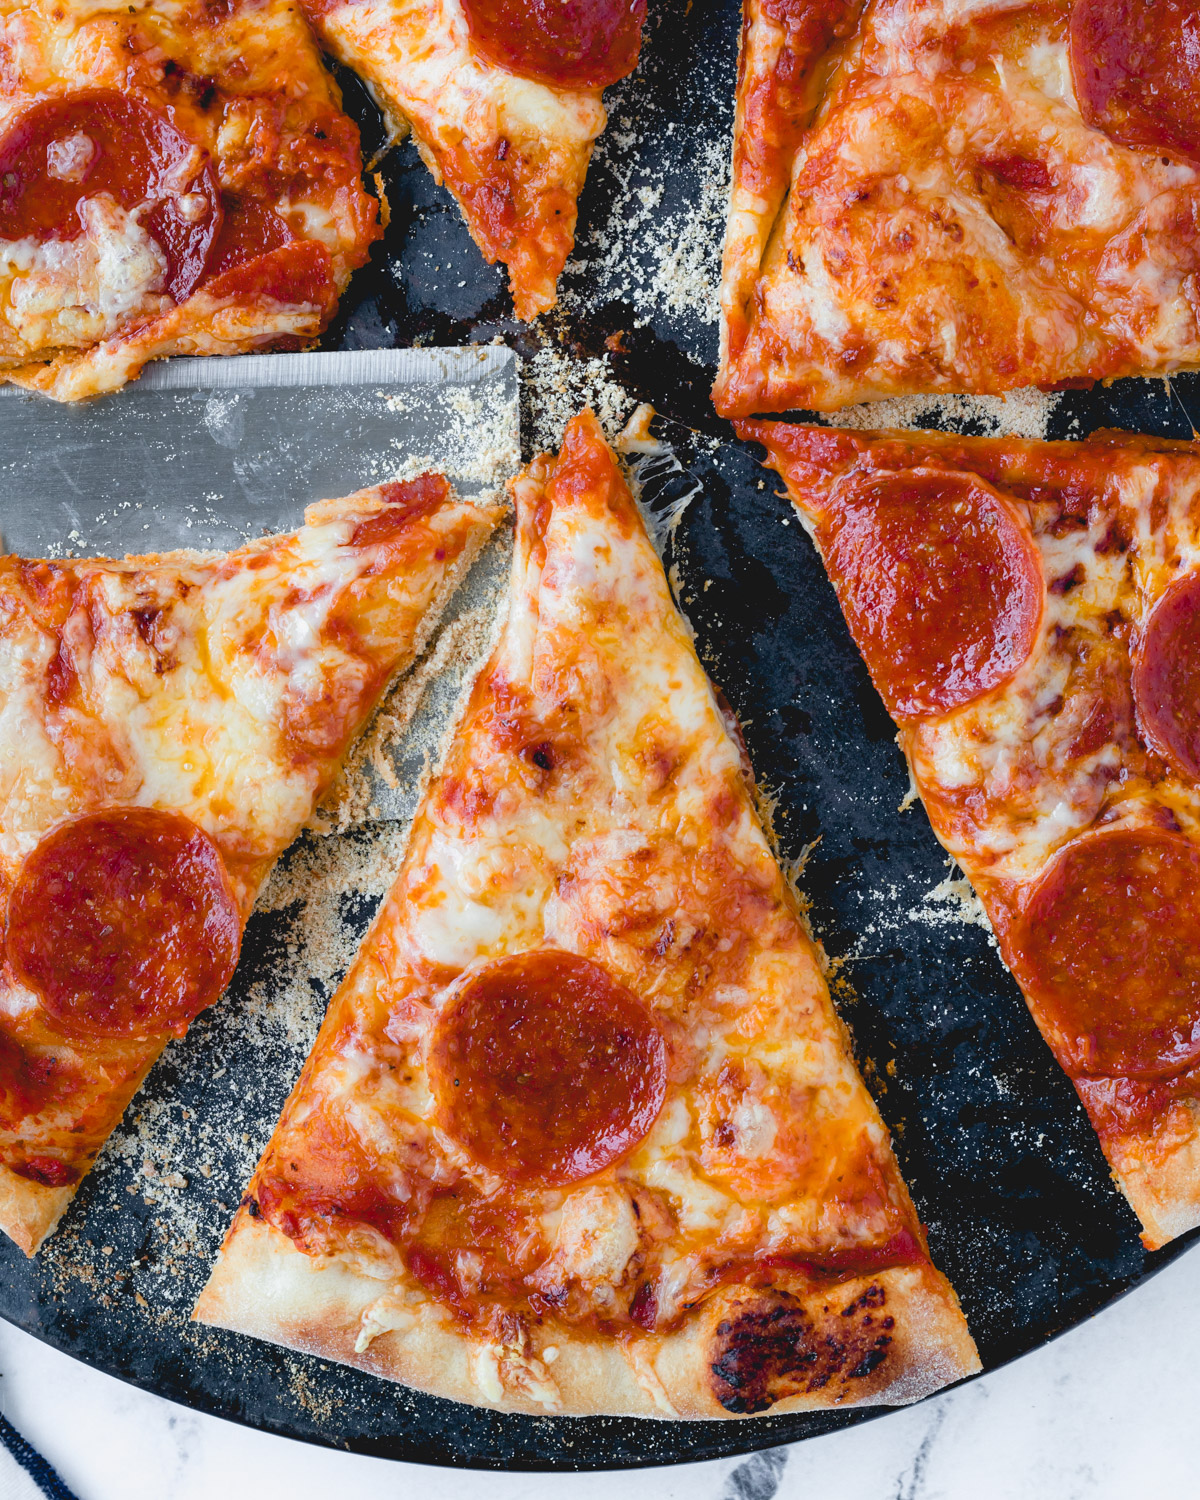
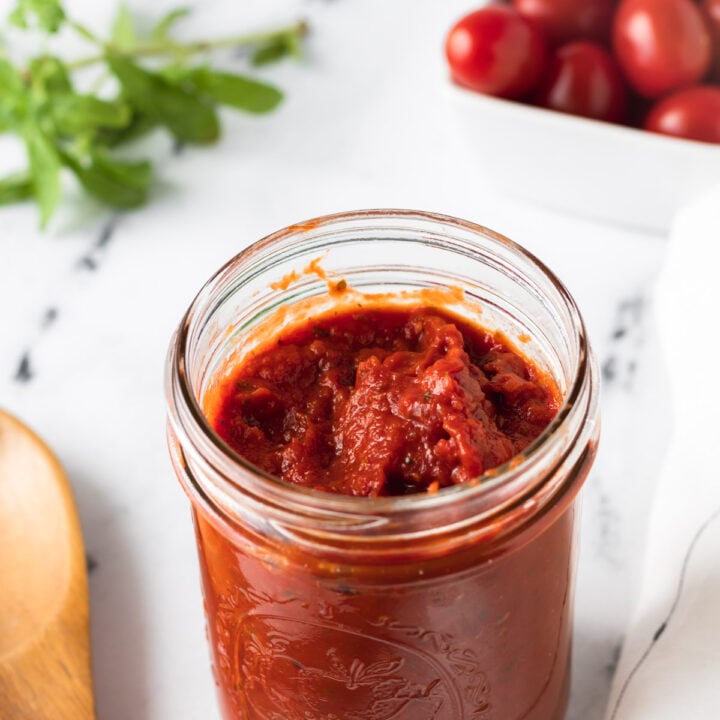
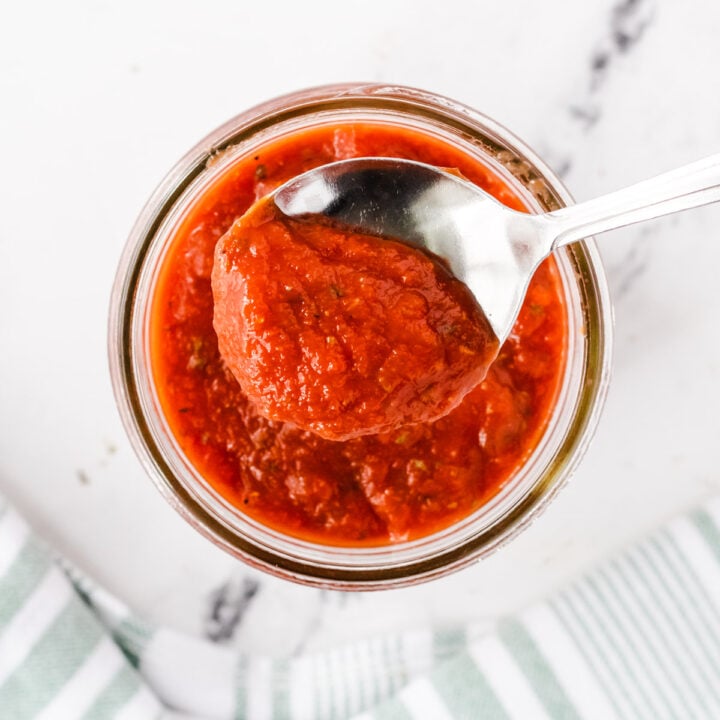
Top with your favorite sauce, like this New York pizza sauce, low-moisture mozzarella cheese, and your choice of toppings.
How to Make Cold Fermented Pizza Dough
Step One: Prepare the Dough
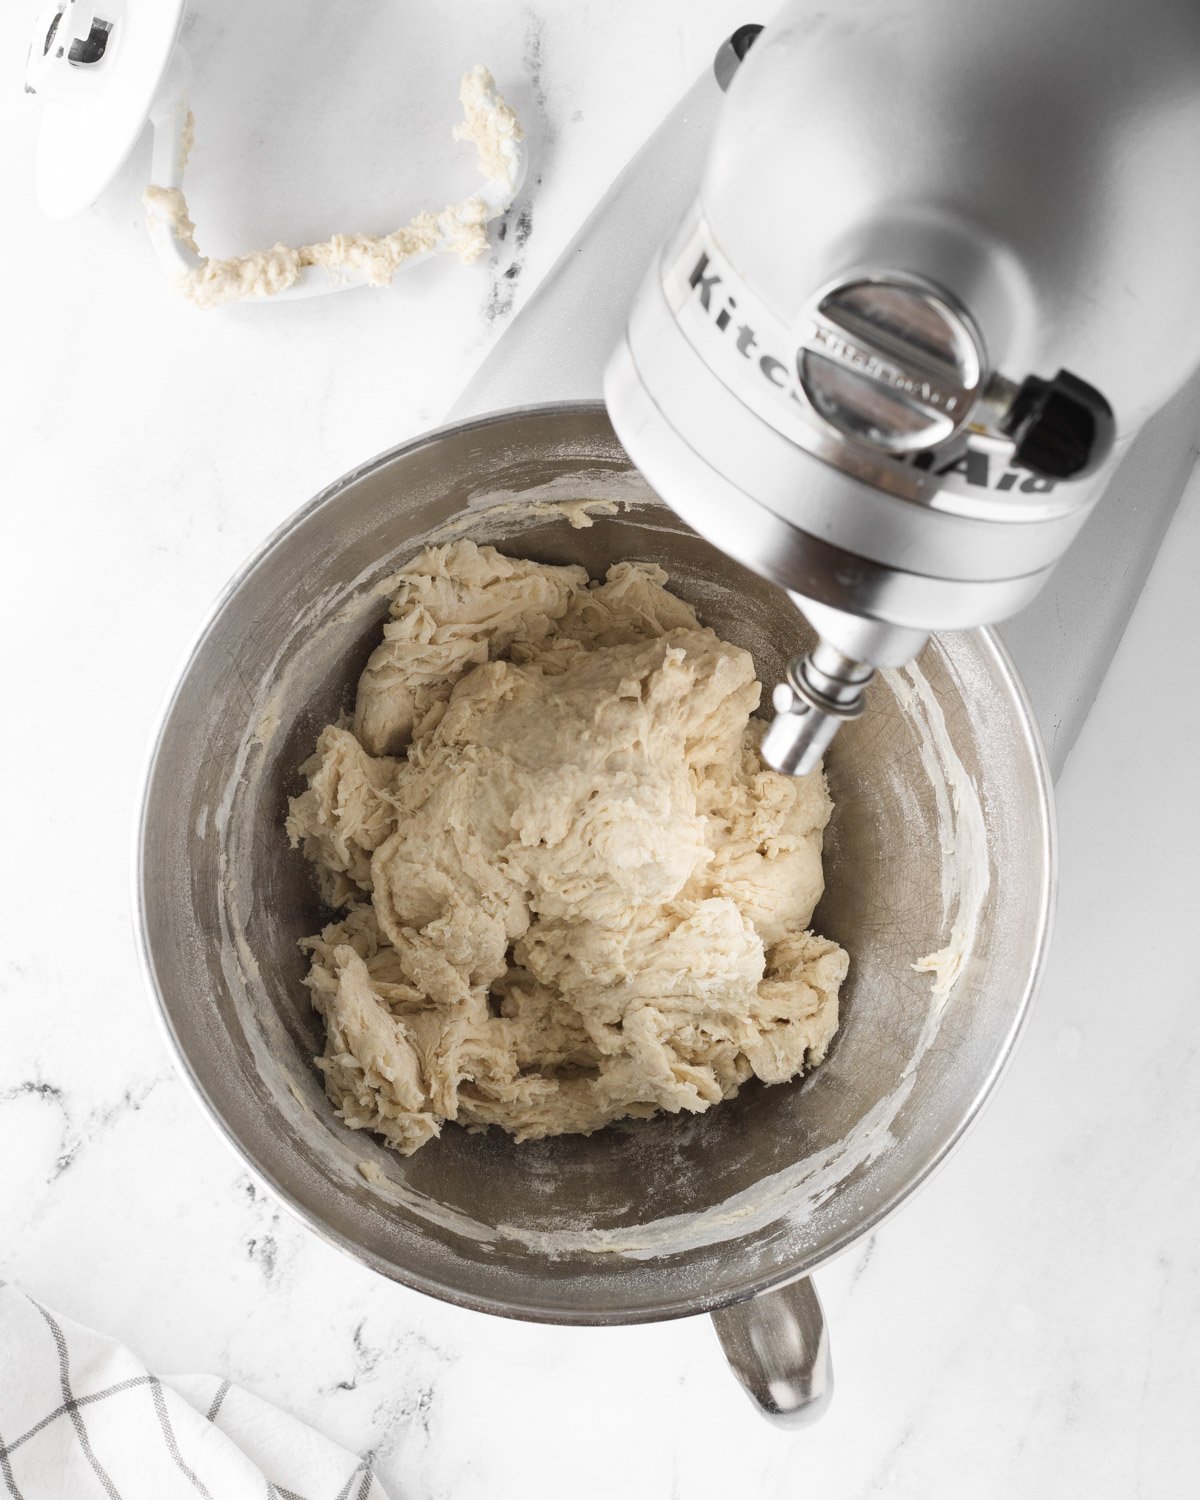
Place the flour, yeast, and salt into the bowl of a stand mixer and stir them together. If you are making the dough by hand, place these ingredients in a large mixing bowl.
Add water around the outside of the dry ingredients, then using the dough hook attachment, turn your mixer onto low and mix until the ingredients come together as a dough.
Once the dough has formed, and you no longer see dry flour, turn the mixer off and let it rest for 10 minutes.
Turn the mixer back onto low speed and knead for 10 minutes.
If you do not have a stand mixer, this can be done by hand. Combine the ingredients with a spoon, then let them rest. After the 10 minute rest period, knead the dough by hand for 10 minutes.
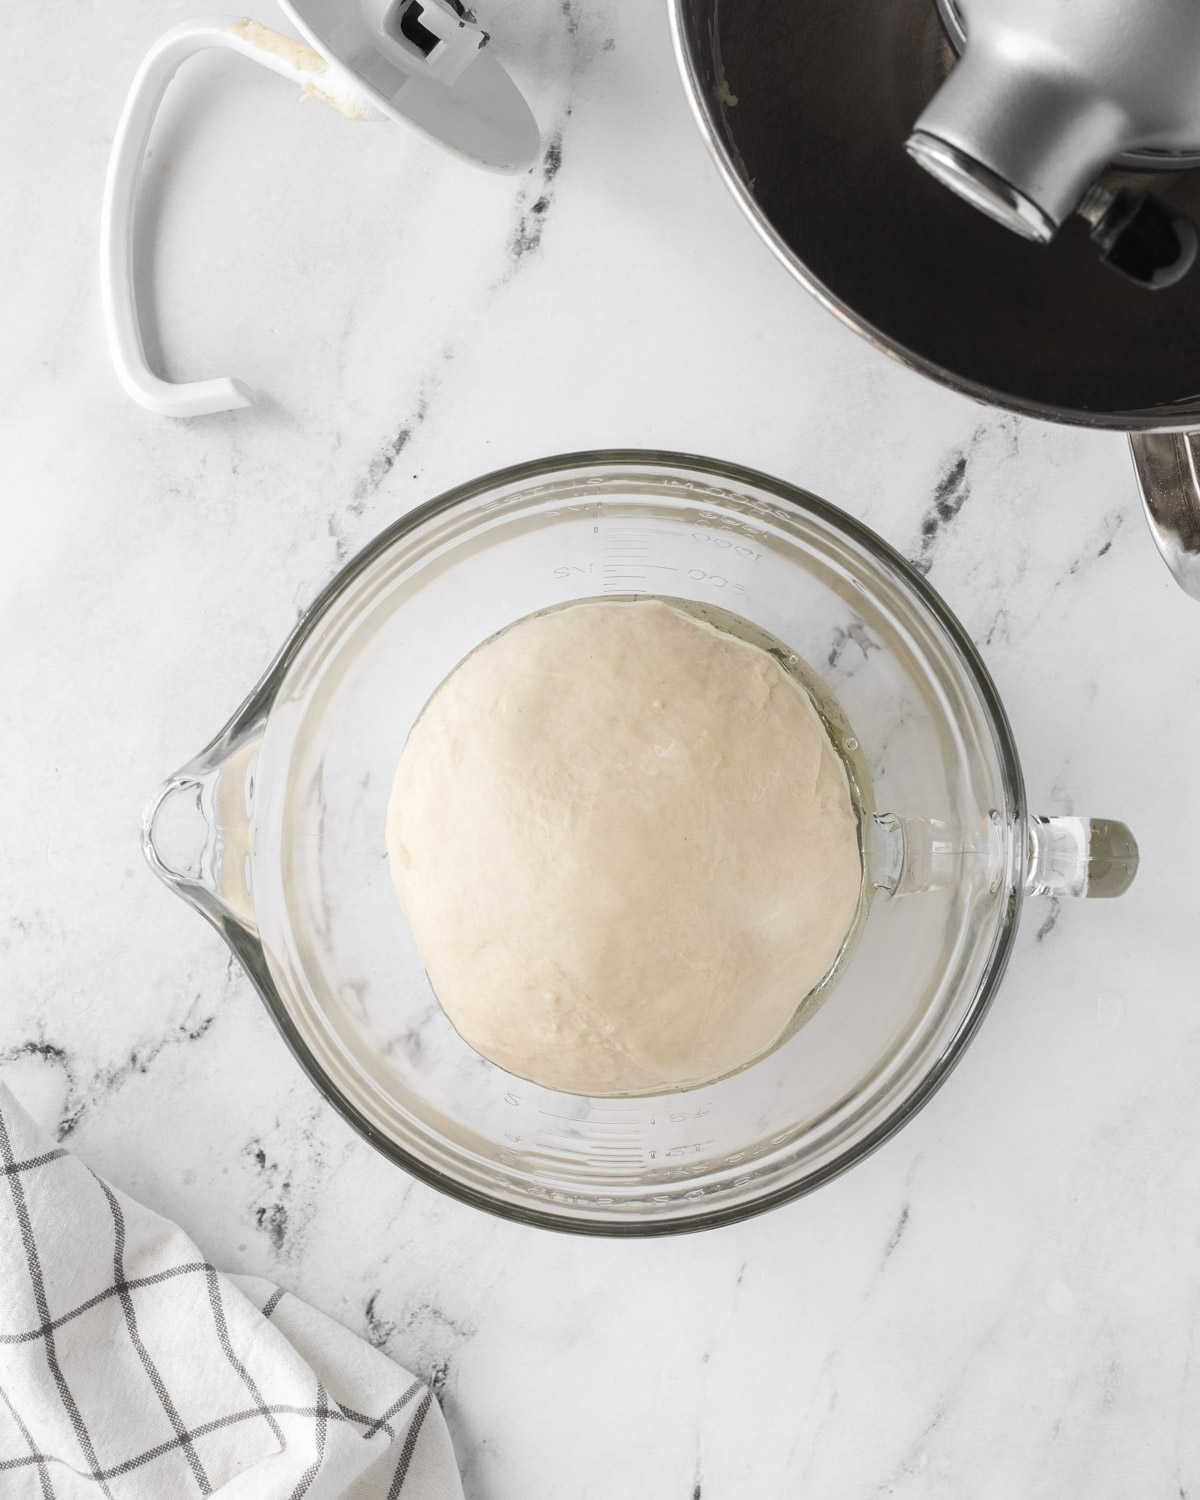
Step Two: Ferment
Roll the dough in oil and use the dough to wipe the oil around the bowl.
Cover bowl with plastic wrap and let the dough rise slowly in the refrigerator for 24-72 hours.
WANT TO SAVE THIS RECIPE?
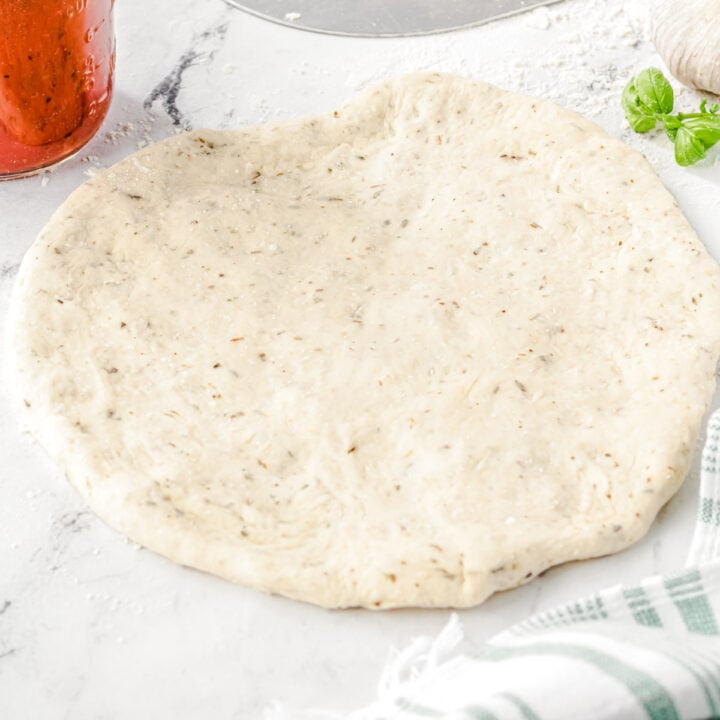
Step Three: Rest and stretch the dough
Place the dough onto your counter and allow it to come to room temperature. This takes about 2 hours.
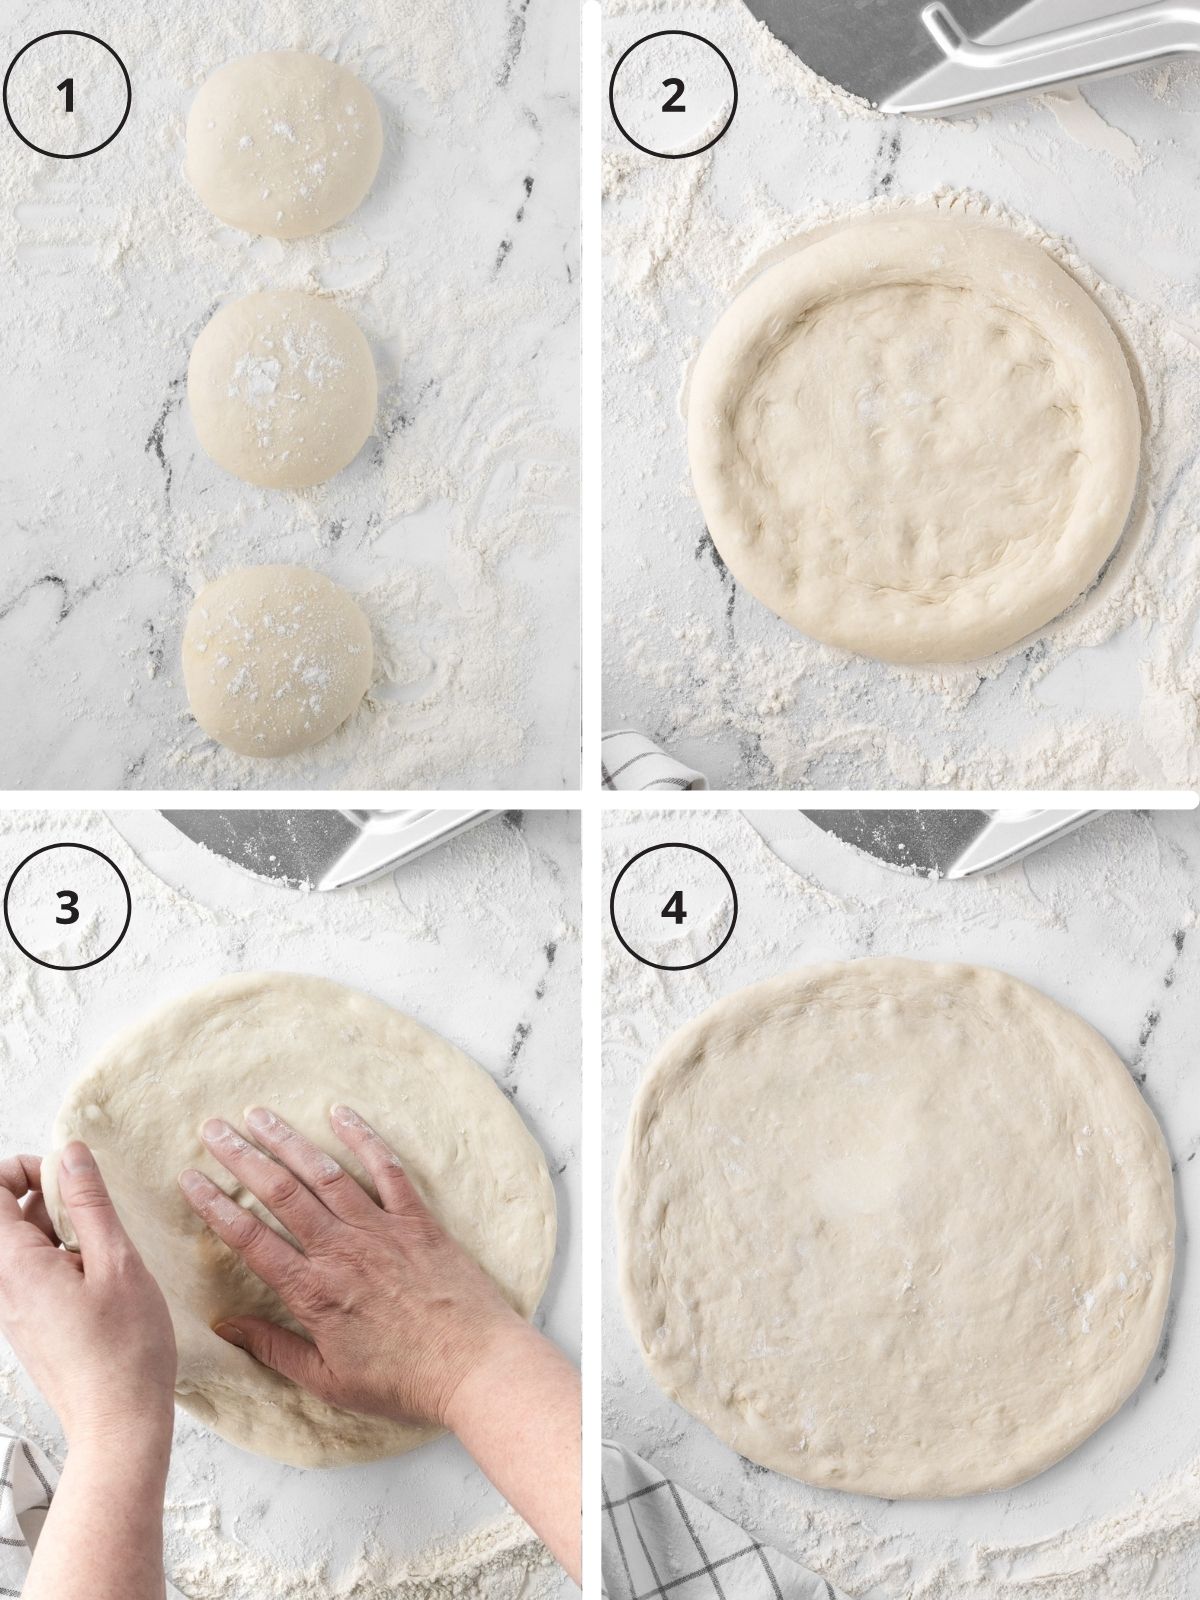
1) Turn the dough onto a well-floured surface and separate it into 3 balls that are about 10 ounces each. Each ball will make a 12-inch thin crust pizza. If you have a larger pizza stone or want to make a thicker pizza then you can divide the dough into 2 balls.
2) Working with one ball at a time on your work surface, press your fingers into the ball to shape the dough into a disk, moving the air from the center of the dough to the crust. Leave an inch around the outside of the dough where you do not press, as this will create an airy outer crust.
3) Press your right hand into the right side of the dough and using your left hand, pull the left side of the dough to stretch it. Turn and continue to stretch the dough to keep the dough in a circular shape.
Here is a great Youtube video that shows how to stretch the dough.
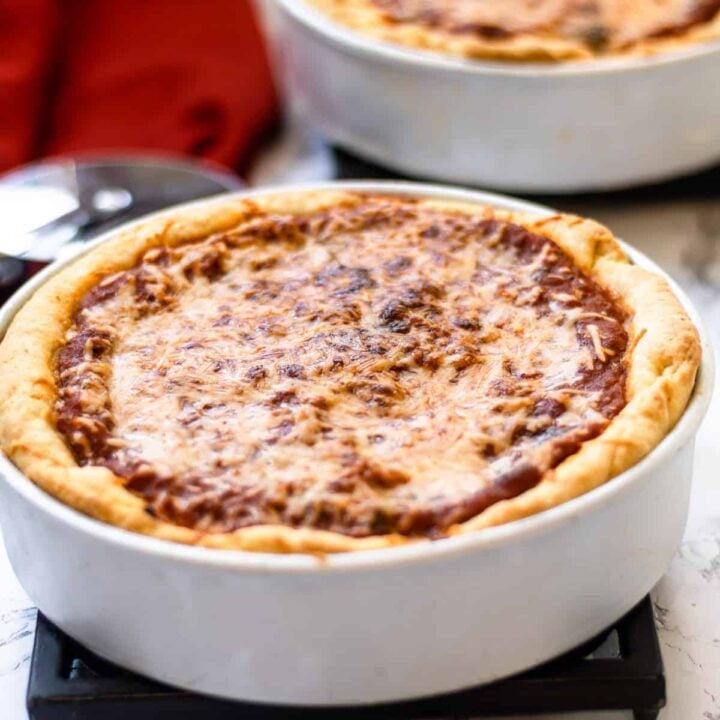
Brick Oven Quality in Your Home Oven
Pizzerias have ovens that get 700-800°! That's double the temperature that we usually use to bake pizza in a home oven. The high heat creates a crispy crust while quickly melting the cheese and heating the toppings.
In order to get pizzeria quality pizza in your home oven, it is important that you get your oven as hot as possible. The trick is to use a pizza stone! Place the stone in a 500°F oven for 30 minutes or longer. (I usually shoot for an hour.) The stone will begin to absorb the heat of your oven and get very hot!
Build the pizza on a pizza peel, then slide it onto the hot stone. The hot stone cooks very quickly. In about 6-8 minutes you will have a crispy, perfectly cooked pizza!
How the Type of Flour Impacts the Crust
There are three different types of flours that people use for pizza crust. Let's explore the difference:
All-Purpose Flour: While this is the easiest flour to come by, it isn't the best to use for cold ferment pizza crust. It results in a pizza crust that is lacking in texture.
Exception: King Arthur flour is a high quality all-purpose flour that will yield a great crust.
Bread Flour: This is the most common flour to use when making pizza crust, and it is my favorite as it consistently produces the best results. It can be found at your local grocery store. Bread flour lends to a chewier crust.
Tipo 00: Most professional pizzerias use Tipo 00 which is an Italian flour. It is ground very fine. If you have a brick pizza oven at home then you may want to experiment with Tipo 00, but in my testing, I found bread flour produced better results in a home oven.
The main difference between these three flours is water absorption. Because they each absorb water differently they work differently in pizza dough.
This recipe is based on the assumption that you are using bread flour. If you are using all-purpose flour you may need to add a little extra flour to the dough. If you are using Tipo 00 then you may need to add some additional water.
Common Mistakes to Avoid
- Using cold dough
Bring your dough out of the refrigerator 2 hours before you plan to bake the pizza. This will allow it to come to room temperature. When the dough is cold the proteins tighten, causing the dough to snap back into a ball instead of stretching thin. - Rolling the dough
Rolling your dough can press all of the air bubbles out, leaving you with a flat and cardboard-like pizza crust. Stretching the dough keeps most of the air bubbles intact, resulting in a great-textured crust. - Adding too many toppings
I love a supreme pizza with lots of toppings! But too many toppings will load down your crust, making it soggy and limp. Too many toppings will also add to the cooking time and may result in burnt cheese and crust. - Letting the dough sit for too long on the pizza peel
There are few things more frustrating than building a perfect pizza only to have it stick to the peel. Once the crust is on the peel you need to work very quickly. The dough will be difficult to slide off if it sits for too long on the peel. The best way to avoid the crust sticking is to have all of your ingredients ready to build so that you can slide it onto the pizza stone within a minute or two of the dough hitting the peel.
Frequently Asked Questions
Yes, to par-bake the crust, follow the recipe directions and bake for 4-5 minutes. Cool completely and store in an airtight container. The crust will keep for 3 days at room temperature, 1 week in the refrigerator, and 3 months in the freezer.
If the dough is too cold then it will bounce back instead of stretching. Bring your dough to room temperature before you begin stretching it.
Sprinkle the pizza peel with some flour or cornmeal before placing the dough onto the peel. Then work quickly to add the toppings before sliding the dough, using a shaking motion, onto the pizza stone.
If you do not have a baking stone, you can cook the pizza at 450°F for 15-20 minutes. The crust will not be as crispy, but it will still taste delicious.
More Pizza Recipes
Let me know how you like this recipe by leaving a review! And follow along on Instagram @stateofdinner for behind-the-scenes and to be among the first to know when new recipes post!
Recipe

Cold Ferment Pizza Crust
Recipe by:Ingredients
- 4 cups (520 grams) bread flour
- 2 teaspoons (12 grams) kosher salt
- 1 package (¼ ounce) active dry yeast
- 1 ½ cups (12 ounces) cold water around 68 degrees
- 1 tablespoon olive oil
Instructions
- In a large bowl, whisk the flour, salt, and yeast to combine.
- Pour water around the outside of the dry ingredients. If using an electric mixer, use the dough hook and mix on low speed until the ingredients come together to form a dough. If you do not have an electric mixer, use a large spoon to combine into a dough.
- Let the dough rest for 10 minutes.
- Once the dough has rested, knead on low speed (or by hand) for 10 minutes.
- Pour oil into a large bowl. Add the dough ball to the bowl and turn to coat in the oil.
- Cover and refrigerate for 24-72 hours.
- Remove from the refrigerator and let come to room temperature for 2 hours.
- Preheat a baking stone in the oven at 500 degrees F for at least 30 minutes.
- Turn the dough onto a well-floured surface and divide into 3 balls, about 10 ounces each. (This will make 3 12-inch pizzas. Divide into 2 balls for larger pizzas.)
- Working with one ball at a time, press your fingers into the dough, moving the air bubbles to the outside edges of the dough, forming a circular disk.
- Place your right hand on the right side of the dough and press the dough while stretching it out with your left hand. Turn the dough and continue to press and stretch until it is in a 12-inch circle.
- Place the dough onto a floured pizza peel. Work quickly to add sauce, cheese, and desired toppings to the dough.
- Slide the dough onto the pizza stone by shaking the peel quickly. Bake for 6-8 minutes, or until the bottom of the dough is crisp and the cheese is melted.
Notes
Equipment
Nutrition
The nutritional facts provided are only estimates. The accuracy of the nutritional information for any recipe on this site is not guaranteed.
Alexandra says
I love that the flavours of the crust develop over time. Can't beat delicious pizza!
Erin says
There is nothing quite as satisfying as a delicious pizza!
Audrey says
I have never tried this style before! I love making these types of restaurant style recipes at home.
Erin says
It is worth trying, for sure! Let me know how you like it!
Elizabeth says
This pizza crust is so crispy with the absolute best flavor! Definitely going on our regular dinner rotation!
Erin says
That is fantastic! I am glad it will become a regular in your home!
Kari says
Can I add garlic and Italian seasoning to this recipe? Will dough still turn out the same way?
Erin says
Adding Italian seasoning and garlic powder would be a fine addition! I recommend 1 1/2 teaspoons of Italian seasoning and 3/4 teaspoons of garlic powder. I have not tested this recipe with freshly minced garlic and do not know how it will hold up to the cold-fermenting. If you prefer minced garlic (as I do) try this recipe: https://stateofdinner.com/garlic-herb-pizza-dough/
Maria says
Would it be possible to make this crust using gf Jules AP gluten free flour for the Pizza crust Recipe?
Erin says
I have not tested this recipe using gluten free flour. The amount of water it needs may vary, as gluten free flour often absorbs water different from wheata flour. Let me know if you try it!