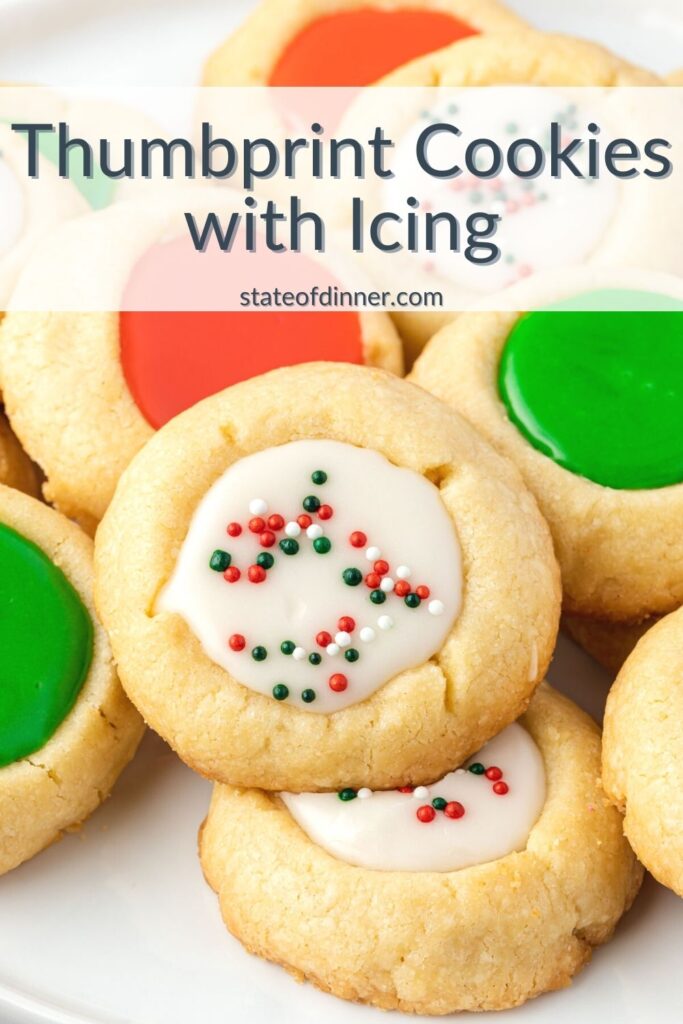
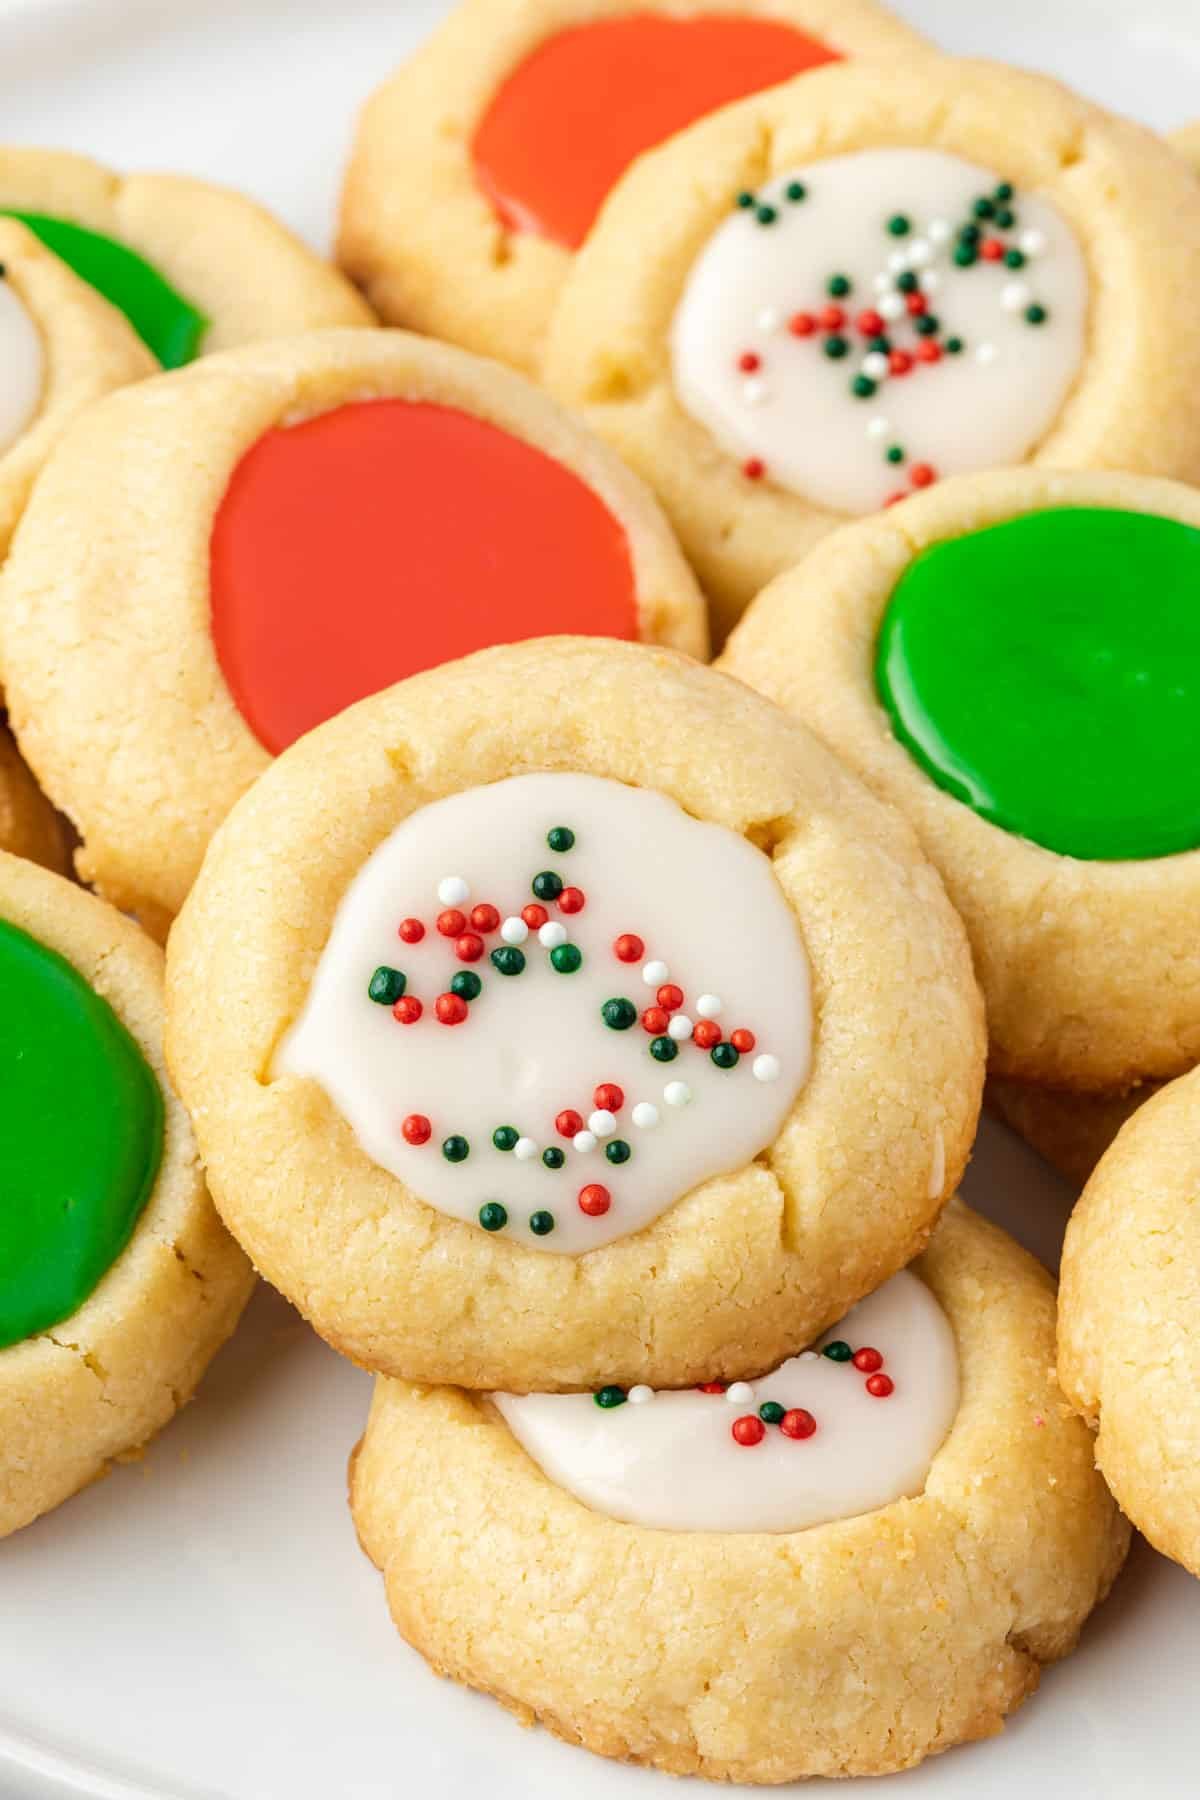
You will love these tender Iced Thumbprint Cookies! This simple recipe makes buttery cookies and the middle of each cookie is filled with sweet icing.
Customize the colors and add sprinkles to fit the season! They are the perfect addition to any cookie tray!
Why You Will Love This Recipe
- Simple to Make: The steps to make these cookies are pretty simple! Yes, there is a lot of waiting time as you chill the dough and cool the cookies. But the hands-on time is minimal.
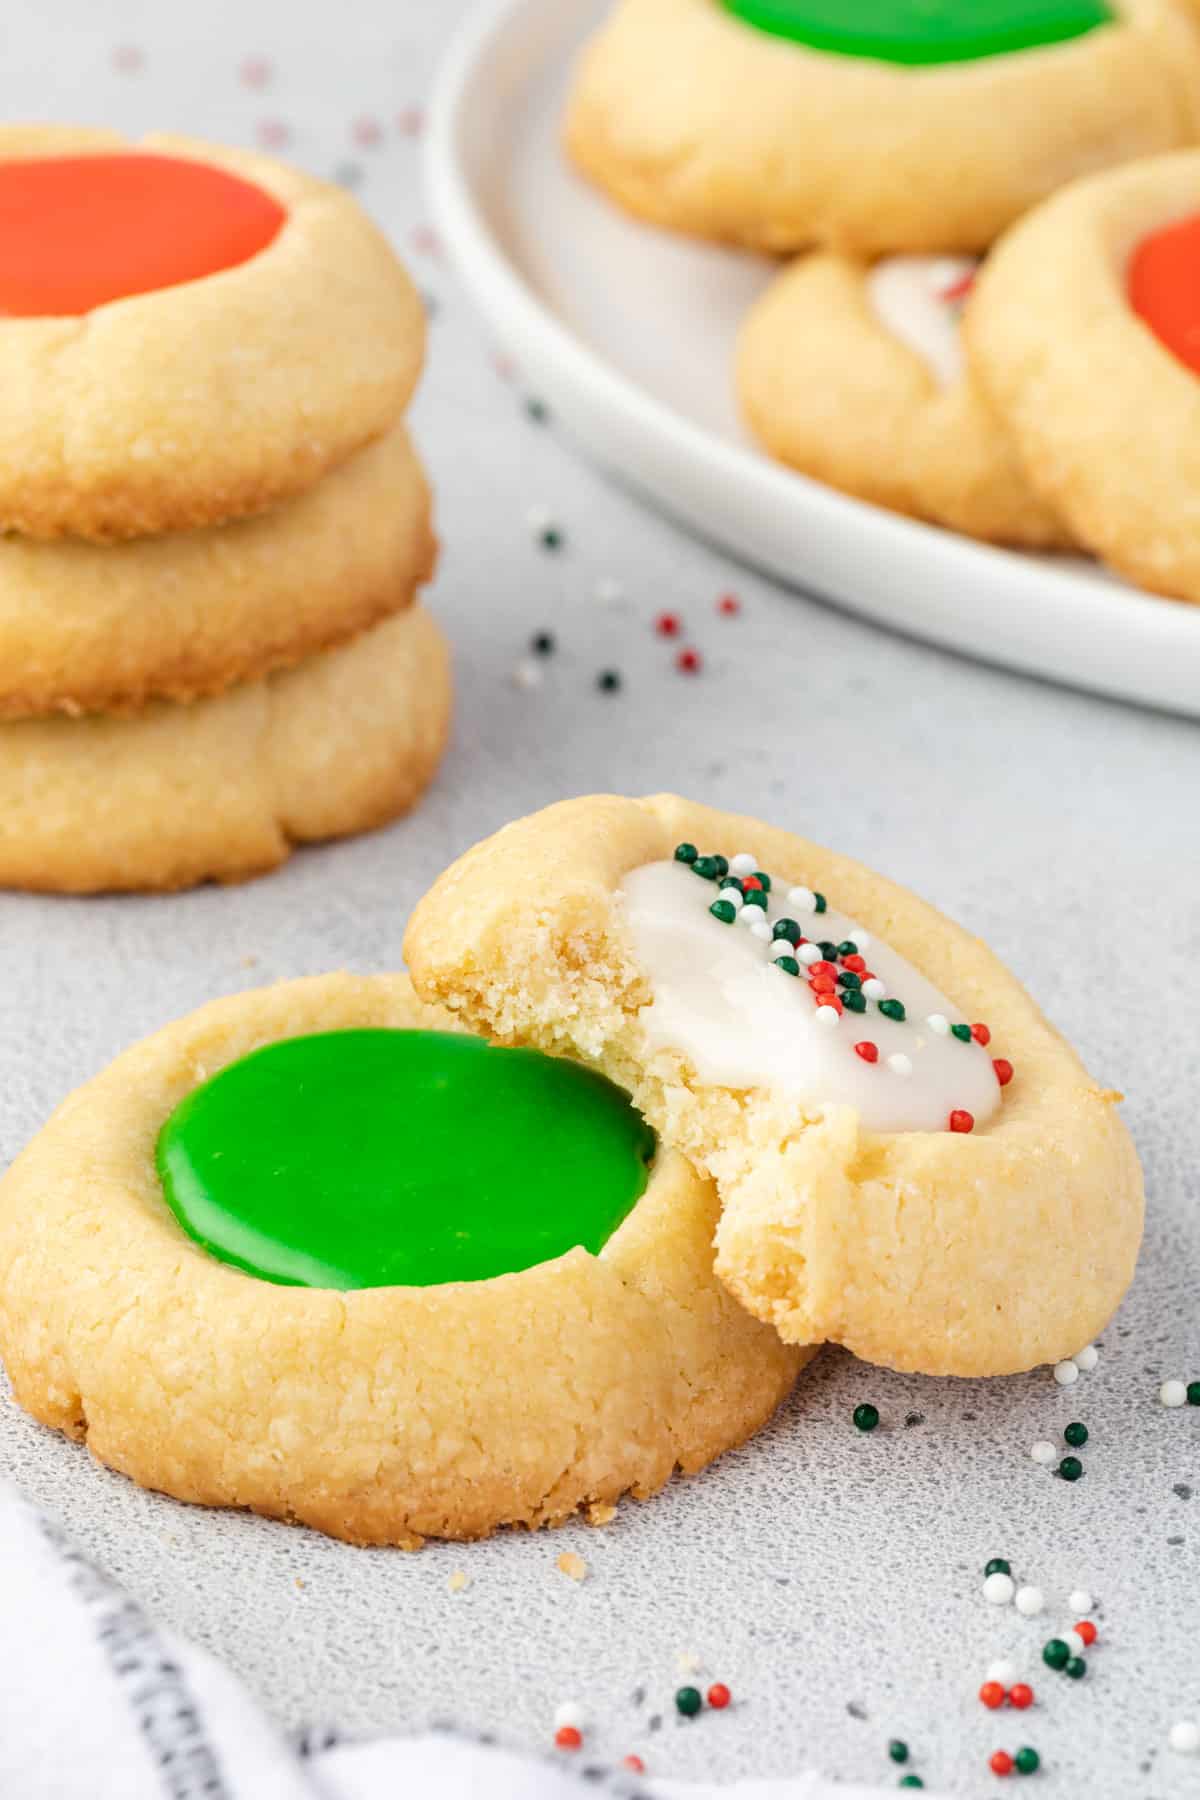
- Great Flavor: These taste like your favorite homemade sugar cookie! Sweet, delicate cookies with an icing center. Yum!
- Basic Pantry Ingredients: Chances are you already have all of the necessary ingredients on hand. So you can make these iced thumbprint cookies today!
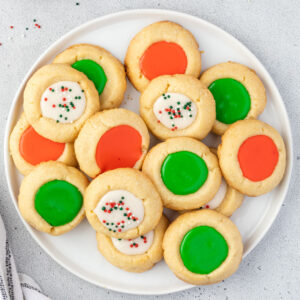
- Perfect for All Seasons: It is easy to customize these classic thumbprint cookies by changing the color of the icing or sprinkles. With red and green frosting they will be the favorite cookie of the holiday season! Use red or pink frosting for Valentine's Day. Green frosting for St. Patrick's Day. You get the idea. These will be your favorite cookie year-round!
Key Ingredients
The recipe card at the bottom of this post includes the complete list of ingredients, measurements, and instructions.
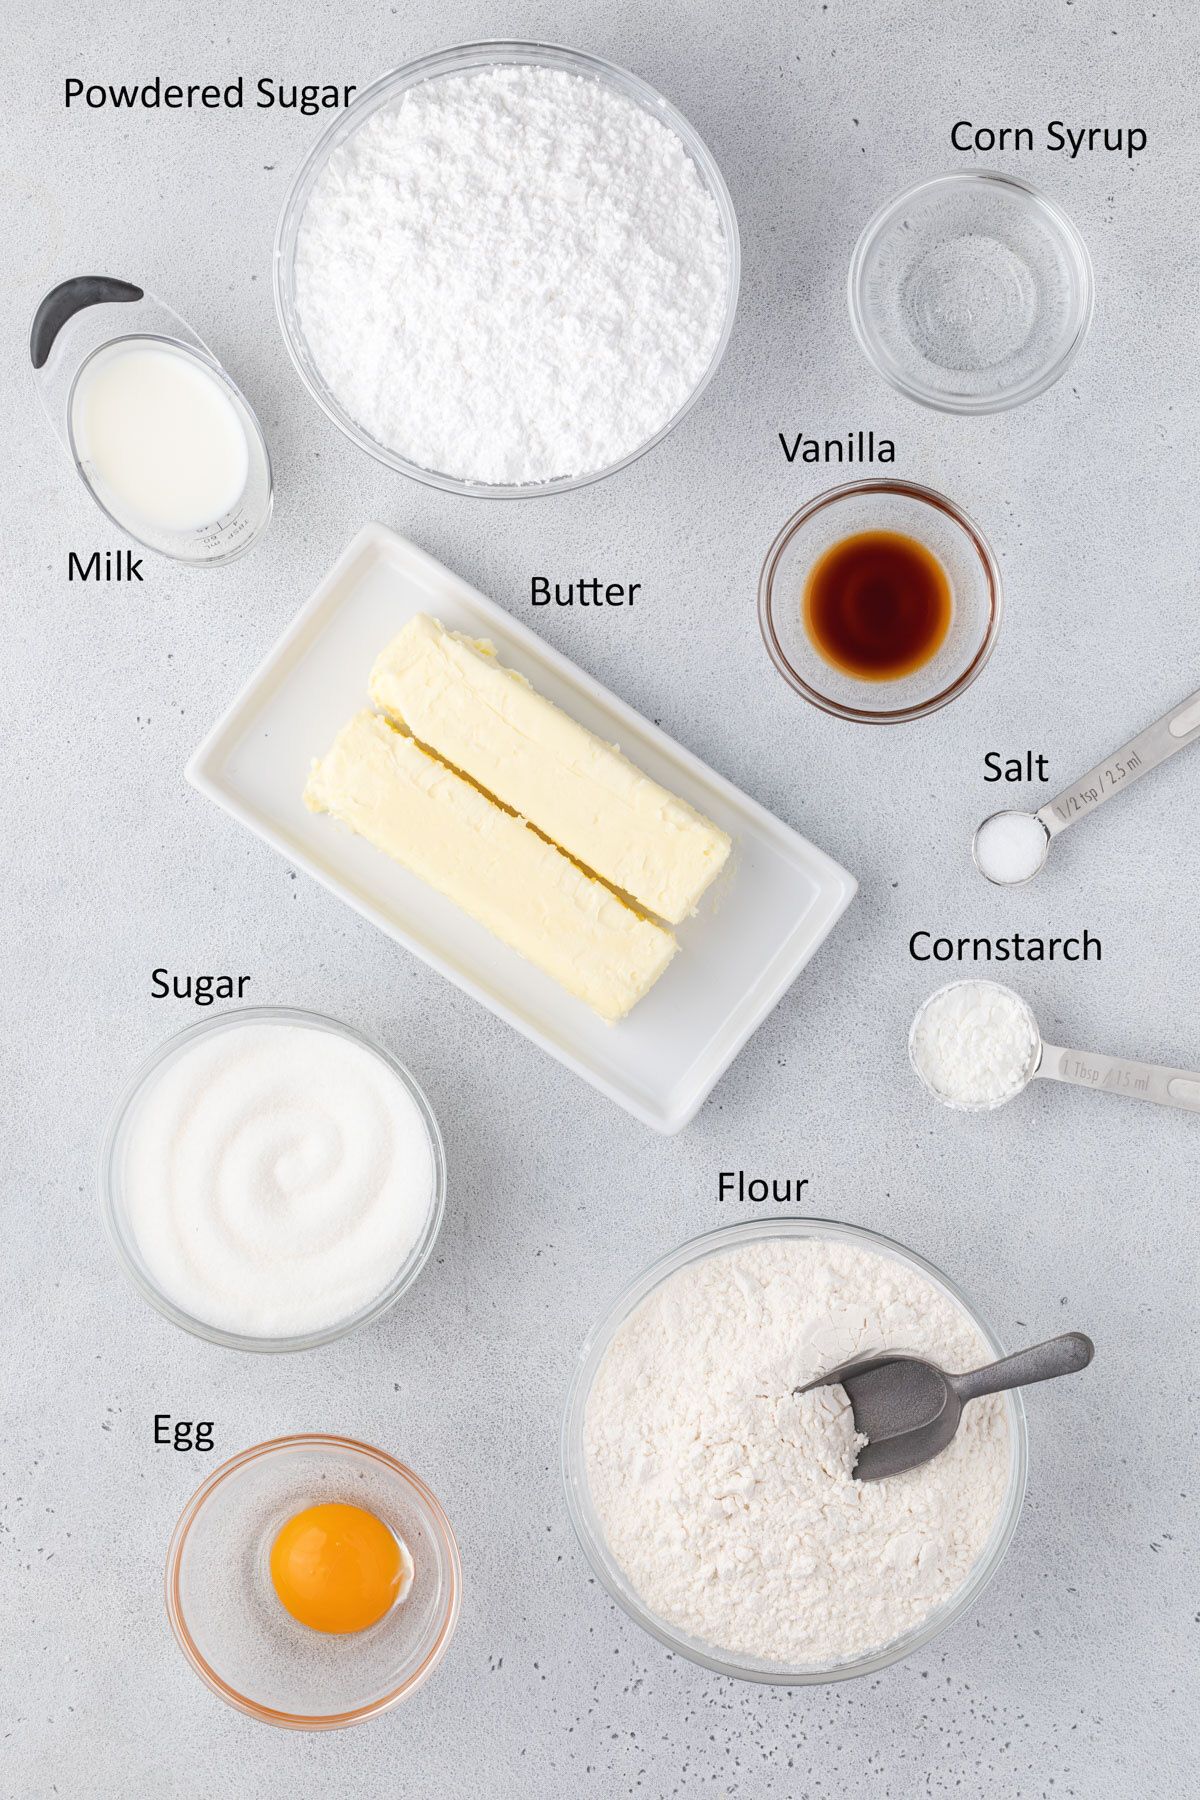
Butter - Use unsalted butter that is slightly colder than room temperature.
All-Purpose Flour - The protein in all-purpose flour gives the cookies structure and helps them have a slight crispness when you bite into it.
Egg Yolk - My goal was to have incredibly tender cookies. Adding an egg yolk helps reduce the formation of gluten, keeping the cookies soft.
Cornstarch - Cornstarch is another ingredient that makes a cookie delicate and tender. This is an optional ingredient, but I love the results of this addition.
Light Corn Syrup - Adding corn syrup to the icing makes it glossy. It also gives the top of the icing some crispness. You can leave this out if you do not have any on hand.
Instructions
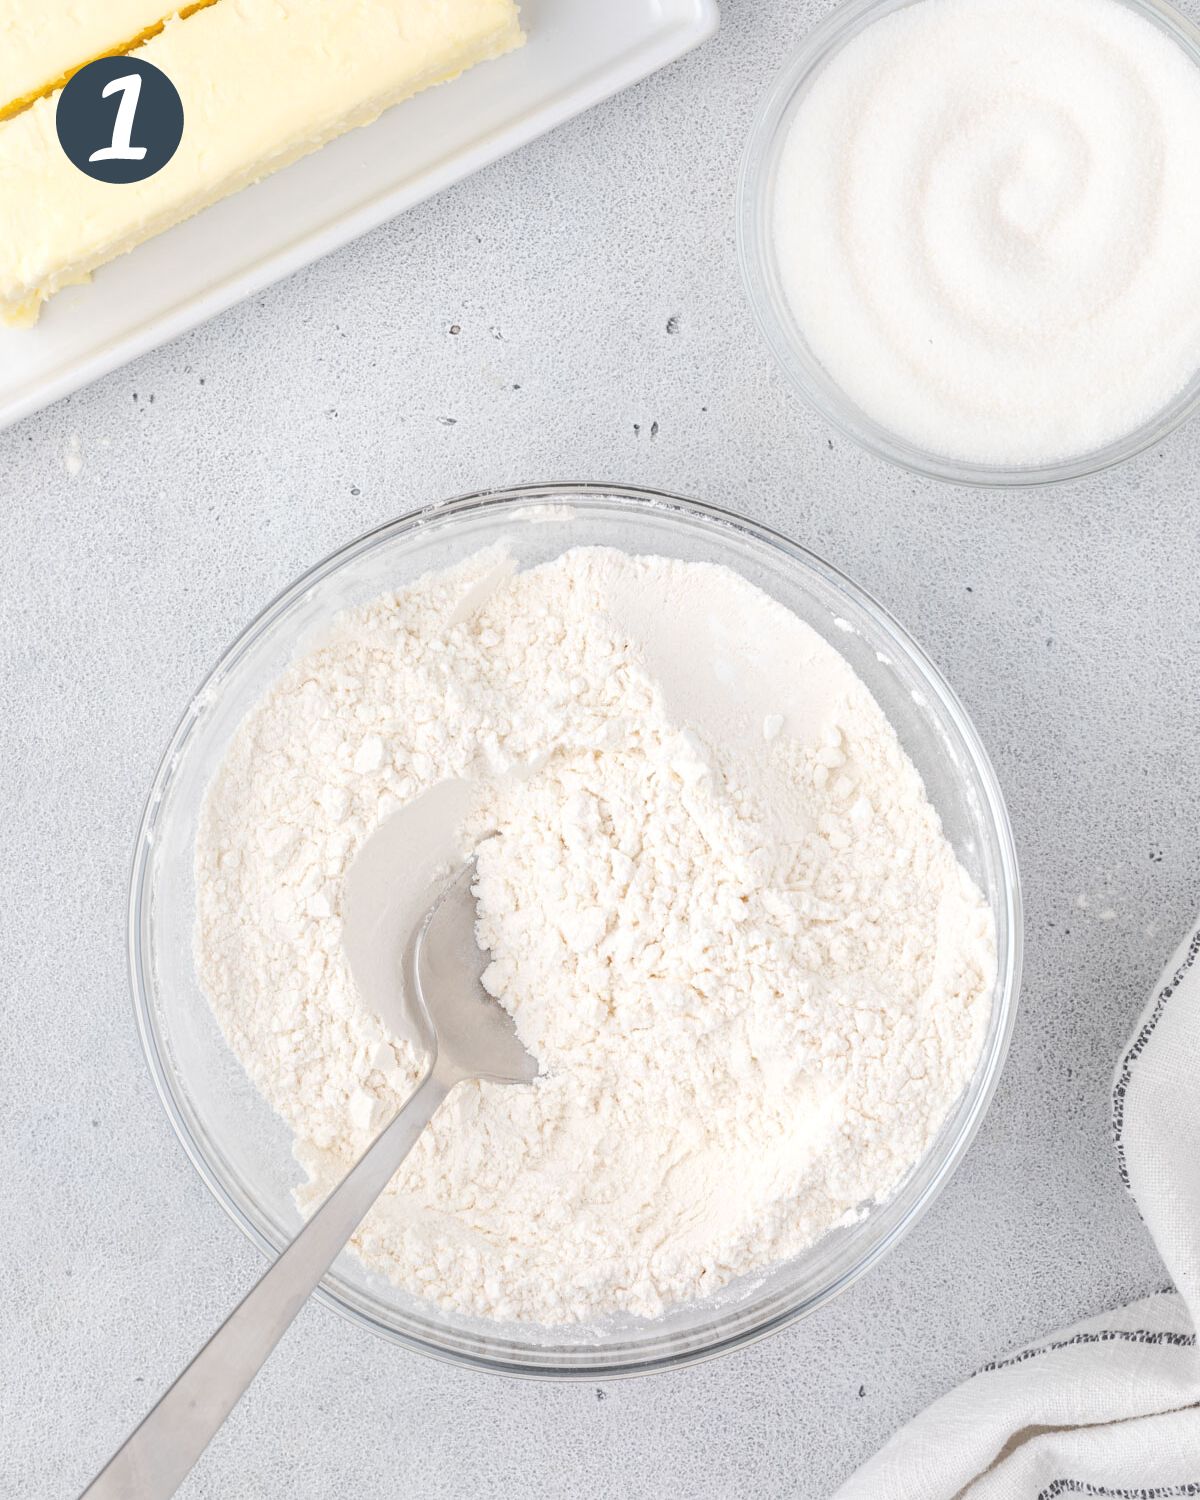
1) Whisk Dry Ingredients
- Mix the flour in a medium bowl with the cornstarch and salt. This will help the salt and cornstarch to be evenly distributed throughout the cookie dough.
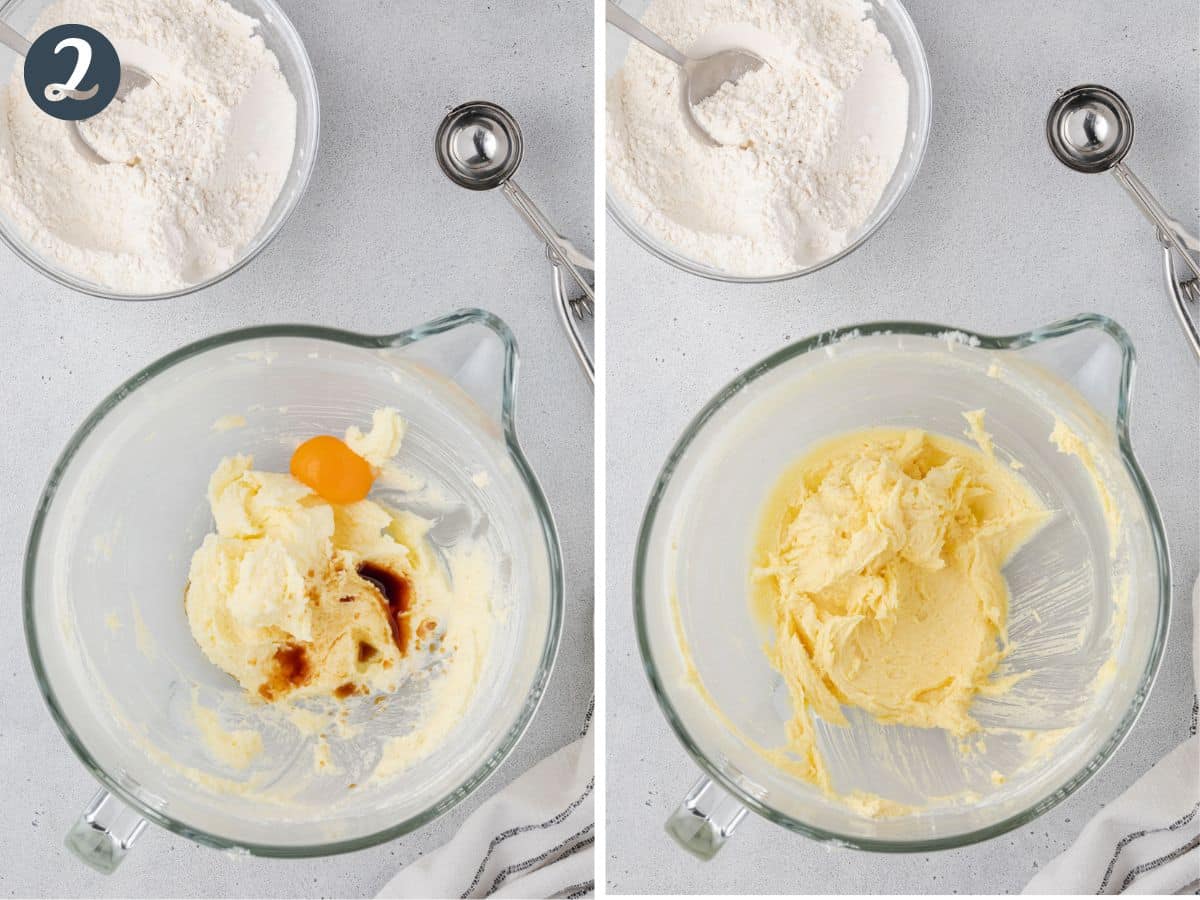
2) Cream Wet Ingredients
- Beat the butter and sugar in a large mixing bowl, using an electric mixer, for several minutes. The sugar should dissolve into the butter and the mixture will be light and fluffy.
- You can use the paddle attachment on a stand mixer, or use a hand mixer.
- Scrape the bottom and sides of the bowl well. Fully incorporated ingredients are really important!
- Add the egg yolk and the vanilla extract and continue beating.
WANT TO SAVE THIS RECIPE?
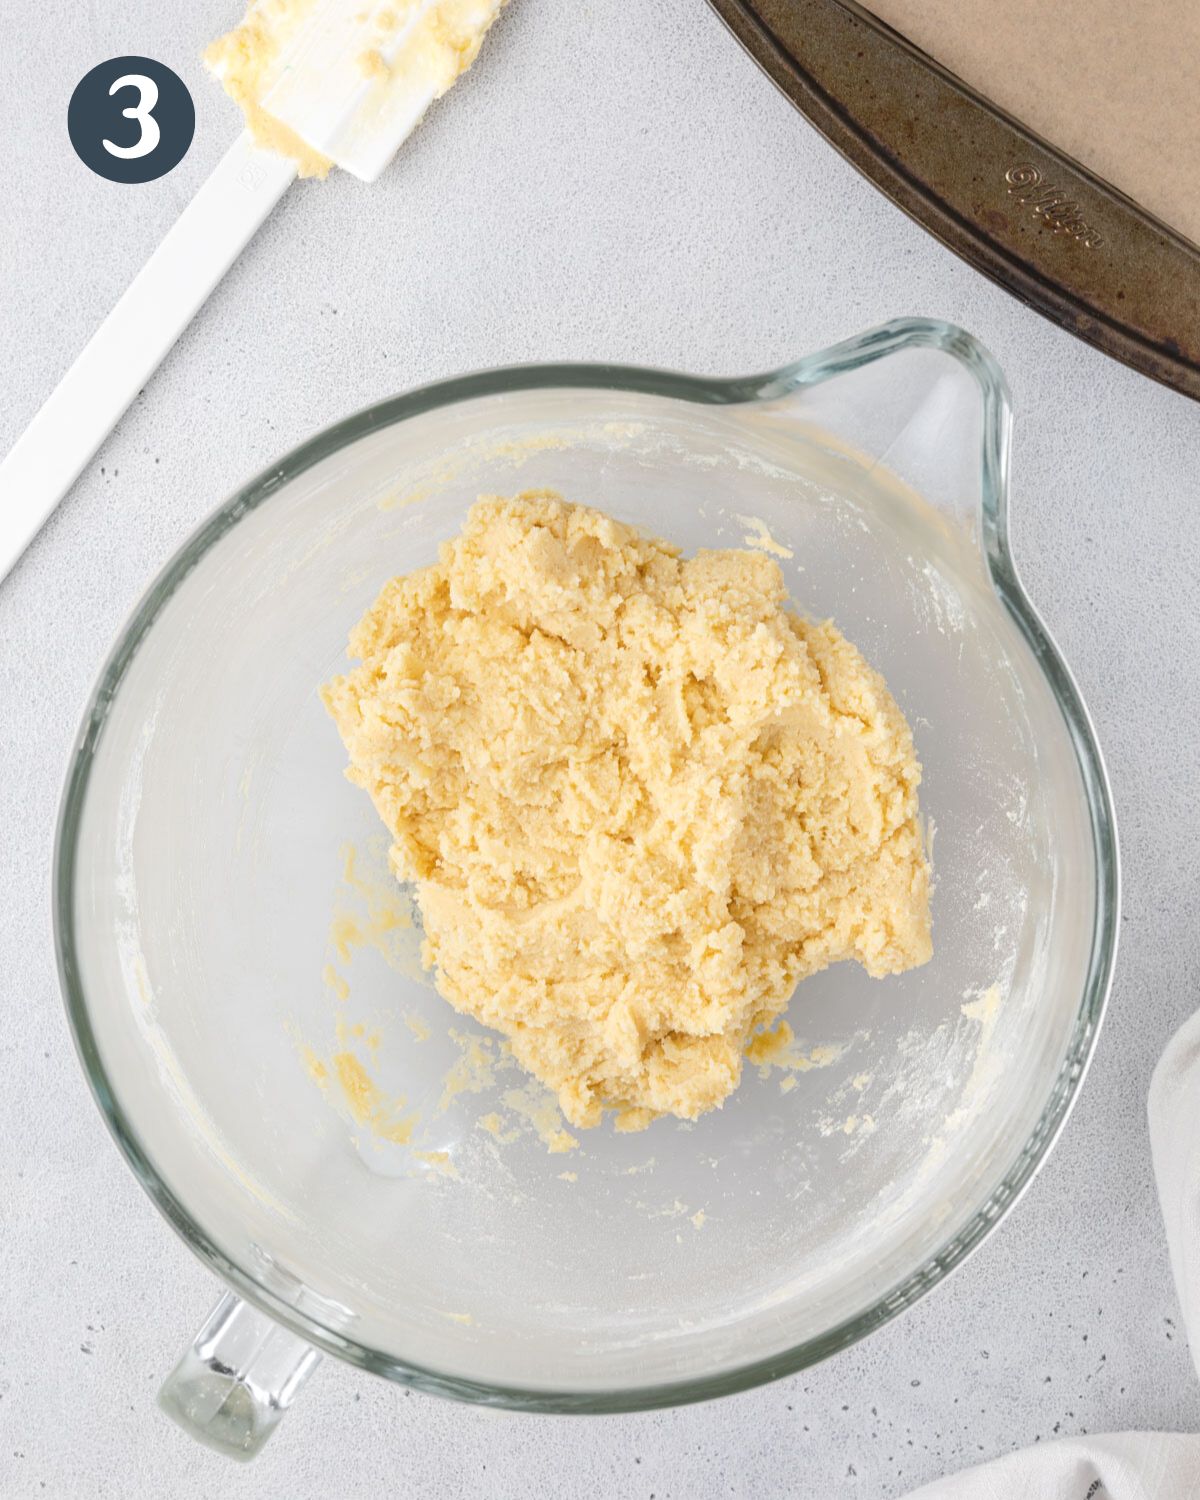
3) Combine Dough
- Scrape the bottom and sides of the bowl again. Then add your flour.
- Mix it on low speed until no flour is visible.
- While you don't want to overmix it, make sure that all of the flour is completely mixed in.
- Shape dough into a ball to remove pockets of air.
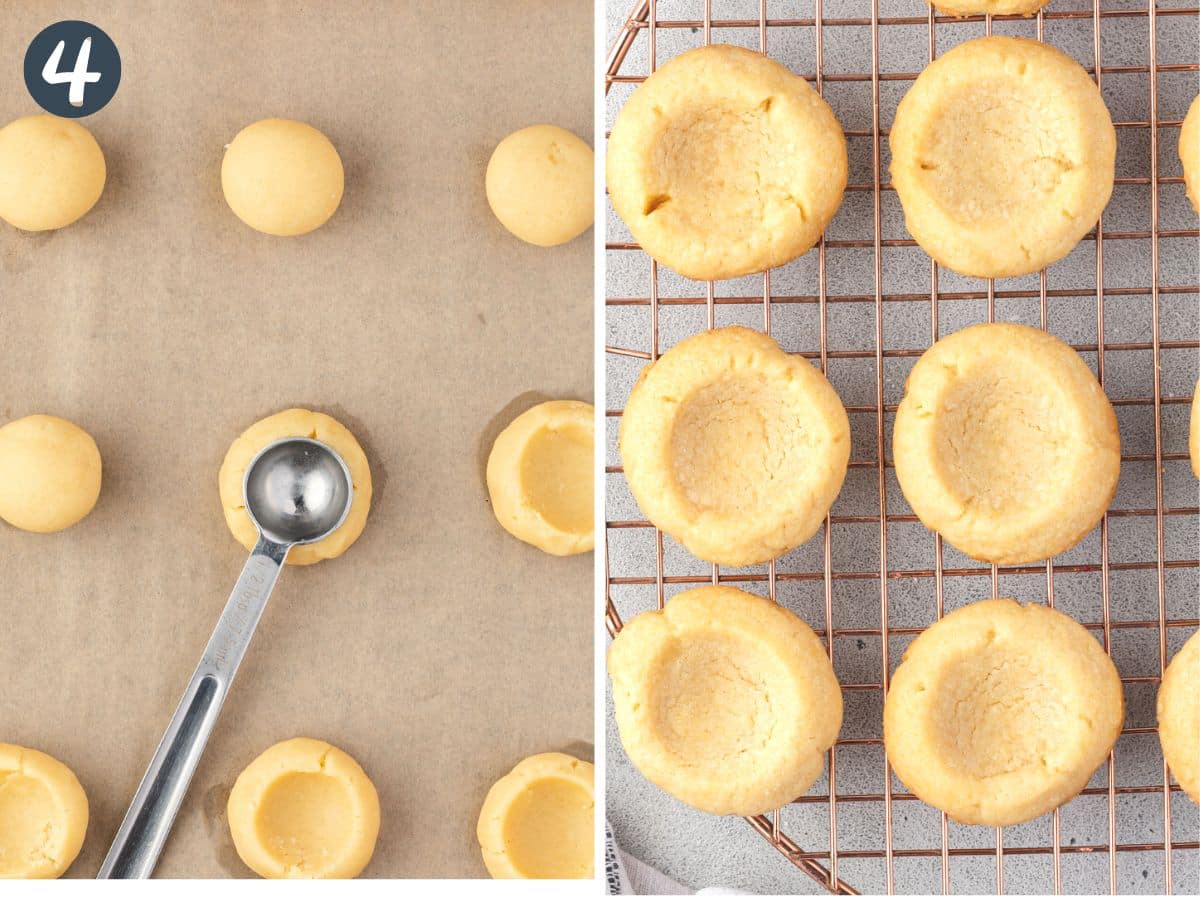
4) Shape and Bake
- Use a small cookie scoop to portion the dough into balls. Or pinch off the dough and roll it into one-and-a-half-inch balls.
- Use the back of a measuring spoon or your thumb and gently press an indention into the cookie dough balls.
- Push on any cracks to seal the dough together.
- Cover with plastic wrap and refrigerate for at least 2 hours.
- Place on a prepared baking sheet and bake for 12-15 minutes, or until the cookies are just starting to turn golden brown.
- Cool on the baking sheet for 5 minutes, then transfer to a wire rack to cool completely.
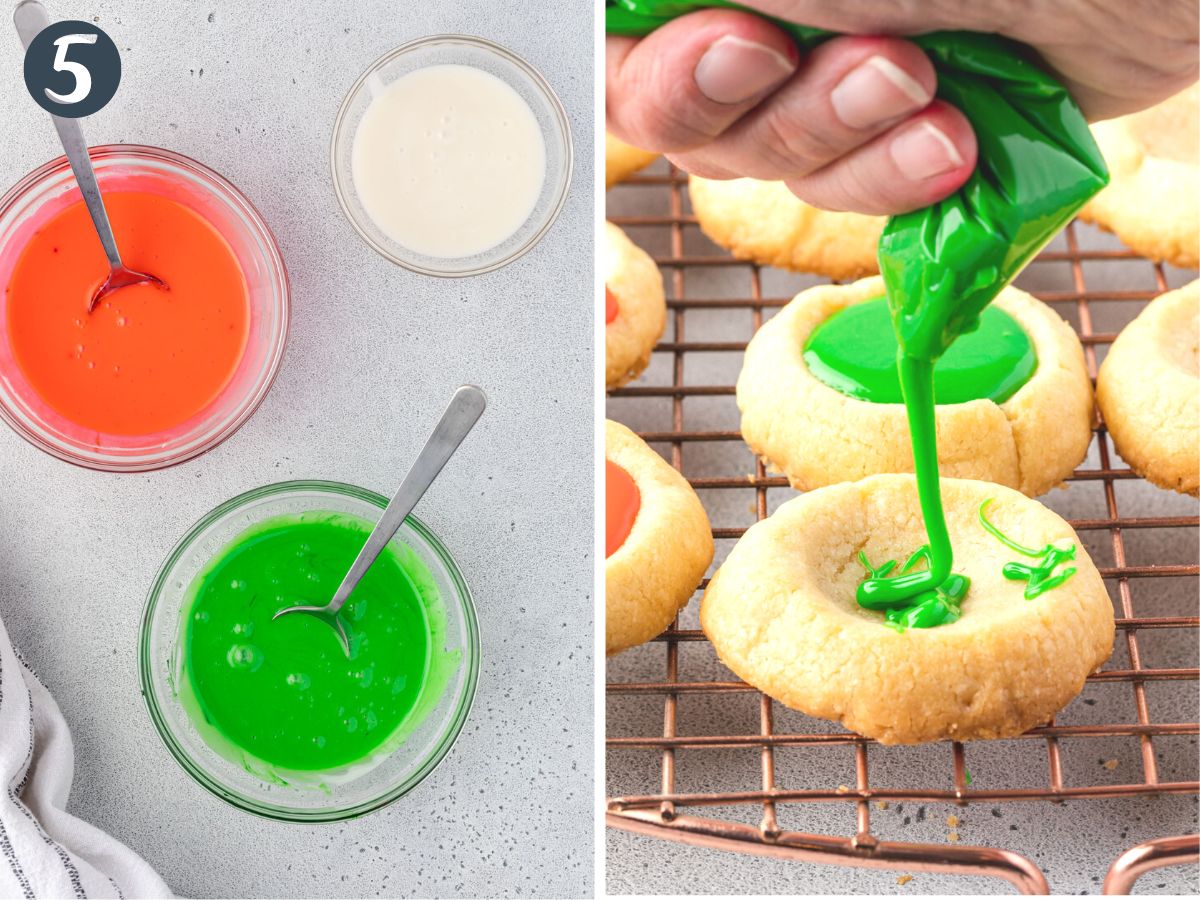
5) Frost
- Once the cookies have completely cooled, prepare the frosting.
- Start by whisking 2 tablespoons of milk into the powdered sugar, along with the vanilla and cornstarch.
- You can add additional milk to thin the frosting to your desired consistency.
- I recommend a consistency that takes just a second to start flowing from your whisk but then drips in a smooth stream.
- Divide the icing into separate bowls and add food coloring, if desired.
- You can put the icing into a squeeze bottle to fill the center of the cookie, or just add the icing to a Ziploc bag and snip the corner off.
- Fill the middle of each cookie with icing. Then set aside to set.
Make It Special✨
I like to add sprinkles to the icing because it is so simple to drop them over the cookies after they are frosted. But you can also roll the dough in sprinkles before baking.
How Do I Keep the Dough from Cracking?
It is normal for thumbprint cookies to crack a little bit. But you do want them to hold together well enough that the icing doesn't leak out. Here are a few tips to keep your cookies from cracking:
- Make sure that the dough is fully mixed. Inconsistencies in the dough can result in some cookies becoming dry, increasing cracking.
- Pack the dough into a ball so it is firm before you begin portioning.
- Use the back of a spoon to create the divet. Press into any areas that start to crack to keep the outside of the cookie smooth.
Make Ahead ⏳
I recommend freezing the cookies without the icing. Frozen cookies will last up to 3 months in the freezer and can be thawed in the refrigerator or at room temperature.
Fill them with icing after they have completely thawed. The dough can also be frozen for up to 3 months.
Expert Tips
- Soften the butter to just below room temperature by leaving it on the counter for about an hour. This makes it warm enough that the sugar will dissolve into the butter, without getting it so warm that the cookie loses structure.
- Measure carefully as too much or too little flour can make a big impact on the results of this recipe. I recommend weighing your ingredients using a scale. If you do not have a scale then spoon the ingredients into your measuring cup and then level it off with a knife.
- Use a cool cookie sheet for each batch to help keep the dough from spreading too much.
- Remove the cookies halfway through cooking and press the centers down again with the back of a spoon. This helps create a deep enough well for the icing.
- Fill the cookies at least 2 hours before serving. This will allow the icing to firm up.
- For different flavors, replace the vanilla extract in the cookies with an equal amount of almond extract, or replace it in the icing with a ½ teaspoon of almond extract.
Recipe
Iced Thumbprint Cookies
Recipe by:Ingredients
- 2 cups all-purpose flour 260 grams
- 2 teaspoons cornstarch optional
- ½ teaspoon salt
- 1 cup unsalted butter softened (226 grams)
- ⅔ cup granulated sugar 133 grams
- 1 large egg yolk
- 1 teaspoon vanilla extract
Icing
- 2 cups powdered sugar 240 grams
- 3 tablespoons milk
- 1 teaspoon vanilla extract
- 1 teaspoon light corn syrup optional
Instructions
- Mix the flour, cornstarch, and salt in a medium bowl. Set aside.2 cups all-purpose flour, 2 teaspoons cornstarch, ½ teaspoon salt
- In a large mixing bowl, beat the butter and granulated sugar for 2-3 minutes, until light and fluffy.1 cup unsalted butter, ⅔ cup granulated sugar
- Scrape the bottom and sides of the bowl, then add the egg yolk and vanilla extract. Beat for an additional minute.1 large egg yolk, 1 teaspoon vanilla extract
- Stir the flour mixture into the butter mixture on low speed until there is no visible flour remaining. Press the dough firmly into a ball.
- Scoop 1 ½ tablespoon portions onto a parchment-lined tray. Roll the dough portions into balls then use your thumb or the back of a teaspoon to press an indention into each ball of dough. Press together any cracks, then refrigerate the dough for at least 1 hour.
- When ready to bake, Preheat the oven to 350°F (177°C). Set the cookie dough 2 inches apart on a baking sheet lined with parchment paper or a silicone baking mat and bake for 6 minutes. Remove the tray from the oven and press the cookies down once again with the back of a spoon. Then return to the oven for an additional 6-8 minutes, or until the edges of the cookies just start to brown.
- Cool on the baking sheet for 5 minutes, then transfer to a cooling rack to cool completely.
- Prepare the icing by whisking 2 tablespoons of milk into the powdered sugar, along with the vanilla extract and corn syrup (if using). Once it is smooth, whisk in additional milk to reach your desired consistency.2 cups powdered sugar, 3 tablespoons milk, 1 teaspoon vanilla extract, 1 teaspoon light corn syrup
- Color the frosting to your liking. Then transfer into a disposable zip-top bag. Cut the corner off of the bag and squeeze the frosting into the center of each cookie. Allow an hour or two for the frosting to set.
Notes
- The cornstarch will make the cookies softer. You can leave it out for a firm cookie.
- Adding corn syrup to the frosting makes it glossy.
- Store cookies in an airtight container for up to 5 days.
- Unfrosted cookies can be stored for 3 months.
- Dough can also be frozen for up to 3 months. Thaw in the refrigerator before baking.
- Use a cool cookie sheet for each batch to help keep the dough from spreading too much.
- Fill the cookies at least 2 hours before serving so that the icing has time to set.
Equipment
Nutrition
The nutritional facts provided are only estimates. The accuracy of the nutritional information for any recipe on this site is not guaranteed.


Becca says
These are so good that I think I will request these cookies for my birthday instead of cake!
This comment was provided by a family member of State of Dinner
Erin says
Yay, glad that you love these cookies! They are perfect for birthday celebrations!
Matthew Gierhart says
Reminds me of Christmas sugar cookies growing up, but in a fun new shape. Delicious!
This comment was provided by a family member of State of Dinner.