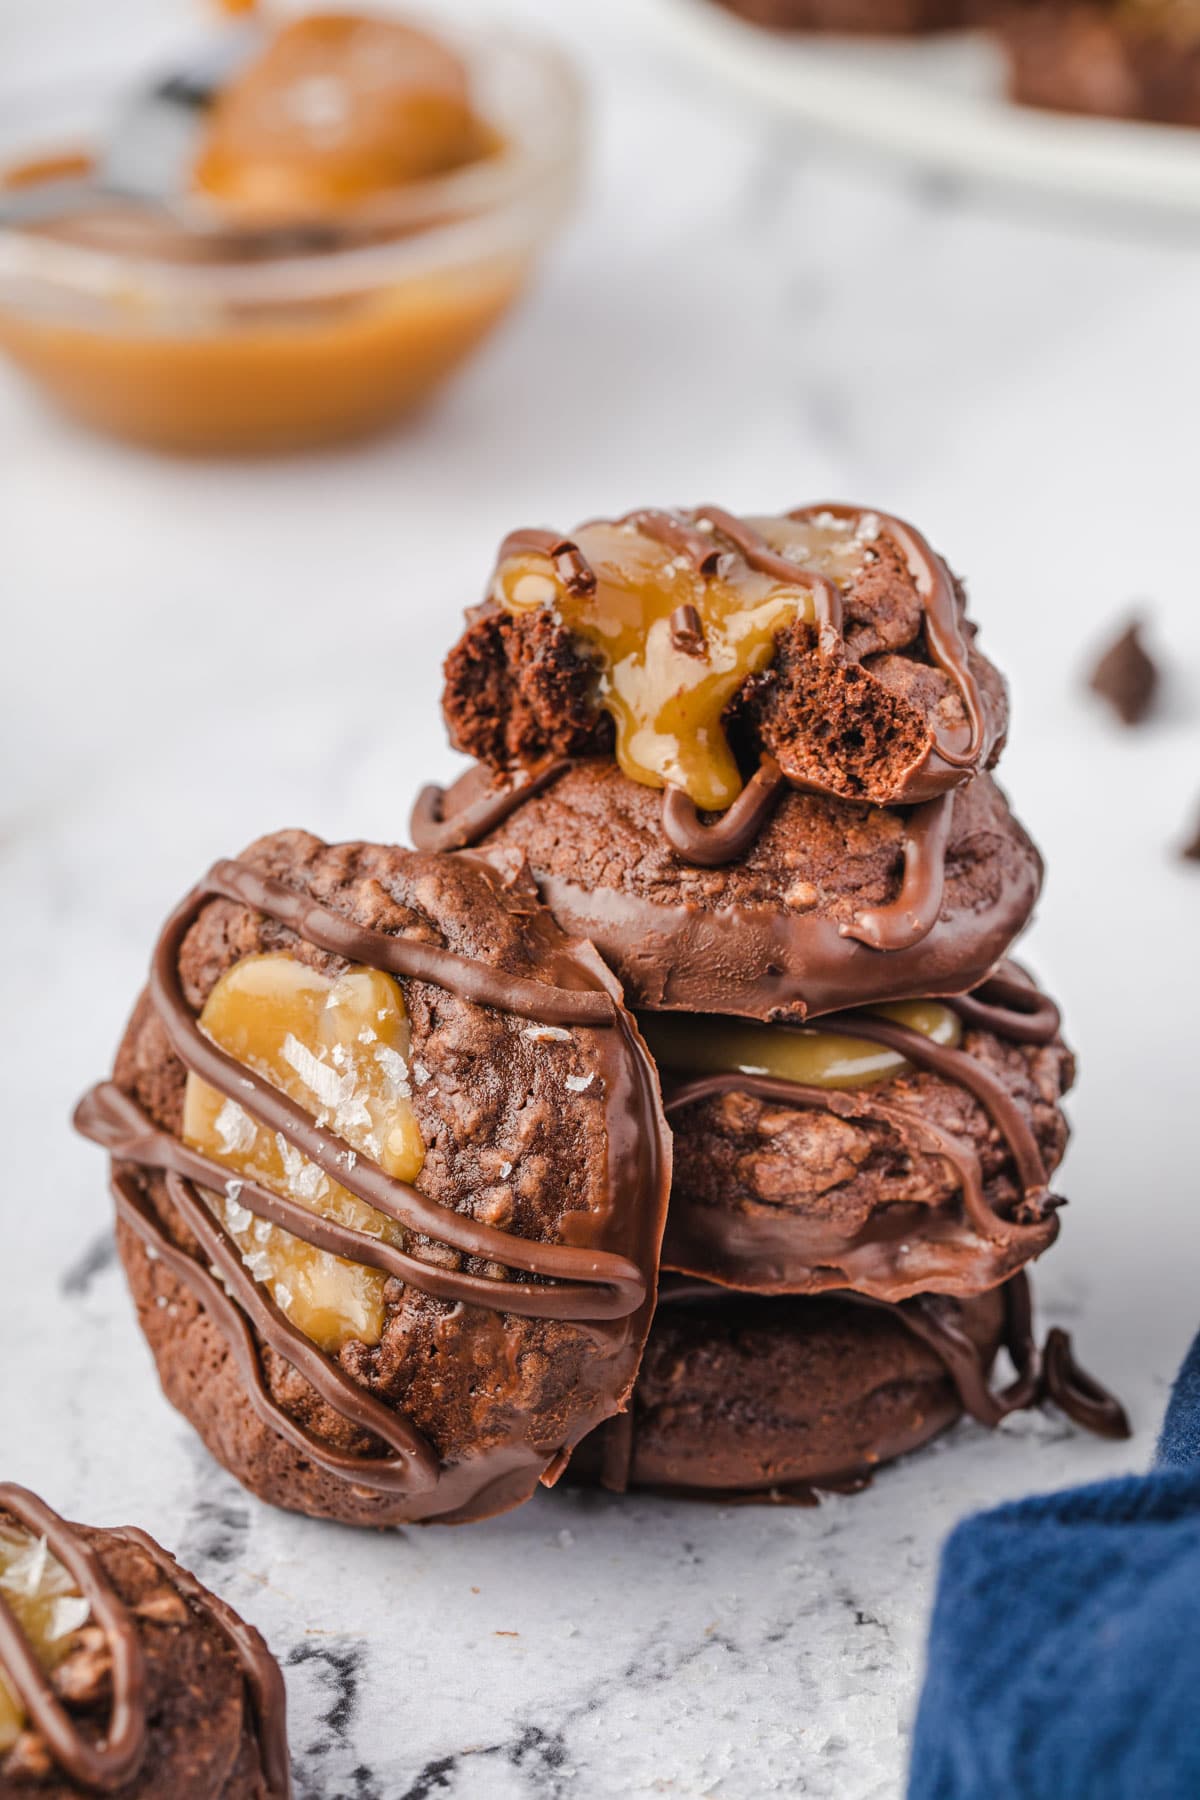
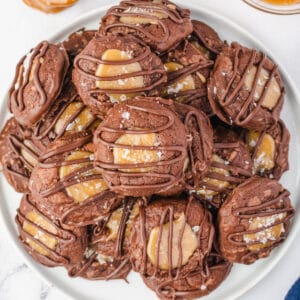
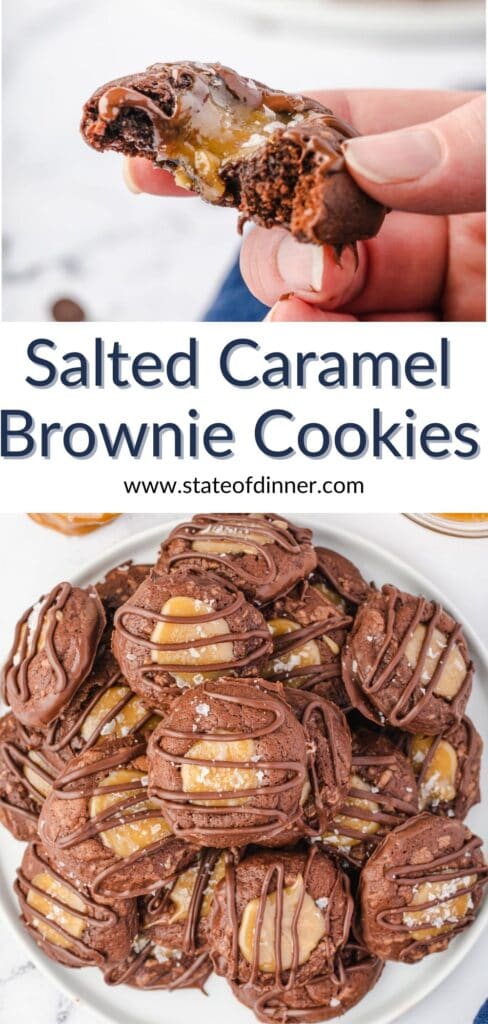
You don't have to wait for Girl Scout Cookie Season to enjoy the best new cookie! This Adventureful Cookie copycat is so good! Your favorite crinkle-top chewy brownie is combined with soft caramels and turned into a cookie!
And the dough doesn't have to be refrigerated, so get started and you'll be biting into these gooey brownie cookies in no time!
Jump to:
Why You Will Love This Recipe
- Flavor: Chocolate lovers will flip over the flavor of these Salted Caramel Brownie cookies! They taste like a high-end fudgy brownie. And the scratch-made caramel sauce is so rich and buttery! It is like two treats from your grandmother's kitchen combined into one delightful cookie!
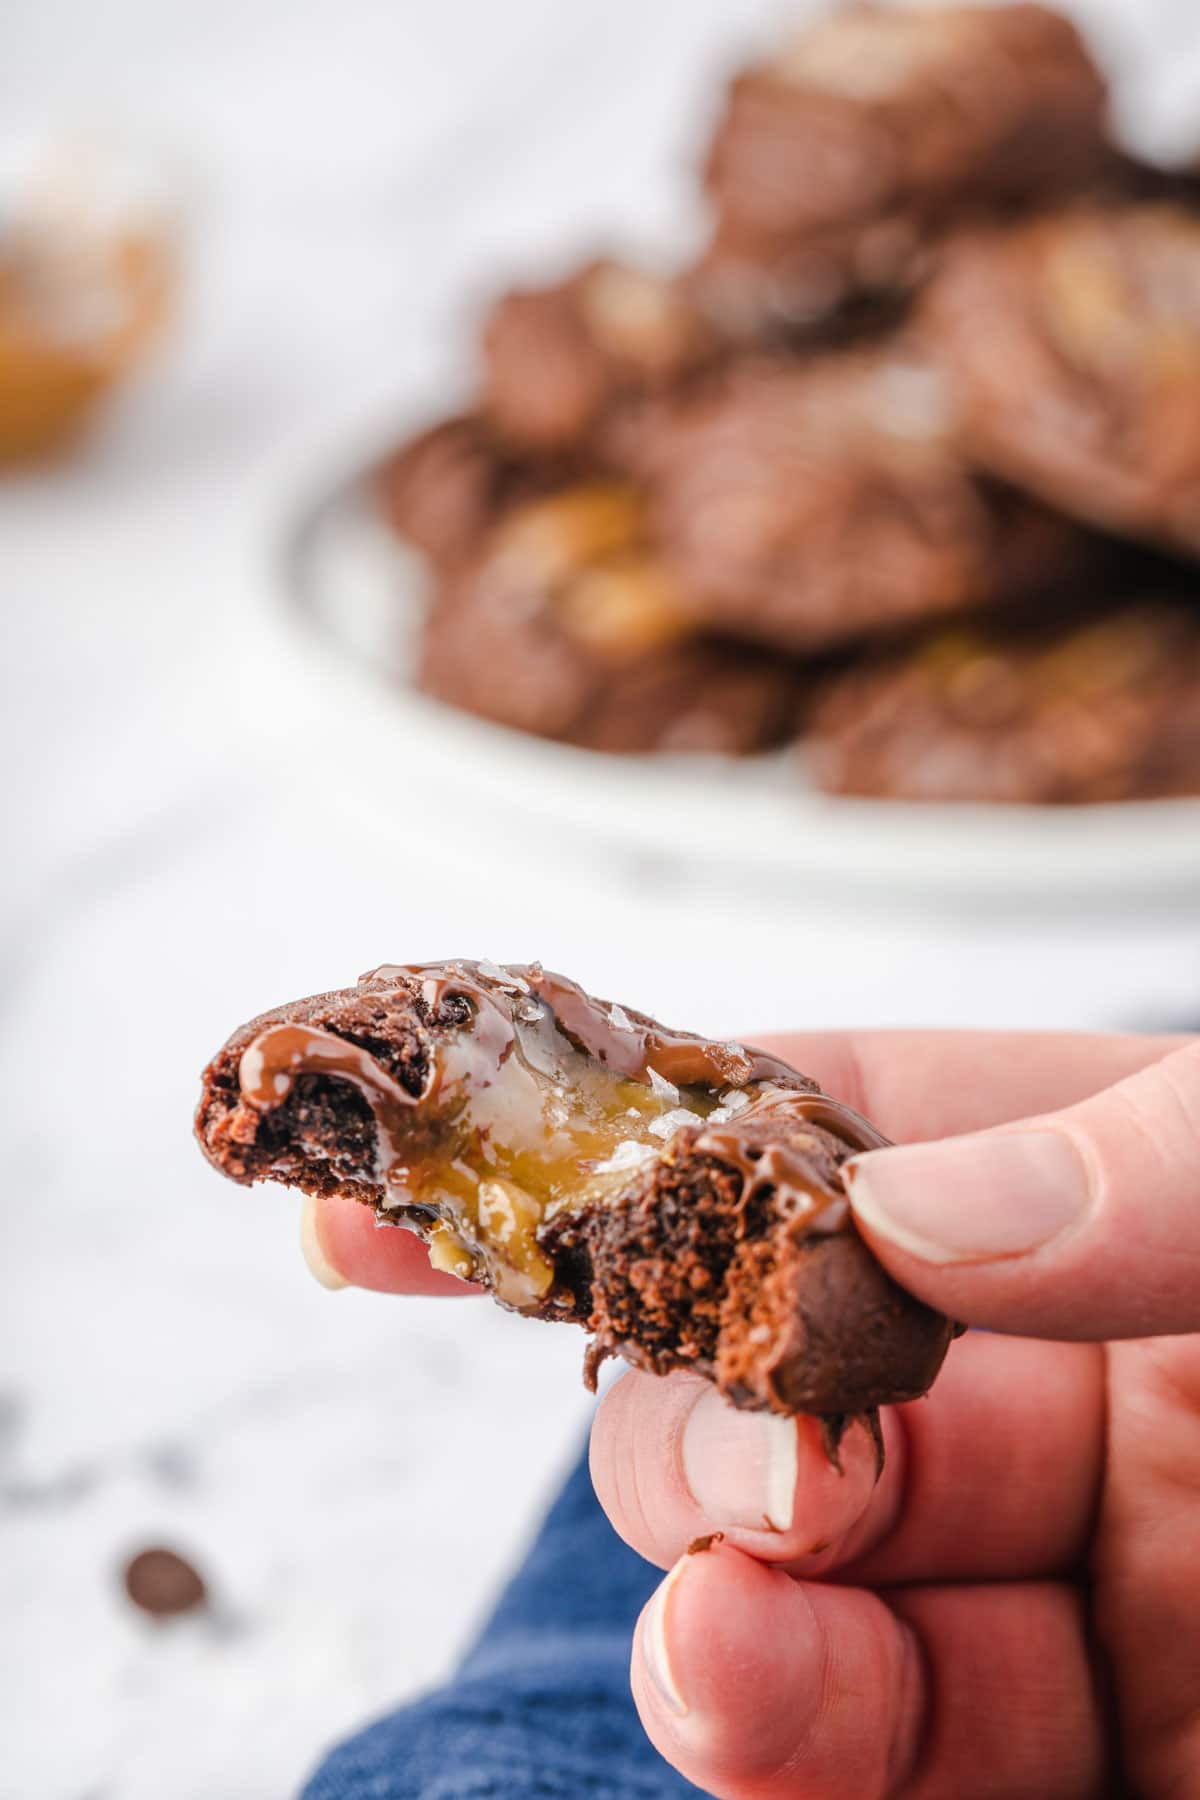
- Texture: These cookies have a fudgy brownie texture in the center with chewy edges, then accented with gooey caramel.
- No Refrigeration Needed: With most cookies, it is important to refrigerate the cookie batter overnight, but not with these chewy brownie cookies! Just like with my Peppermint Mocha cookies, these can be baked right away! Perfect for those last-minute cravings!
- Appearance: Even though they are simple to make, these brownie cookies look impressive! They make a beautiful addition to your holiday cookie trays, and are great to take to a party!
- Here are some of the best cookies to add to that cookie tray! Cardamom Shortbread Cookies, Snickerdoodles, and Marshmallow Chocolate Chip Cookies!
Ingredients
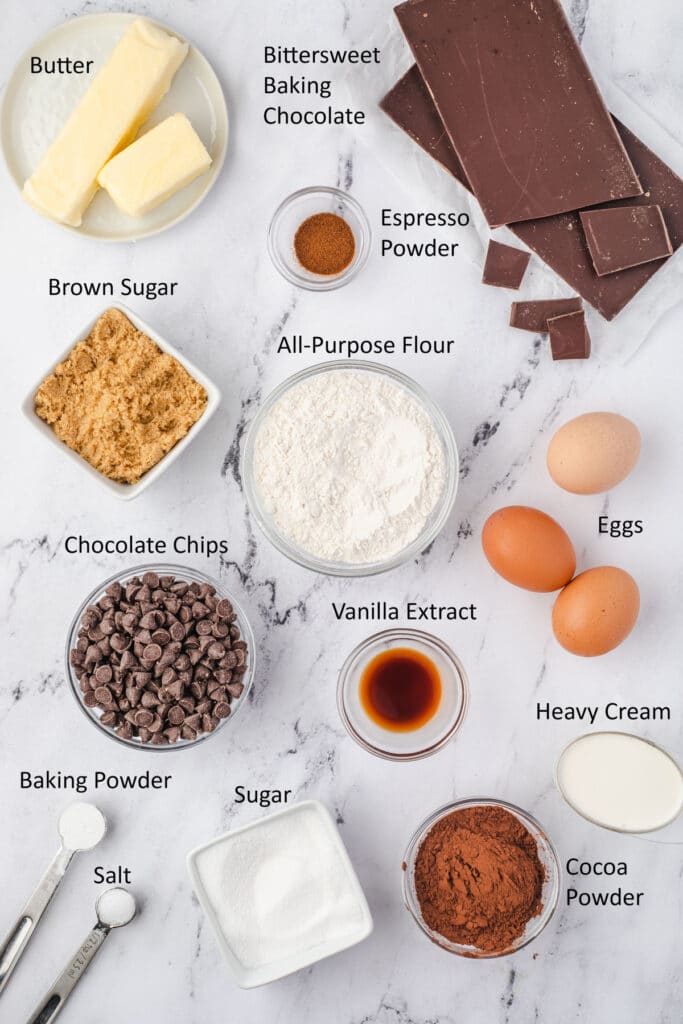
Baking Chocolate - This is the dominant chocolate flavor in this recipe, so quality is important. I like the Guittard and Ghiradelli brands. Using 60% Cacao Bittersweet Chocolate gives the cookies a rich chocolate flavor without being too dark.
Espresso Powder - Don't worry, this won't make your cookies taste like coffee! Espresso powder enhances the chocolate flavor.
Cocoa - Dutch-processed cocoa powder reacts best with the baking powder that is in this recipe. It has a smooth flavor and in this recipe, it adds just the right chocolate undertones.
Butter - Either salted or unsalted butter works fine for this recipe. Whichever kind of butter you use, make sure it is softened at room temperature.
How to Make Adventureful Cookies
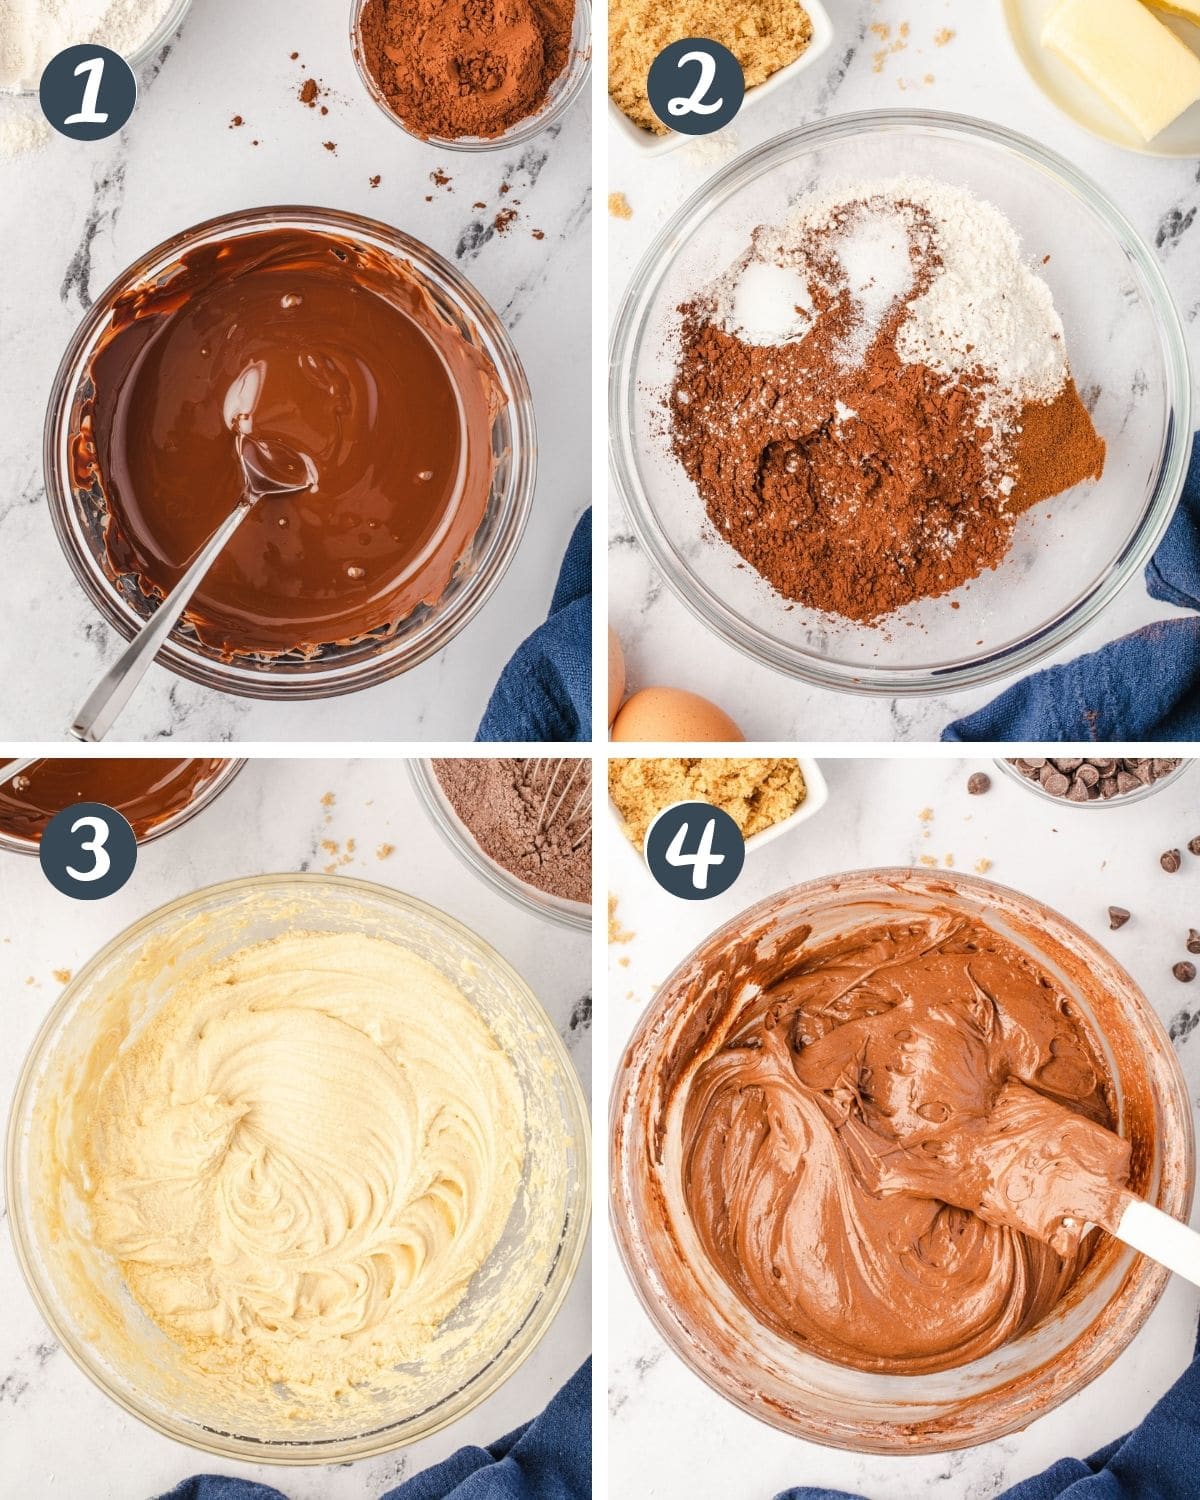
- Melt Chocolate
You can melt your chocolate in the microwave, stirring every 30 seconds. Or use a double-boiler, if you prefer. - Mix Dry Ingredients
Whisk the flour, cocoa, espresso powder, baking powder, and salt in a small bowl. - Beat Wet Ingredients
This beating process is really important in order to get the best texture from your cookies.
You want the sugar to melt into the butter by beating it for 2 minutes. Then when you continue to beat it after the eggs are added, air is incorporated into the batter making it really fluffy.
This beating process gives you cookies that are light, yet chewy. The extra air in the batter also means you will get more cookies out of one batch. - Mix in Melted Chocolate, Then Dry Ingredients
Once the dry ingredients are added, mix until the flour is no longer visible. You don't want to mix it too much because that will increase the gluten, resulting in dense cookies.
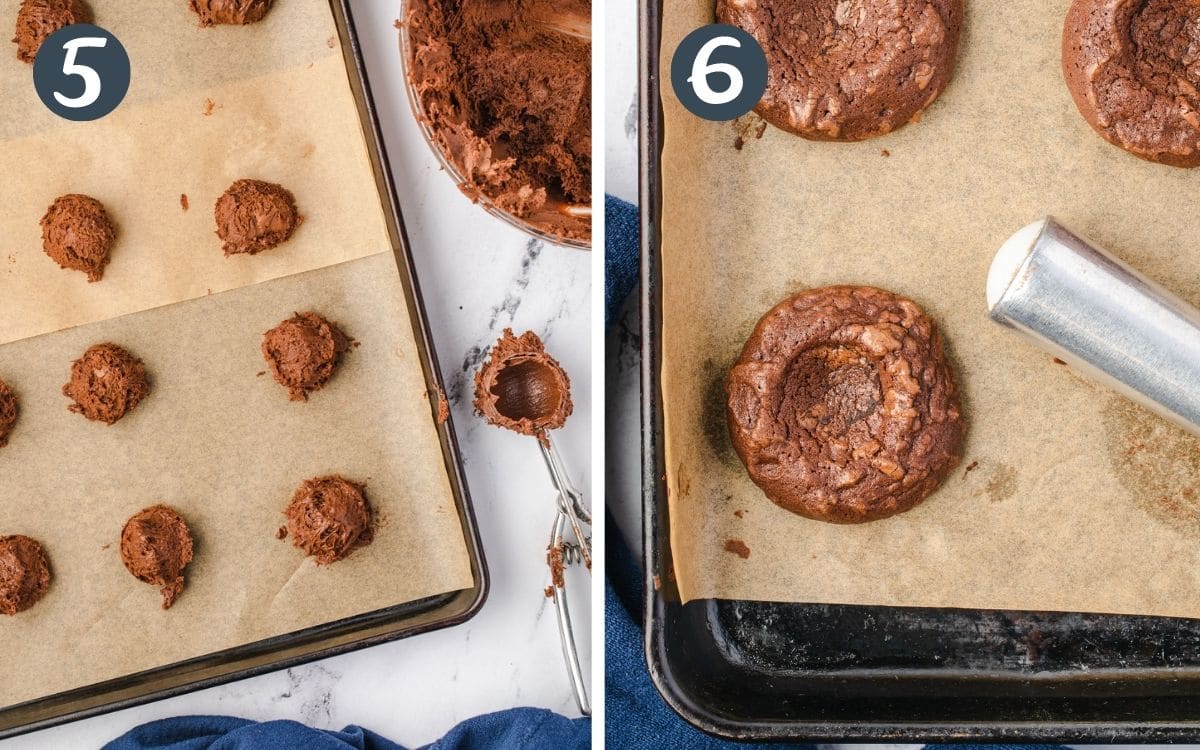
5) Scoop onto Baking Sheet
The dough will be really sticky so I like to use a cookie scoop, but you can also shape 2 tablespoon balls with your hands. Just be prepared for a little bit of a mess if you use your hands!
Place the dough balls 2 inches apart on prepared cookie sheets that have been lined with parchment paper or a silicone mat. Bake for about 12 minutes. The edges should be set. It's okay if the middle still looks a little wet.
6) After Baking, Press Down Middle
Use the back of a spoon or a handle to create indentions in the middle of each cookie. I use the handle of my ice cream scoop and press straight down in the center.
Optional Step: Dip in Melted Chocolate
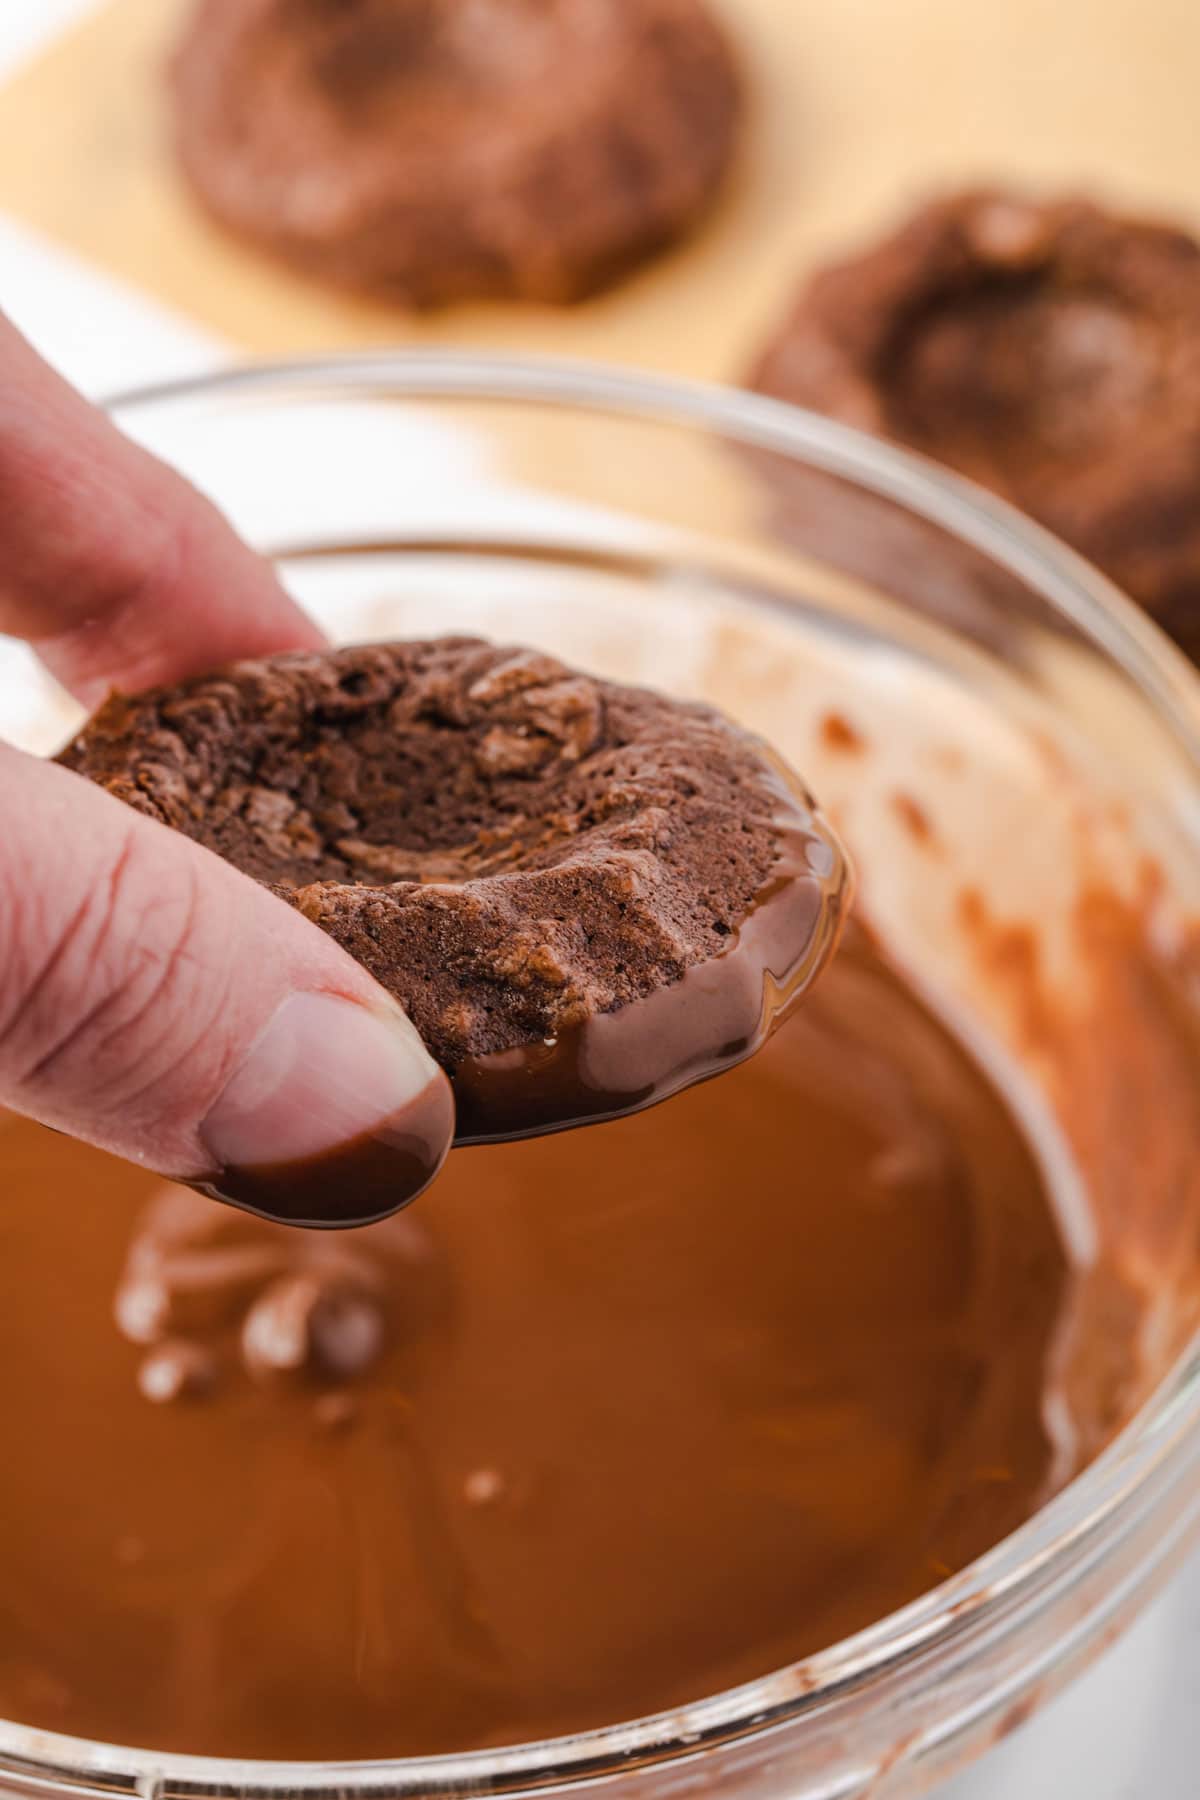
Adventureful cookies have a chocolate coating on the bottom. This is really fun, but personally, I prefer my cookies without this chocolate layer. The chocolate is messy and I also think that it takes away from the caramel flavor.
If you want to stick to a true copycat then melt your semi-sweet chocolate chips in the microwave, just like you did with the baking chocolate. Once it is smooth, simply immerse each cookie into the chocolate, until the bottom half of the cookie is coated. Then set it onto a sheet of parchment paper to dry.
Step 8: Make Caramel
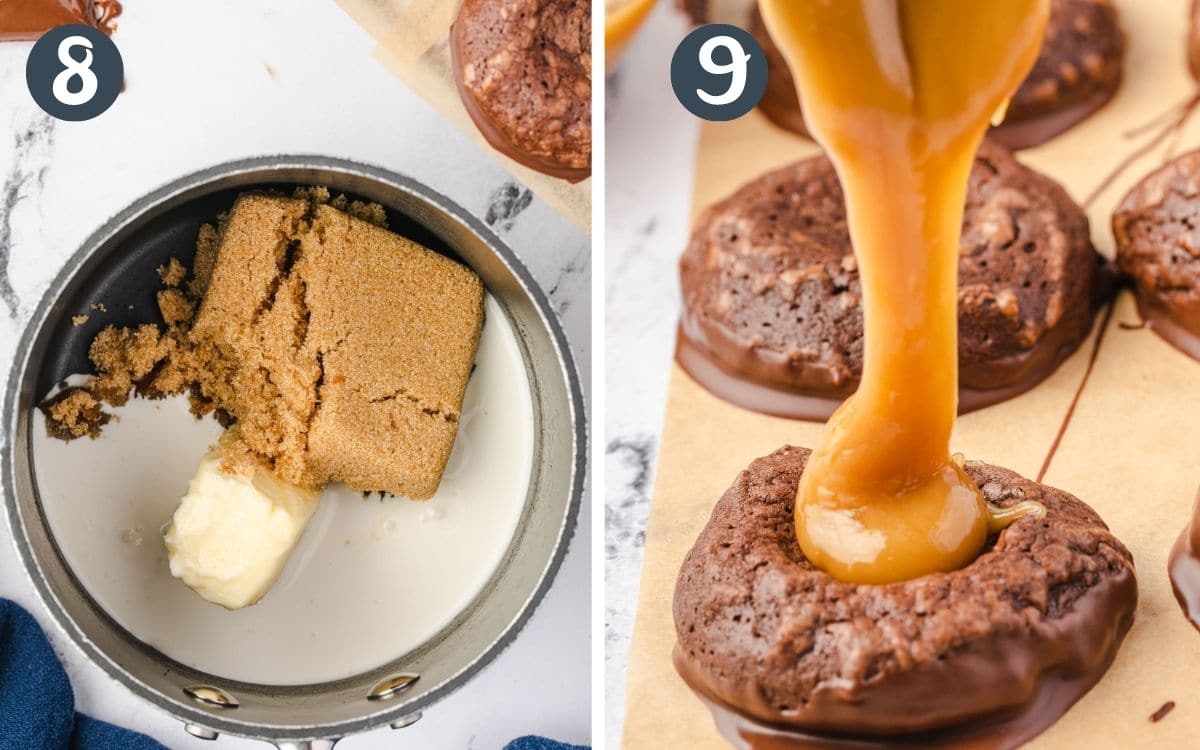
This caramel filling takes just 3 ingredients and a couple of minutes to make. Hardly any more time than heating jarred caramel sauce in the microwave, but it tastes so much better!
When heating the caramel, stir it continuously until it starts to boil. That will allow the sugar to dissolve completely into the mixture. Once it starts to boil, stop stirring and let it continue to boil for about a minute and a half.
Step 9: Pour Caramel into Cookie Indention
It takes about a half teaspoon to fill the center of a cookie. Use a spoon to scoop a dollop of caramel and drop it into the indention.
Step 9: Garnish the Cookies
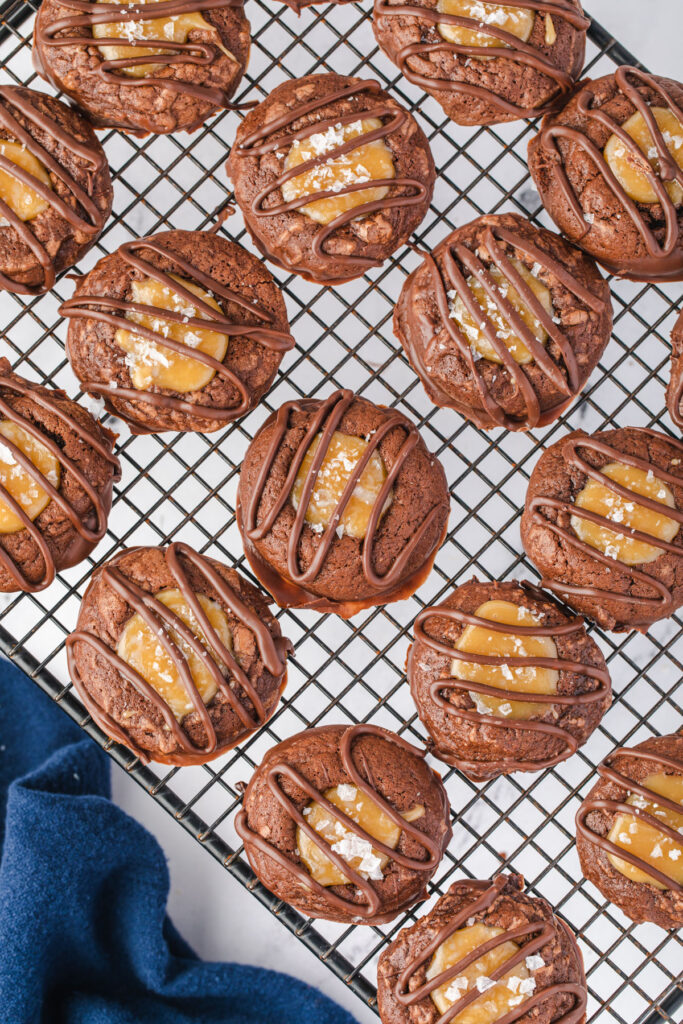
If you dipped the cookies in melted chocolate then you will have some of it left to drizzle over the cookies. If you did not dip the cookies, then melt ½ cup of chocolate chips.
I like to place the cookies on a wire rack with a piece of parchment underneath it before drizzling with chocolate. This allows excess chocolate to fall below instead of making your cookies messy.
Transfer the melted chocolate to a zip-top plastic bag and cut off the very tip of one of the corners. While gently squeezing, move the bag of chocolate in a zigzag pattern to drizzle over each cookie.
Sprinkle the top of the cookies with sea salt flakes, if desired.
Expert Tips
- If using a cookie scoop, spray it with nonstick spray before portioning the cookies. The dough is very sticky and nonstick spray will help it release with ease.
- There is no need to refrigerate the dough. These cookies can be baked right away!
- If you want the salt to remain visible then wait to sprinkle the cookies until right before serving. The moisture from the caramel sauce will dissolve the salt over time.
Recipe FAQs
Brownie cookies should be stored at room temperature in an airtight container, where they will stay fresh for 5 days. You can also refrigerate them for up to 2 weeks. The caramel will harden in the refrigerator, so bring them to room temperature before serving.
Brownie cookie dough can be frozen for up to 3 months, but cooking from frozen will result in very thick, almost ball-shaped cookies. For best results, thaw the dough in the refrigerator before baking.
The fat content of your chocolate will determine how long it takes for the chocolate to set. If the chocolate remains wet, simply transfer the cookies to the refrigerator and the chocolate will harden.
For the best flavor and texture, you want to use baking chocolate for this brownie cookie recipe. The additional ingredients in chocolate chips will result in a less chocolatey flavor, and the texture will not be as chewy.
Brownie cookie dough can be made ahead and stored in the refrigerator. However, if the dough is too cold then the batter will not spread. To remedy this, take your dough out of the refrigerator while the oven is pre-heating to allow it to warm up just a little.
Check out the web story for these cookies!
Recommended Recipes
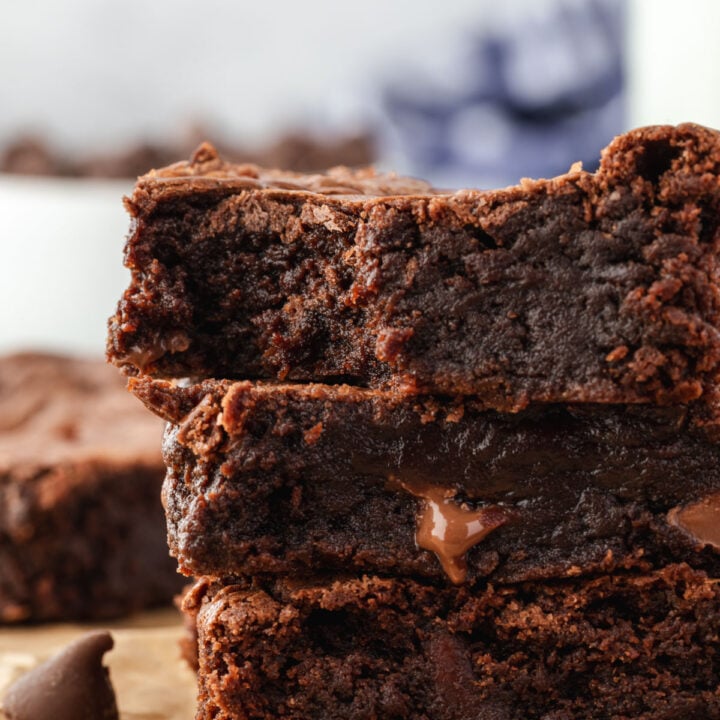
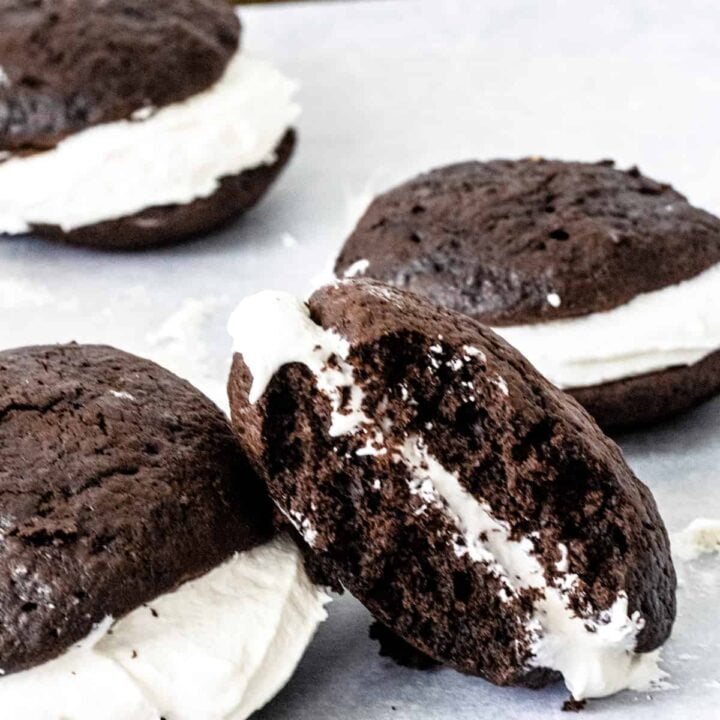
Here are more recipes to try the next time you get a chocolate craving!
Let me know how you like this recipe by leaving a review! And follow along on Instagram @stateofdinner for behind-the-scenes and to be among the first to know when new recipes post!
Recipe
Salted Caramel Brownie Cookies
Recipe by:Ingredients
Brownie Cookies
- 8 ounces bittersweet baking chocolate
- 1 cup all-purpose flour (130 grams)
- ⅓ cup Dutch-processed unsweetened cocoa (33 grams)
- 1 teaspoon espresso powder
- 1 teaspoon baking powder
- ½ teaspoon table salt
- ½ cup butter softened
- ½ cup light brown sugar loosely packed, (110 grams)
- ½ cup granulated sugar 100 grams
- 2 teaspoons vanilla extract
- 3 large eggs
Optional Chocolate Coating
- 2 cups chocolate chips (semi-sweet, milk, or dark chocolate)
Caramel Filling
- 1 cup light or dark brown sugar loosely packed (220 grams)
- ½ cup butter
- ½ cup heavy cream (120 ml)
- sea salt flakes optional
Instructions
Preparing the Cookies
- Prreheat the oven to 350°F (177°C). Line your cookie sheets with parchment paper or a silicone mat.
- Break the bittersweet baking chocolate into pieces and place it in a microwave-safe bowl. Microwave in 30-second intervals, stirring each time until the chocolate is melted. The chocolate could also be melted in a double boiler. Set aside to cool.
- Meanwhile, whisk the flour, cocoa, espresso powder, baking powder, and salt in a small bowl.
- In a large bowl, beat the butter, brown sugar, and granulated sugar on high speed for 2 minutes. Scrape sides, then add the eggs and vanilla and beat an additional 3 minutes.
- Pour the cooled chocolate into the egg mixture and beat for 2 more minutes. Add the dry ingredients and mix on low speed until just combined.
- Portion the cookie dough into 2 tablespoon balls and place on the cookie sheet with 2 inches between each dough ball.
- Bake the cookies for 12-15 minutes, or until the edges are set. Remove from the oven and immediately press the center of each cookie with a spoon or the handle of a kitchen utensil. (I like to use the handle of my ice cream scoop.) Cool completely.
Optional Chocolate Coating
- Line the counter or a cooling rack with a sheet of parchment paper or waxed paper that is large enough to fit all of the cookies.
- Place the chocolate chips into a microwave-safe bowl. Heat in 30-second intervals, stirring after each time, until the chocolate is melted.
- Dip the bottom of each cooled cookie into the chocolate and allow the excess to drip off, then set on the parchment paper to cool completely.
- Place the remaining chocolate in a decorating bag with a small open tip, or into a plastic sandwich bag and clip the very tip off for a small opening. Set aside until you are ready to add the drizzle to the cookies.
Caramel Filling
- Place the brown sugar, butter, and cream in a medium saucepan over medium heat. Stir continuously. Once the mixture has started to boil stop stirring and allow to continue to boil for 90 seconds, then remove from heat and cool for about 5 minutes.
- Pour ½ teaspoon of caramel into the indention of each cookie. Drizzle the chocolate over each cookie, then sprinkle with sea salt flakes, if using.
Notes
Nutrition
The nutritional facts provided are only estimates. The accuracy of the nutritional information for any recipe on this site is not guaranteed.



Jessica says
I've never had Adventurefuls cookies but I can't imagine they could be better than these. The fudgy texture is divine. I only got one cookie before my kids devoured them so next time I'll have to hide a few. lol. Thanks for the great recipe!
Erin says
Let's hope our kids never find our hidden stash! 🙂
Marcellina says
Salted caramel and chocolate is the most amazing combination! I love the texture of these cookies - just the right amount of chewy, perfect fudginess and lots of gooey caramel. You won't be able to stop at just one!
Erin says
You are right about that! When these are in the house they don't last long!
Kayla DiMaggio says
These salted caramel brownie bites are so delicious! I loved how easy they were to make!
Erin says
They look much harder to make than they actually are, right?
Rob says
Love these cookies. So easy to make and the nostalgia of the Girl Scout version is fun -- but these are better!
Erin says
I agree, and am glad you think so!
sara says
i want to try this recipe out but what are the measurements for the ingredients?
Erin says
Hi Sara! The measurements for the ingredients are in the recipe card. You can either scroll just above the comments section, or from the top of the post click on the "Jump to Recipe" button. It will take you to the recipe card that has the measurements and full recipe instructions. I hope you enjoy these cookies!
Alexandra says
These cookies have everything I love - that salted caramel filling is incredible, and they're the perfect mix of great textures. These will be part of our festive baking for sure!
Erin says
I love to hear that!