
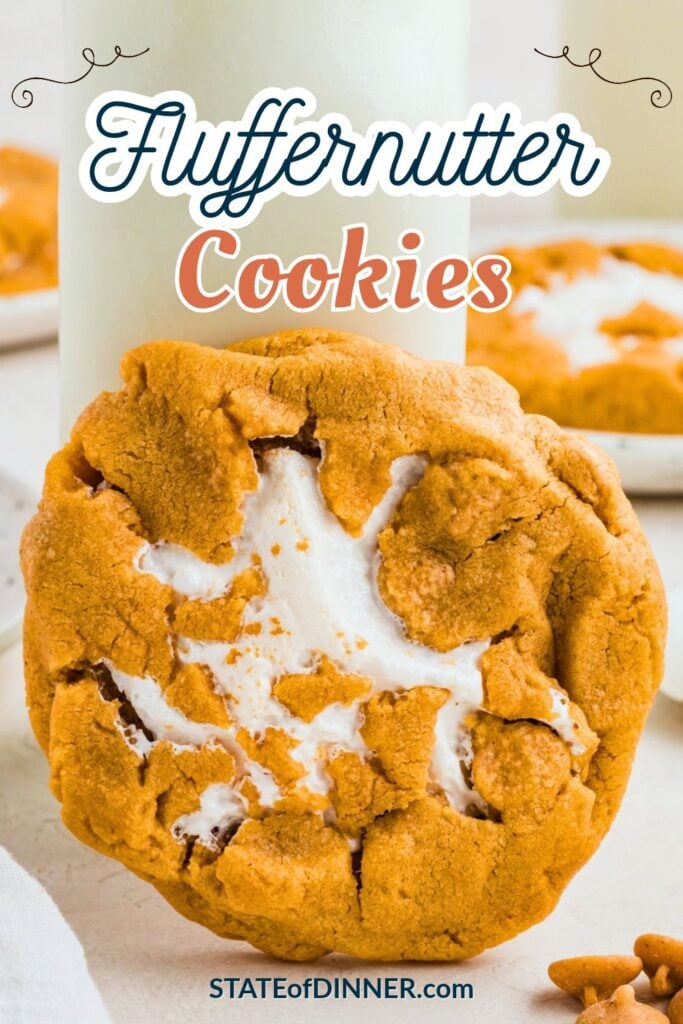
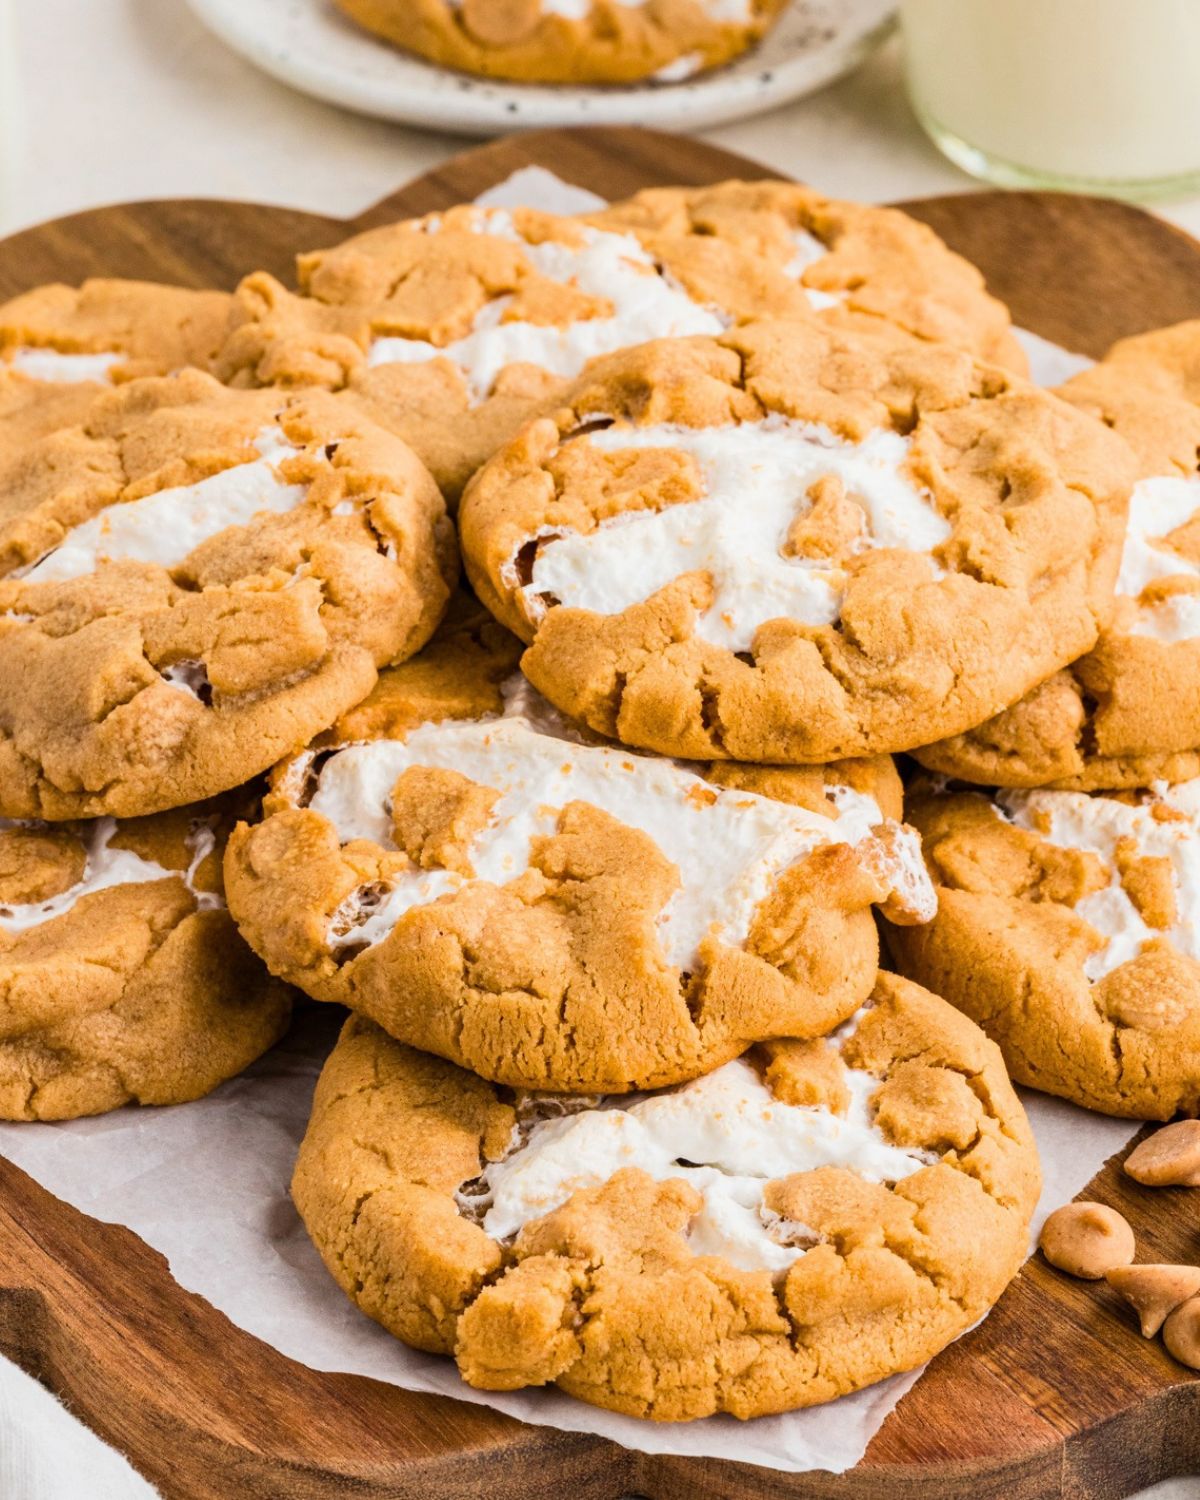
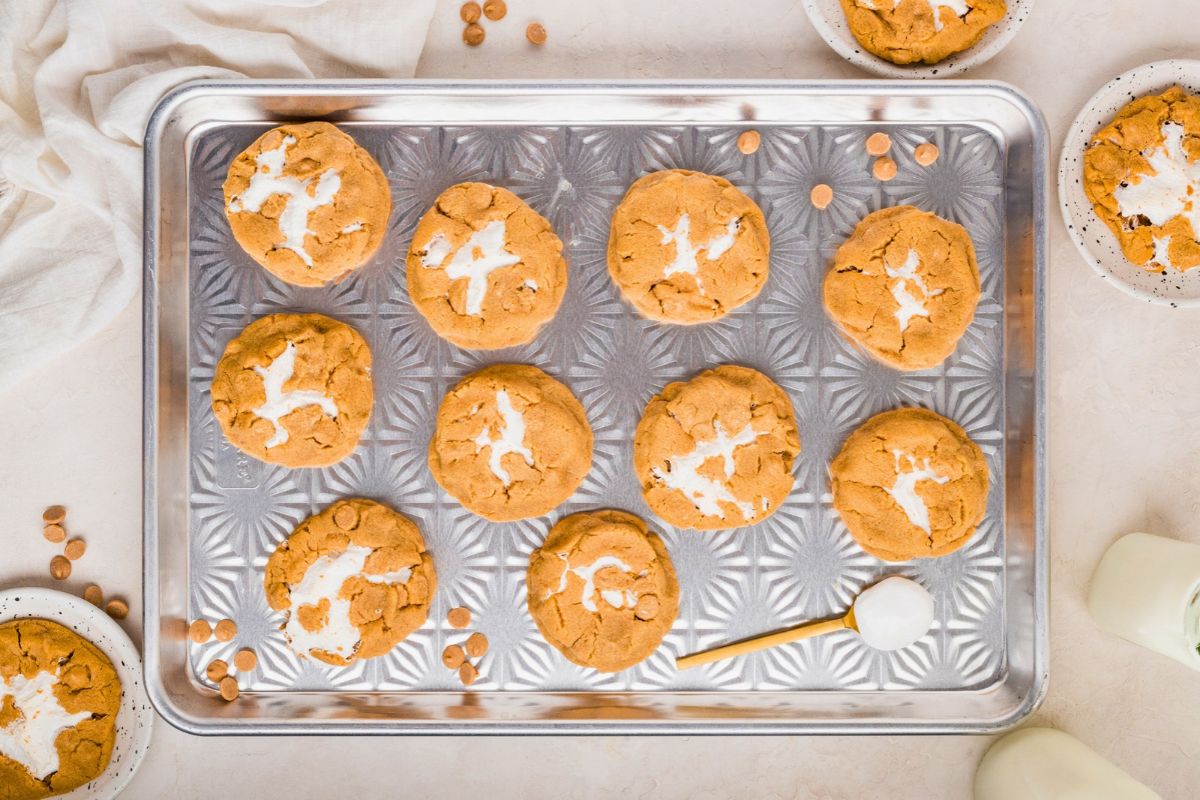
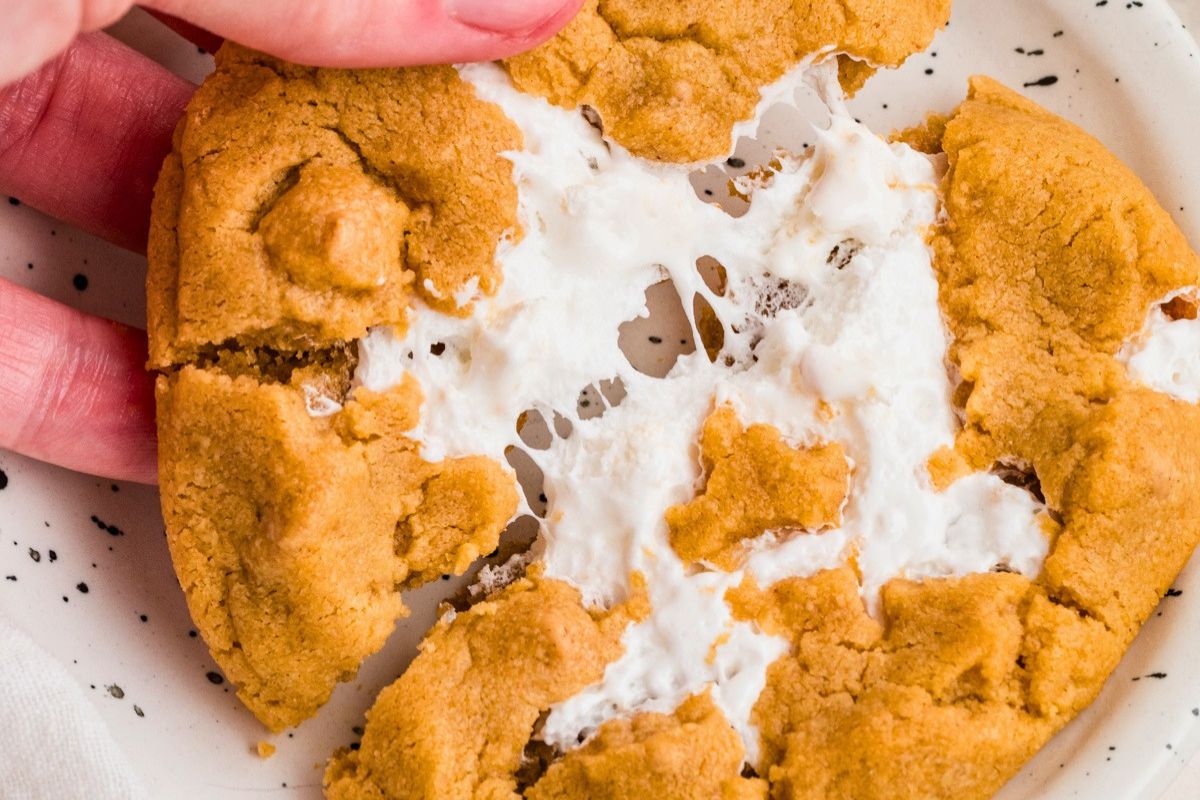
These Fluffernutter Cookies are soft, peanut buttery cookies with a gooey marshmallow center that peeks through the top. My favorite thing about this version is that you get loads of peanut butter flavor and marshmallow sweetness in every bite, without the fluff leaking out all over your baking sheet.

Note from Erin
I tried just about every way I could think of to make these cookies because I wanted them to taste like my Fluffernutter Sandwich, not just a regular peanut butter cookie.
When I wrapped the dough completely around the fluff, my results were all over the place. Some cookies had no fluff showing at all, so they looked like plain peanut butter cookies, and others leaked out all over the baking sheet.
Swirling the fluff into the dough was even worse. The cookies baked flat and the fluff leaked out everywhere. It was awful.
What finally worked was making a little nest with two thirds of the dough, filling it, then covering it with the last third and sealing the sides. I leave a few little openings in the top on purpose, so the marshmallow peeks through without spilling out the sides.
Helpful Ingredient Tips
The recipe card at the bottom of this post includes the complete list of ingredients, measurements, and instructions.
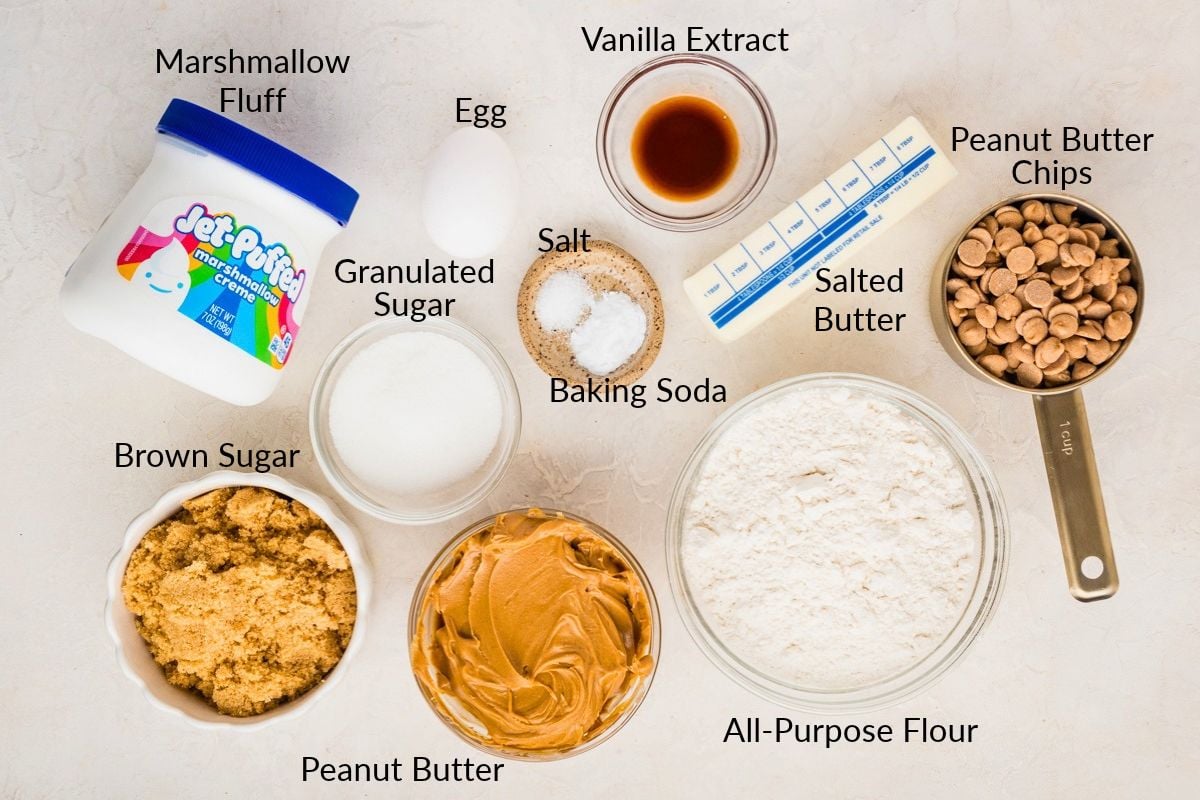
- Peanut butter: It’s really important to use a no-stir creamy peanut butter like Jif or Peter Pan. The oil in natural peanut butter separates, which can make it easier for the fluff to seep out.
- Brown sugar: My first few batches were too crumbly. A lot of recipes fix that with an extra egg yolk, but I didn't want leftover egg whites. So I tried increasing the brown sugar and cutting back on the granulated sugar instead. That did the trick, giving me a softer cookie that holds together beautifully!
- Peanut butter chips: Once the texture was right, I thought the cookies still needed a little more peanut flavor, so I added peanut butter chips. They melt into the cookie so you can hardly tell they're there, but you'll taste the difference.
Can You Use Regular Marshmallows Instead of Fluff?
I don’t recommend it. You might see recipes suggesting regular marshmallows and fluff are interchangeable, but I strongly disagree. I tested regular marshmallows completely sealed in the dough, frozen, and poking out of the cookie, and they all melted into a thin, stringy substance that wasn’t very appealing.
If you want marshmallows baked right into a cookie, I recommend following the same process as my Marshmallow Chocolate Chip Cookies where mini marshmallows are added in the final few minutes of baking.
How to Make the Best Fluffernutter Cookies
Mix the Dry Ingredients
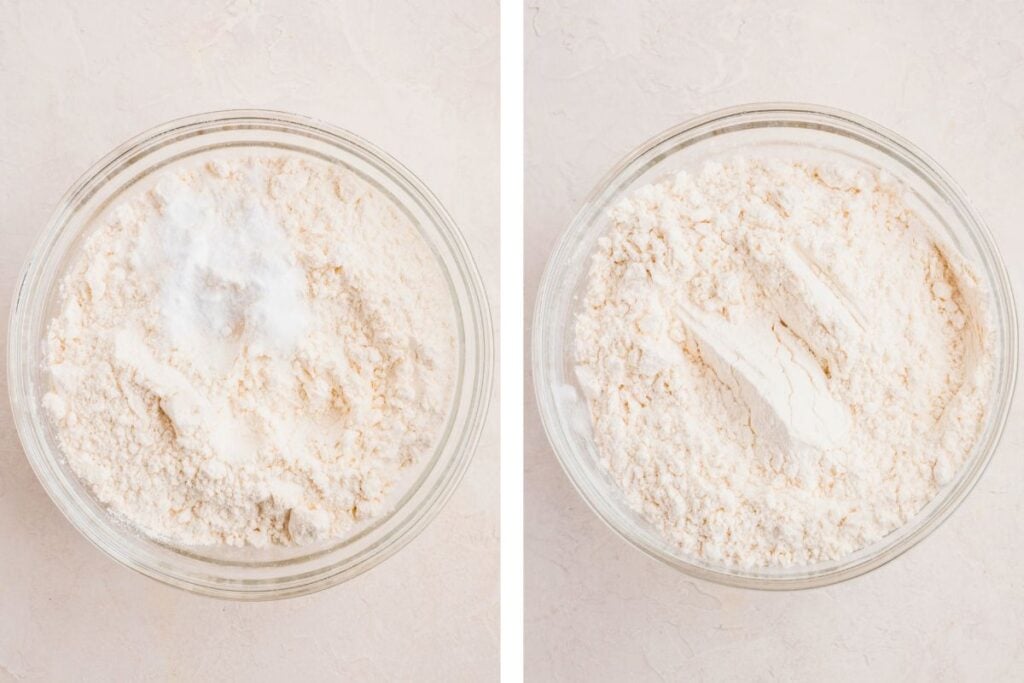
- I tried skipping the separate bowl and just sprinkling the dry ingredients over the peanut butter mixture. But the peanut butter is so sticky that I had trouble getting the baking soda evenly distributed. Mixing the dry ingredients separately worked much better.
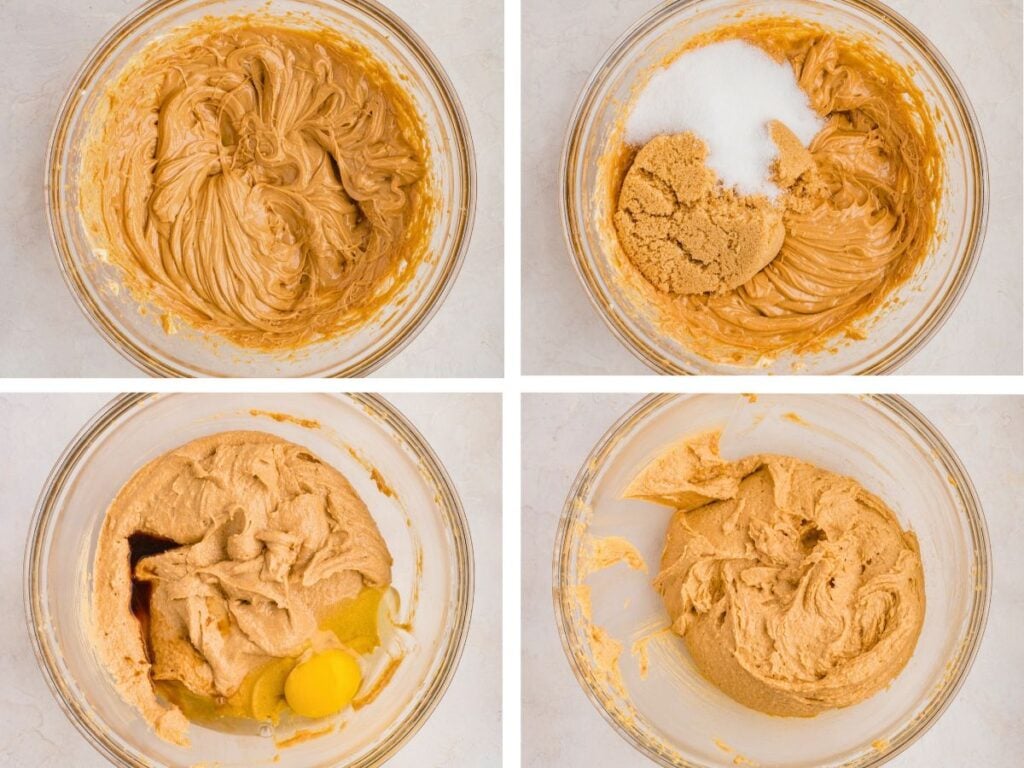
Make the Dough
- Make sure you scrape the bottom of the bowl, as well as the sides. That sticky peanut butter needs some help getting mixed in.
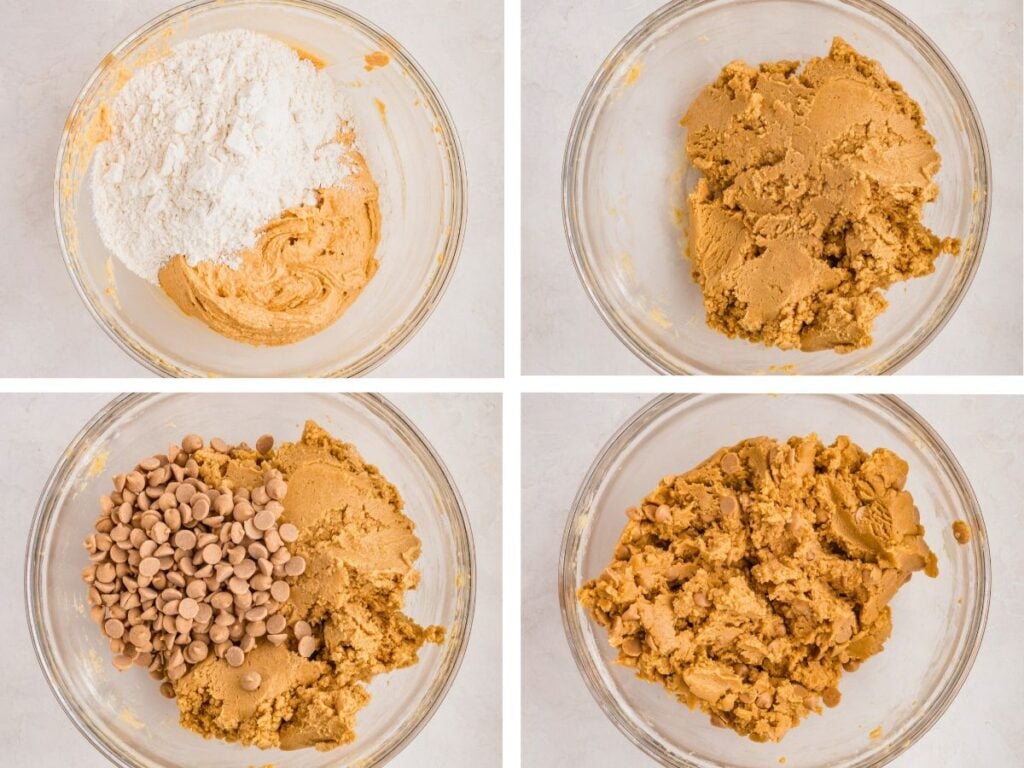
Add the Flour and Chips
- These are best mixed in on low speed or by hand, so that the dough doesn’t get overworked.
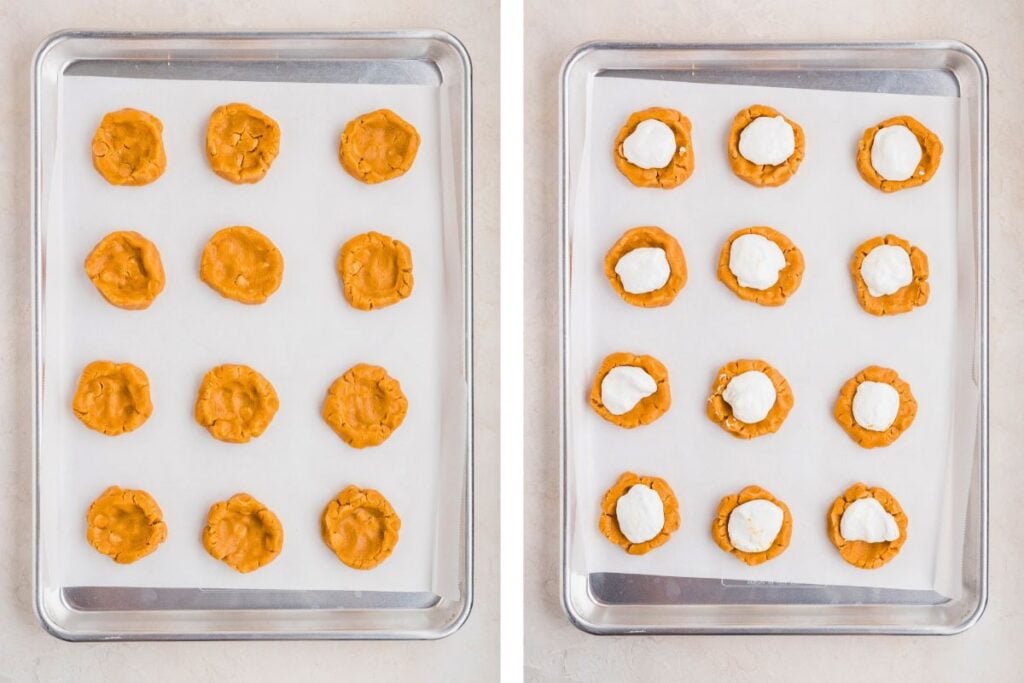
Shape the Nests
- My favorite way to shape these is with a 2-tablespoon scoop of cookie dough for the bottom nest, then another tablespoon of dough flattened into a little lid. That gives you 3 tablespoons of dough total, with 1 tablespoon of marshmallow fluff in the middle.
- If you want to skip the lid, make these like a big thumbprint cookie. Press a 3-tablespoon scoop of dough into a disc about 3 inches across, make a deeper well in the center, and fill it with 1 tablespoon of fluff.
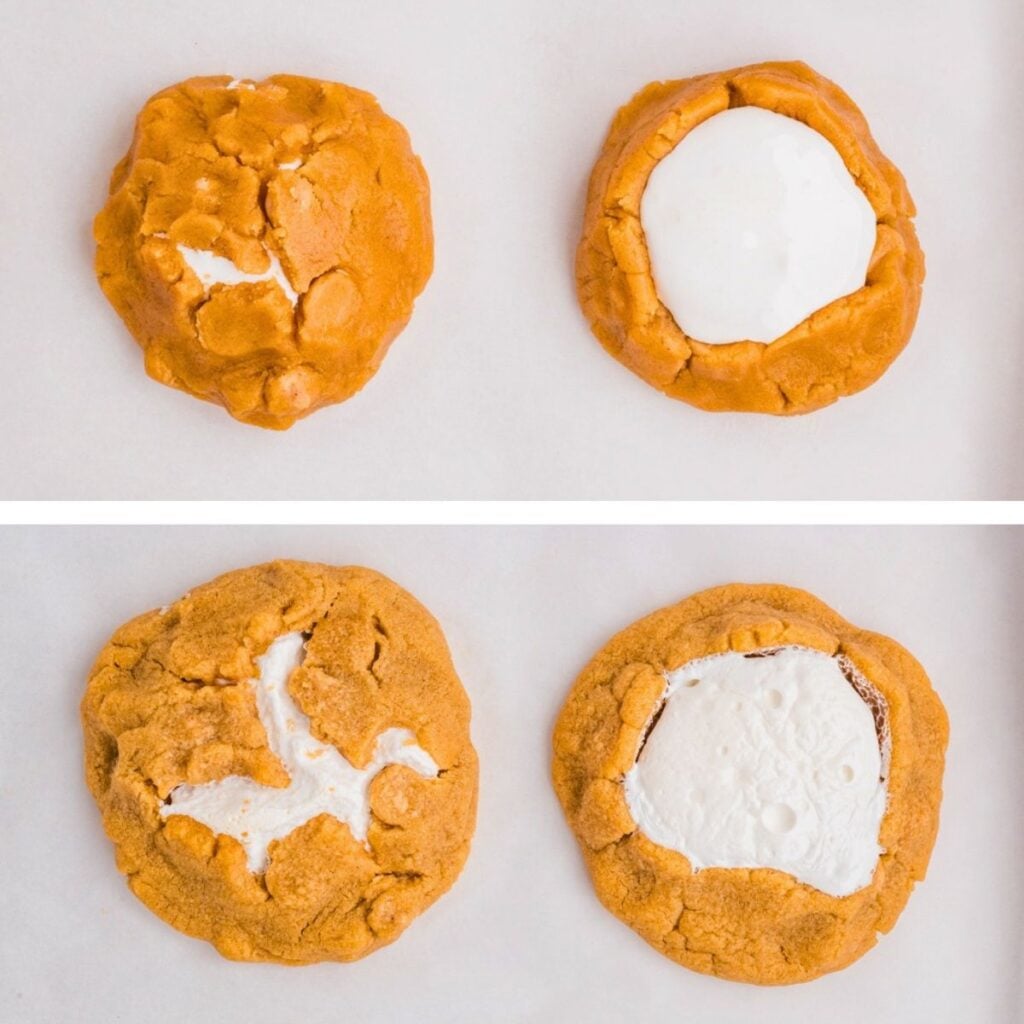
Seal and Bake
- When you’re putting the top on the cookies, you do want the sides completely sealed, but pull the dough so there are a few holes on the top for the fluff to peek through.
- The cookies stay pale. Look for them to be matte and just slightly browning around the edges.
- Leave them on the baking sheet for at least 10 minutes. They're very fragile when they're hot and will break apart if you move them too soon.

Top Tip!
Seal the bottom and sides completely. The only openings should be on top of the cookie, where you want the marshmallow to peek through. Any gaps along the bottom or sides give the fluff a place to escape.
Small or Bakery-Size Cookies
I tested all sizes of cookies, from bite-sized to the size of my hand, and found that the 3 to 1 ratio of dough to fluff works great no matter the size of the cookie.
Using 3 tablespoons of dough and 1 tablespoon of fluff was my favorite, so that’s what I put in the recipe. It's big enough to really enjoy, but not so big that I felt like I had to share it.
For big bakery-style cookies you’ll need ⅓ cup of dough and just under 2 tablespoons of fluff, and they will bake for an extra 2-3 minutes.
Make it Special✨
When I serve these at parties, I like to dress them up with a little peanut butter drizzle. Just warm some creamy peanut butter in the microwave for about 20-30 seconds, until it's thin enough to drizzle. Transfer it to a Ziploc bag, snip off a tiny corner, and drizzle it over the cooled cookies in a zigzag pattern.
Recipe
Fluffernutter Cookies
Recipe by:Ingredients
- 1 ½ cups (188 grams) all-purpose flour
- ½ teaspoon (2 grams) baking soda
- ¼ teaspoon (1.5 grams) salt
- ½ cup (113 grams) salted butter room temperature
- 1 cup (250 grams) peanut butter about 250g depending on brand creamy no-stir
- ¾ cup (165 grams) light brown sugar packed
- ¼ cup (50 grams) granulated sugar
- 1 large egg room temperature
- 1 teaspoon (4 grams) vanilla extract
- 1 cup (170 grams) peanut butter chips
- 1 ¼ cups (159 grams) marshmallow fluff one 7-ounce jar is enough, with a little left over
Instructions
- Line two baking sheets with parchment paper. Preheat the oven to 350°F (177°C).
- In a medium bowl, whisk together the flour, baking soda, and salt. Set aside.1 ½ cups all-purpose flour, ½ teaspoon baking soda, ¼ teaspoon salt
- In a large bowl with a hand mixer, or the bowl of a stand mixer fitted with the paddle attachment, beat the butter and peanut butter on medium speed until smooth and combined, about 1 minute.½ cup salted butter, 1 cup peanut butter
- Add the brown sugar and granulated sugar and beat on medium speed until light and creamy, about 2 minutes, scraping down the sides of the bowl as needed.¾ cup light brown sugar, ¼ cup granulated sugar
- Add the egg and vanilla and beat until fully combined, about 30 seconds. Scrape the bottom and sides of the bowl.1 large egg, 1 teaspoon vanilla extract
- With the mixer on low, add the dry ingredients and mix just until no streaks of flour remain.
- Mix the peanut butter chips in by hand or using the mixer on low speed.1 cup peanut butter chips
- Scoop the dough into 2 tablespoon portions. Working with one at a time, press a portion into a disc about 2 ½ inches across, then press your thumb into the center and work outward to form a shallow well with a raised rim, like a small nest. Keep the base about ¼ inch thick.
- Add 1 tablespoon of marshmallow fluff to the well. A piping bag or a zip-top bag with the corner snipped off is the cleanest way, but a spoon or a 1 tablespoon scoop works too. If you use a spoon or scoop, spray it with cooking spray every few cookies so the fluff releases.1 ¼ cups marshmallow fluff
- Scoop a 1 tablespoon portion of dough and flatten it into a disc wide enough to cover the fluff. Set it over the filling and press the edges of the two discs together all the way around to seal, then smooth the seam with your fingers. Keep the top flat and pull a few areas apart so the fluff can break through.
- Ensure the sides are completely sealed so the marshmallow fluff doesn’t leak out. The only fluff visible should be on the top of the cookie.
- Place the cookies 2 inches apart on the prepared baking sheets. Bake one sheet at a time for 10 to 12 minutes, until the edges are set and look matte. These stay pale, so go by the set edges rather than color.
- Let the cookies cool on the baking sheet for 10 minutes before transferring to a wire rack to cool completely. They are fragile while warm and continue to set as they cool.
Notes
Equipment
Nutrition
The nutritional facts provided are only estimates. The accuracy of the nutritional information for any recipe on this site is not guaranteed.

Comments
No Comments