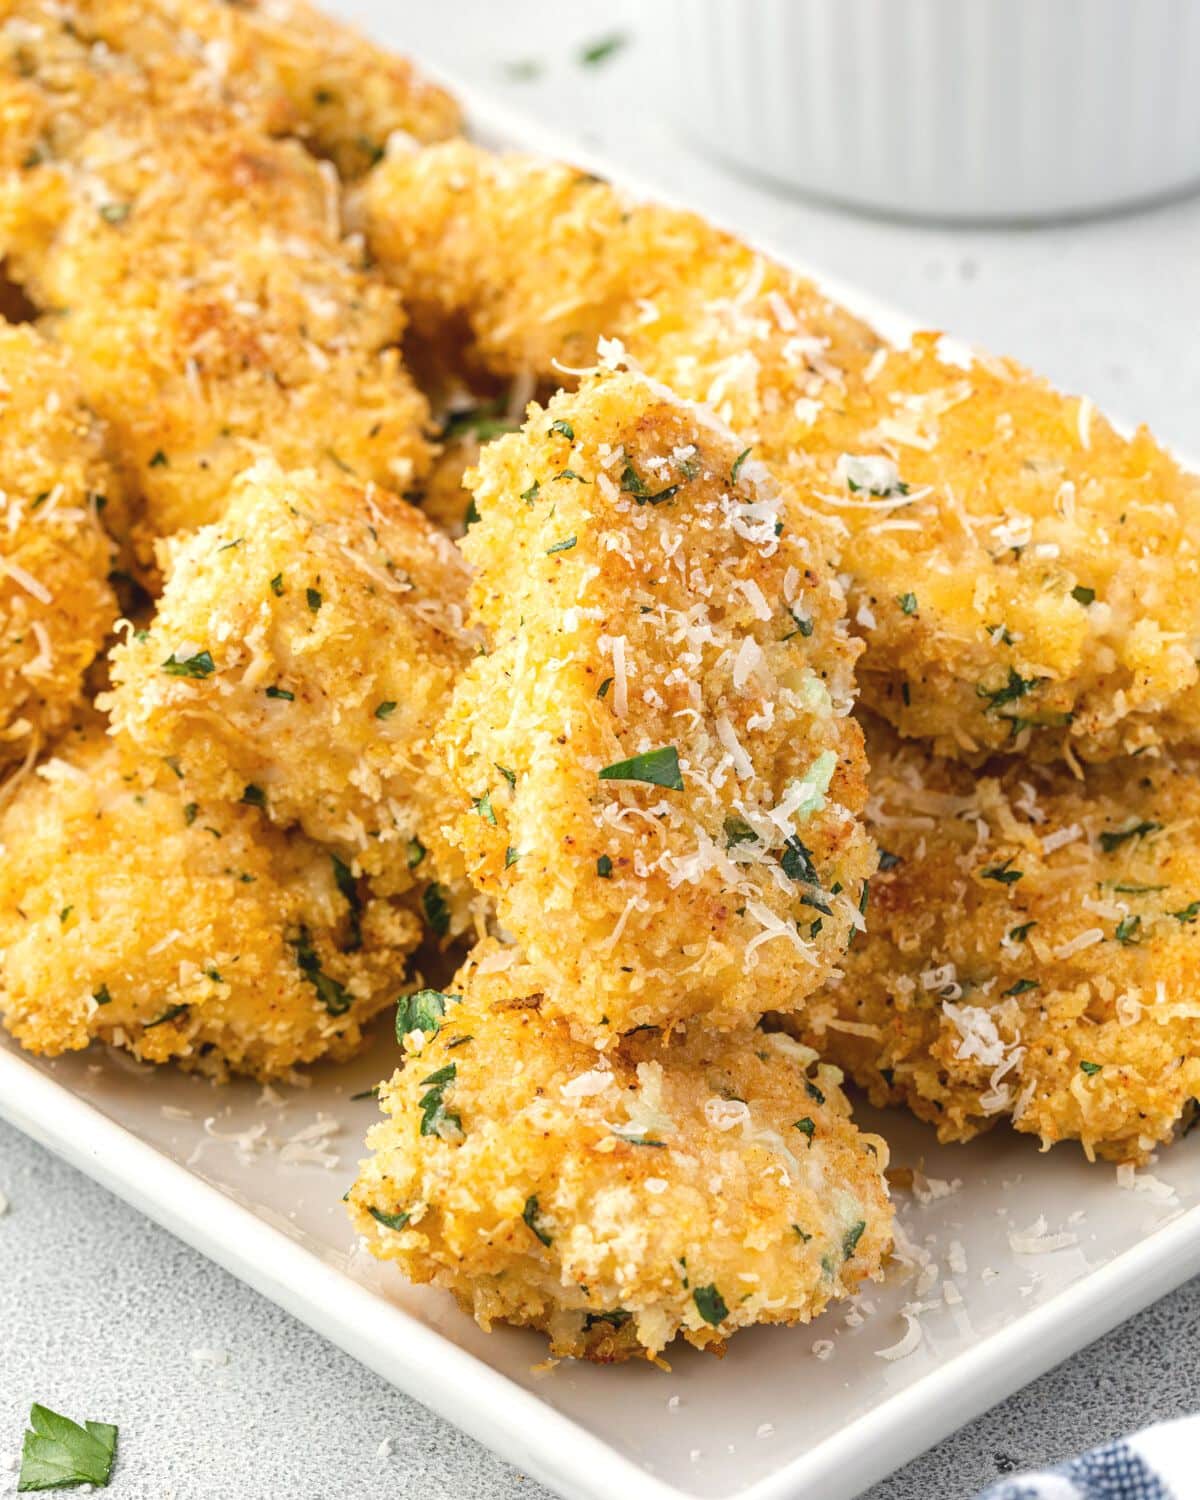
These Oven-Baked Garlic Parmesan Boneless Wings are crispy bites of Parmesan chicken coated in an amazing garlic butter sauce! Whether you want a game day snack or a satisfying weeknight meal, this recipe will hit the spot!
Why You Will Love This Recipe
Crispy and Flavorful - Panko breadcrumbs and Parmesan cheese give these crispy chicken wings great texture on the outside while keeping the inside juicy. The addition of garlic and butter creates a rich, savory, and satisfying taste that the whole family will love!
Oven-Baked - When you make crispy wings in the oven you don't have to worry about hot oil or adding unnecessary calories.
No Bones to Mess With - Just like our popular Air Fryer Wings, these Boneless Parmesan chicken wings are so easy to eat because you don't have any bones getting in the way.
Simple Ingredients - Everything in this recipe is easy to find at the grocery store.
These wings make a delicious appetizer! Or serve them as a main dish along with a side salad and your favorite vegetable. And make sure you try Buffalo Boneless Wings and Boneless BBQ Wings too!
Key Ingredients
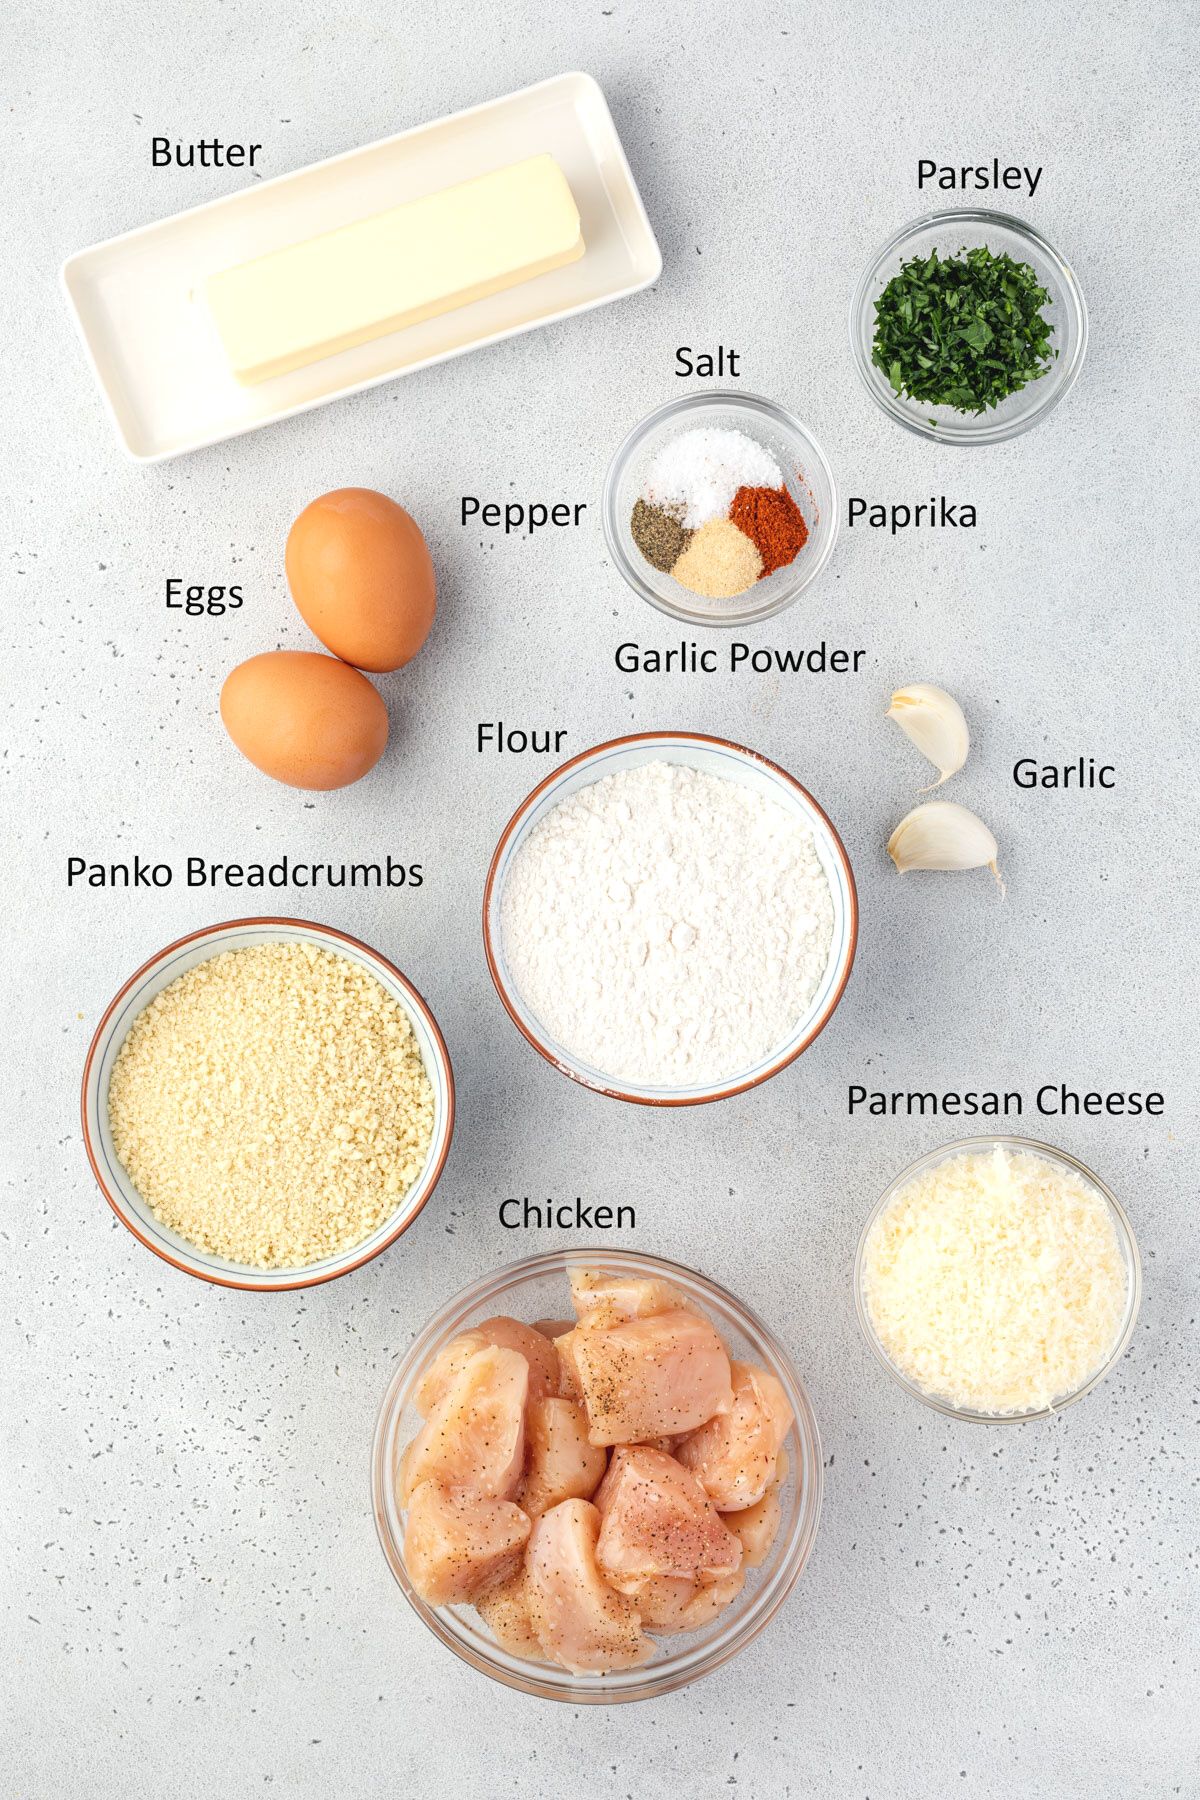
Looking for the full recipe? The recipe card at the bottom of this post includes the complete list of ingredients, measurements, and instructions.
Chicken - This recipe uses boneless skinless chicken breasts, but thighs work fine if you prefer dark meat. Cut the meat into 1-inch by 2-inch pieces, so they are similar in size to traditional wings.
Bread Crumbs - Panko breadcrumbs add the best crispy texture, but regular breadcrumbs can also be used.
Parmesan Cheese - Use finely grated Parmesan cheese as it will adhere to the chicken pieces much better than shredded Parmesan. Parmesan's flavor is similar to Asiago or Romano cheese, so those will work as a substitute if you do have Parmesan on hand.
Garlic - This recipe uses both garlic powder and fresh garlic cloves, giving the wings great flavor without being too overpowering.
Instructions
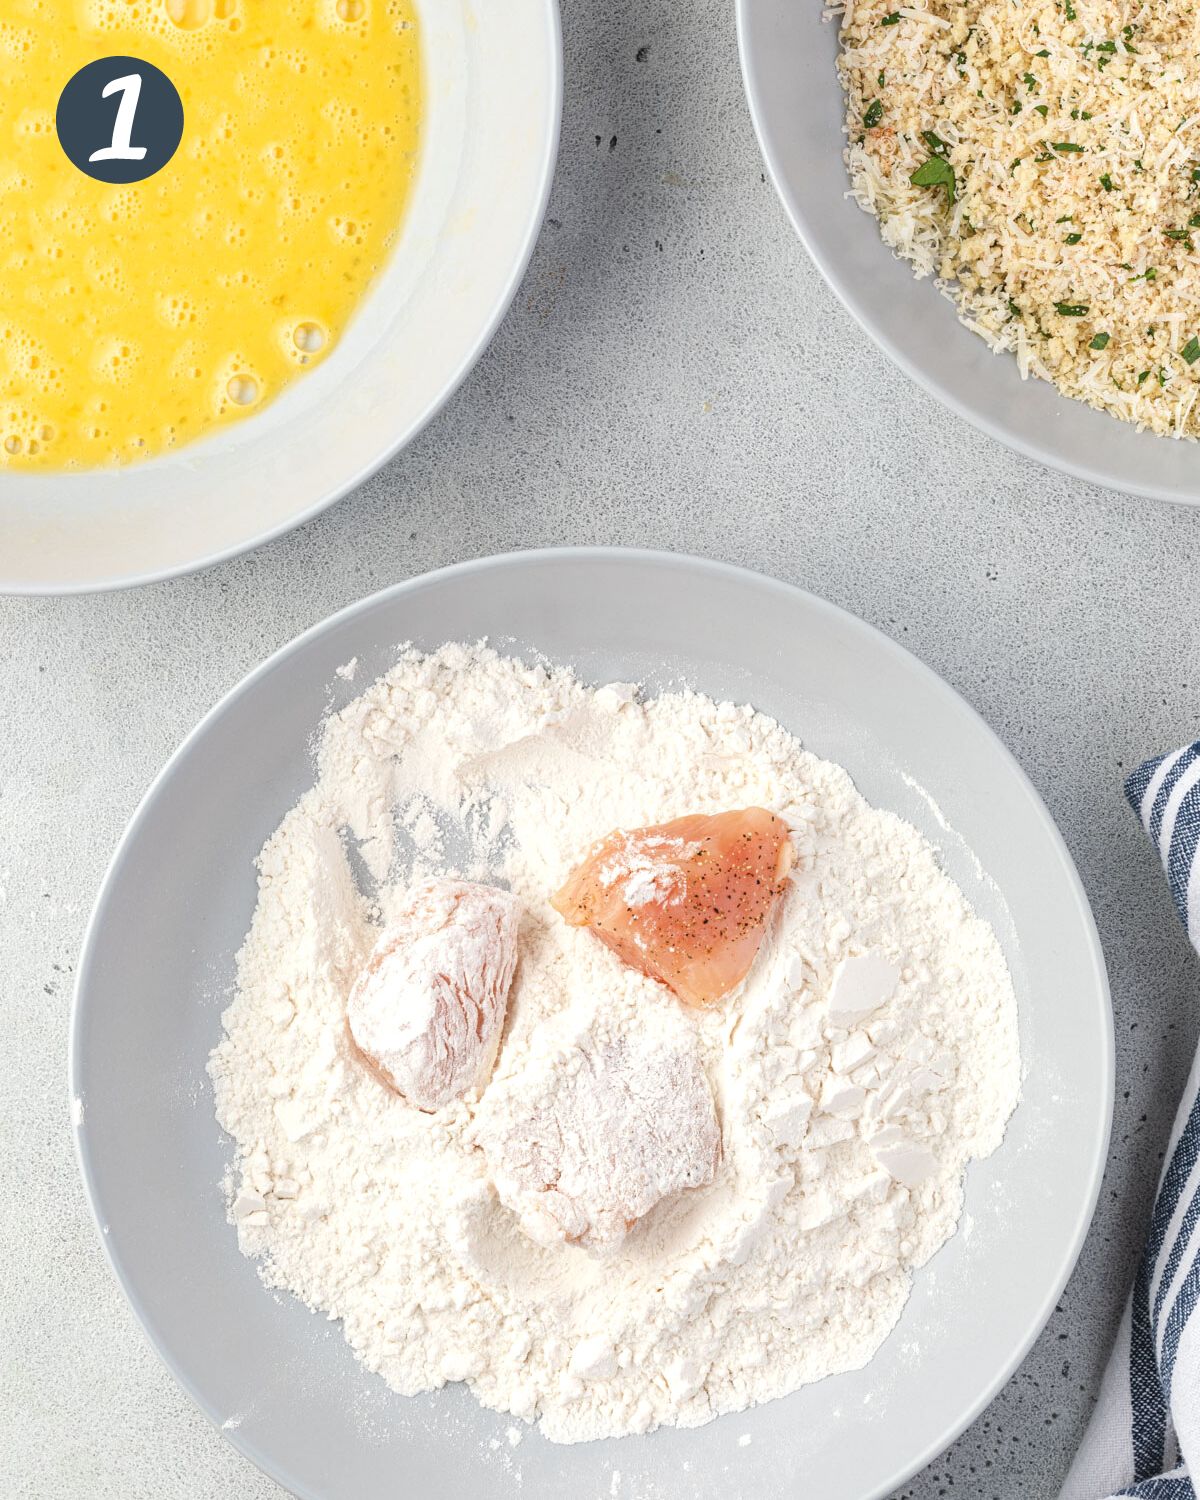
Step One: Coat with Flour
- Place flour in a shallow bowl.
- Work with a few pieces of chicken at a time.
- Make sure that each piece is completely coated.
- I like to use my left hand when working with the flour and try to keep it from getting any moisture on it, so the flour doesn't build up on my hands.
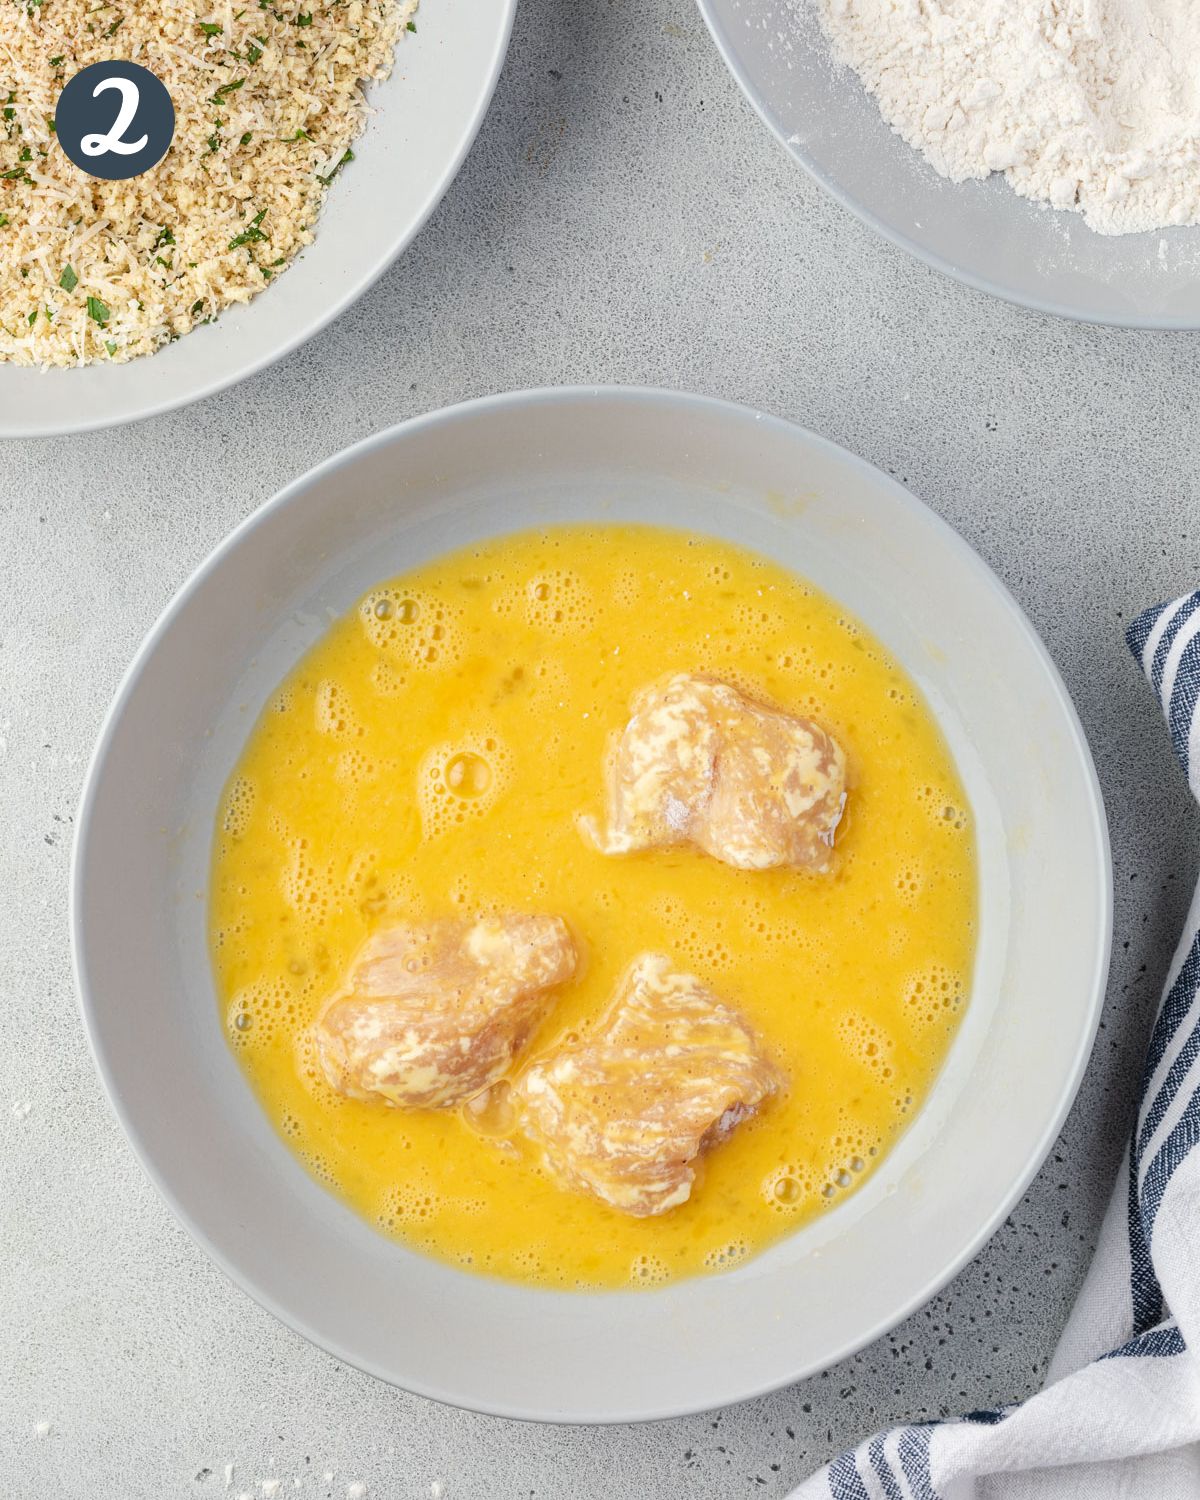
Step Two: Dip in Eggs
- Whisk the eggs in a separate shallow bowl.
- Pick up the chicken with your left hand and shake off any excess flour then place the pieces in the eggs.
- Use your right hand to flip the pieces over, coating them in the egg mixture.
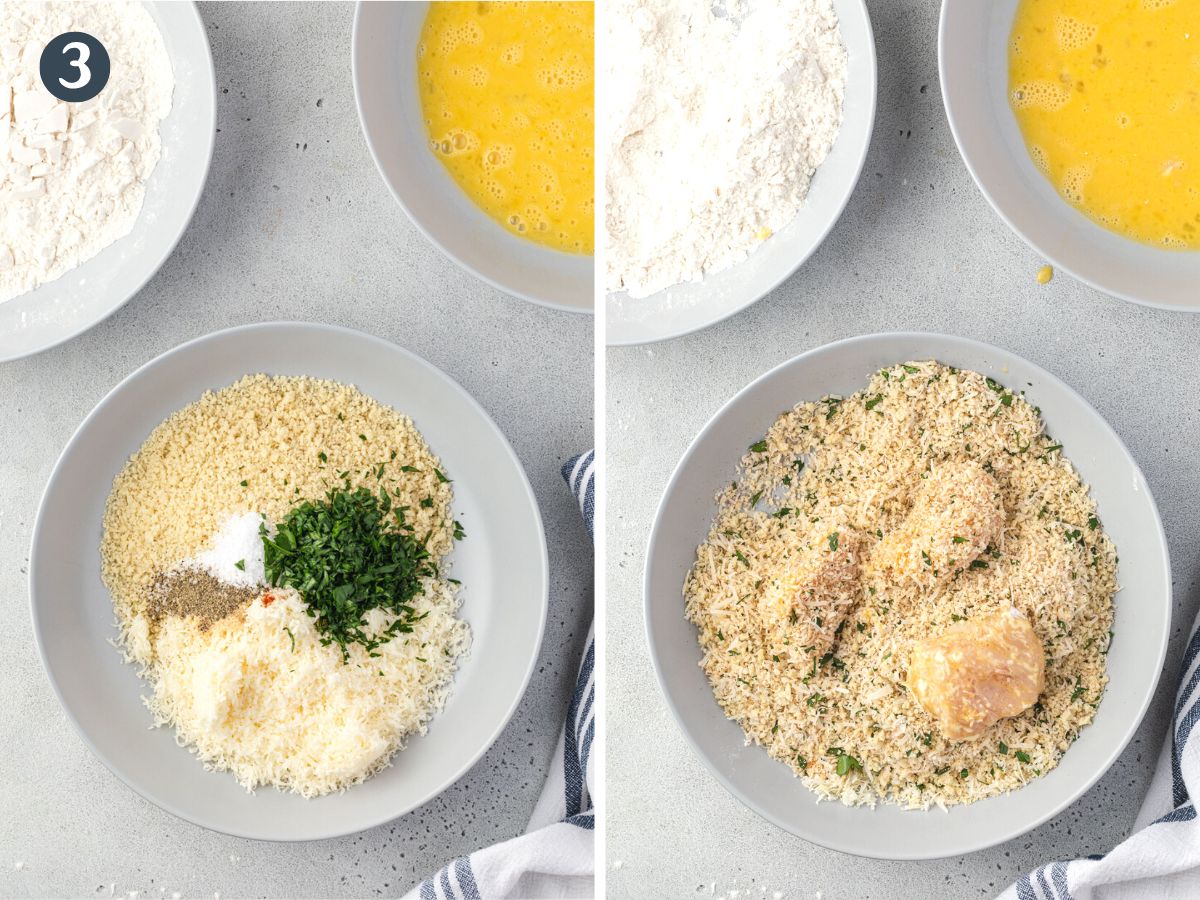
Step Three: Cover with Breading
- Mix the breadcrumbs with Parmesan cheese and spices in a third shallow bowl.
- Stir in chopped parsley, if using.
- Pick up the chicken with your right hand and allow the excess egg to drop off, then place them in the bread crumb mixture.
- Switch back to your left hand and coat the meat with the seasoned breadcrumbs.
Step Four: Bake
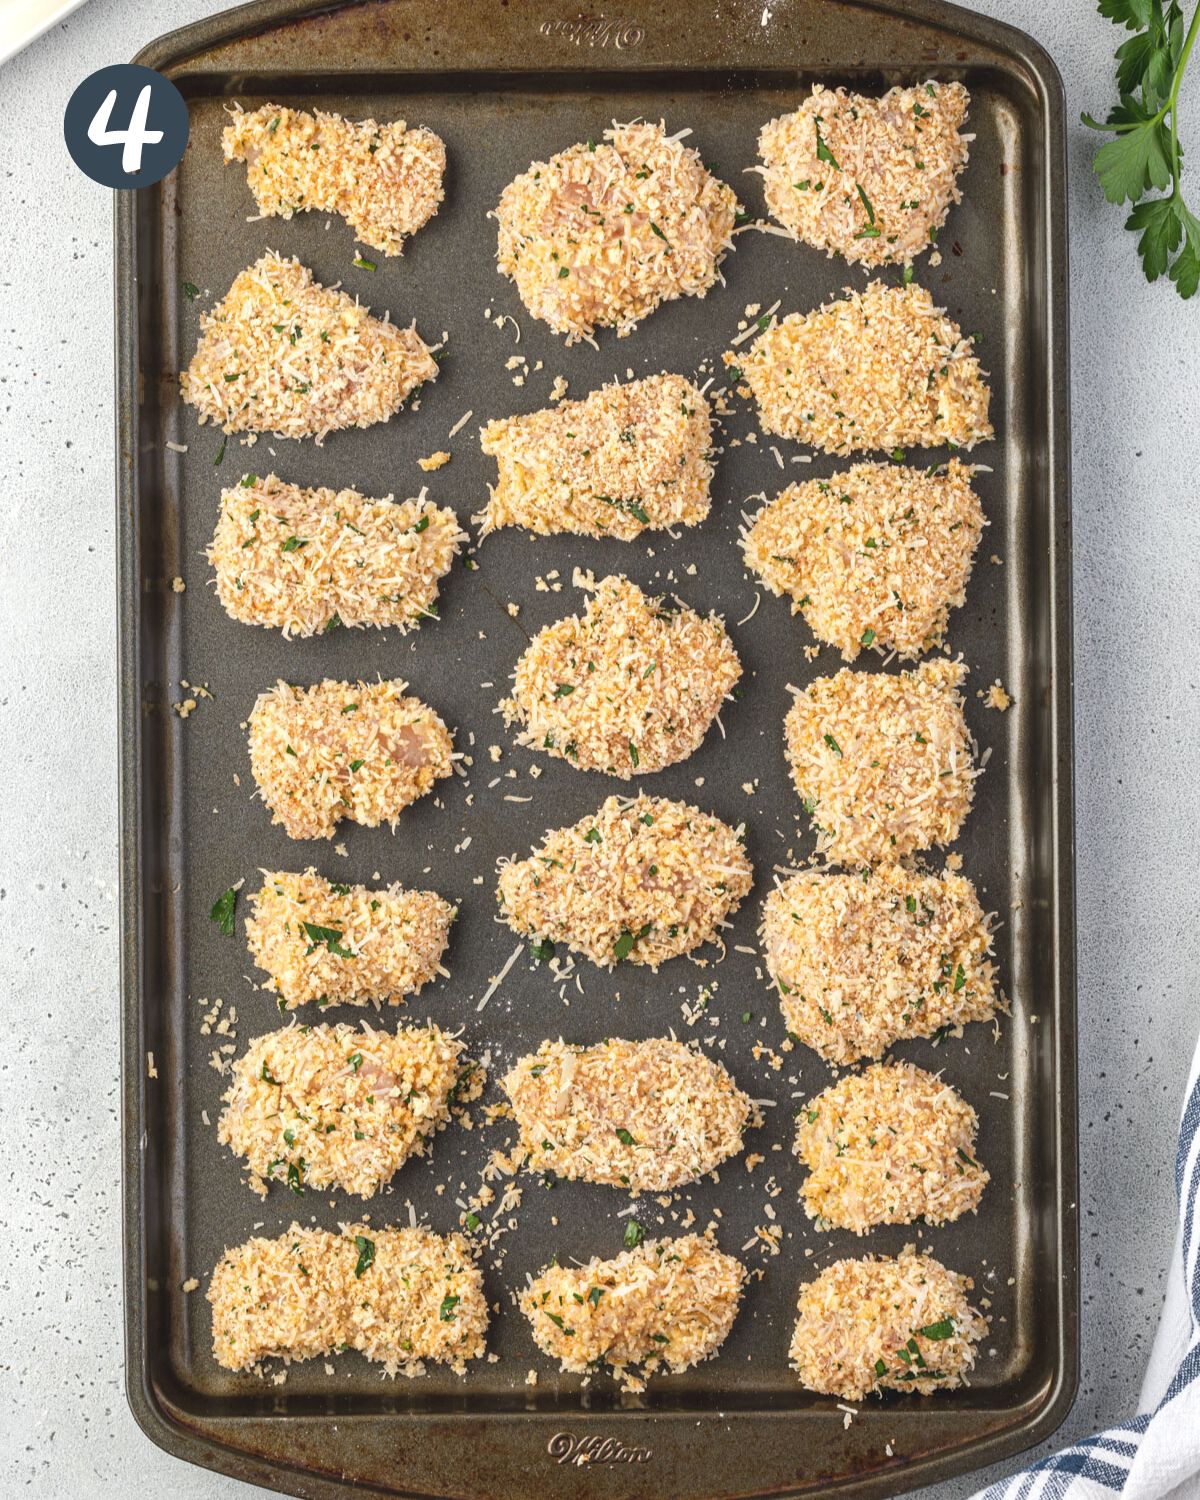
- Place the coated pieces in a single layer on a large baking sheet.
- You can line the tray with parchment paper for easy cleanup, or just put the chicken directly on the pan.
- Make sure the pieces are not touching. You want space for the air to circulate so that they crisp up.
Step Five: Brush on Garlic Butter Sauce
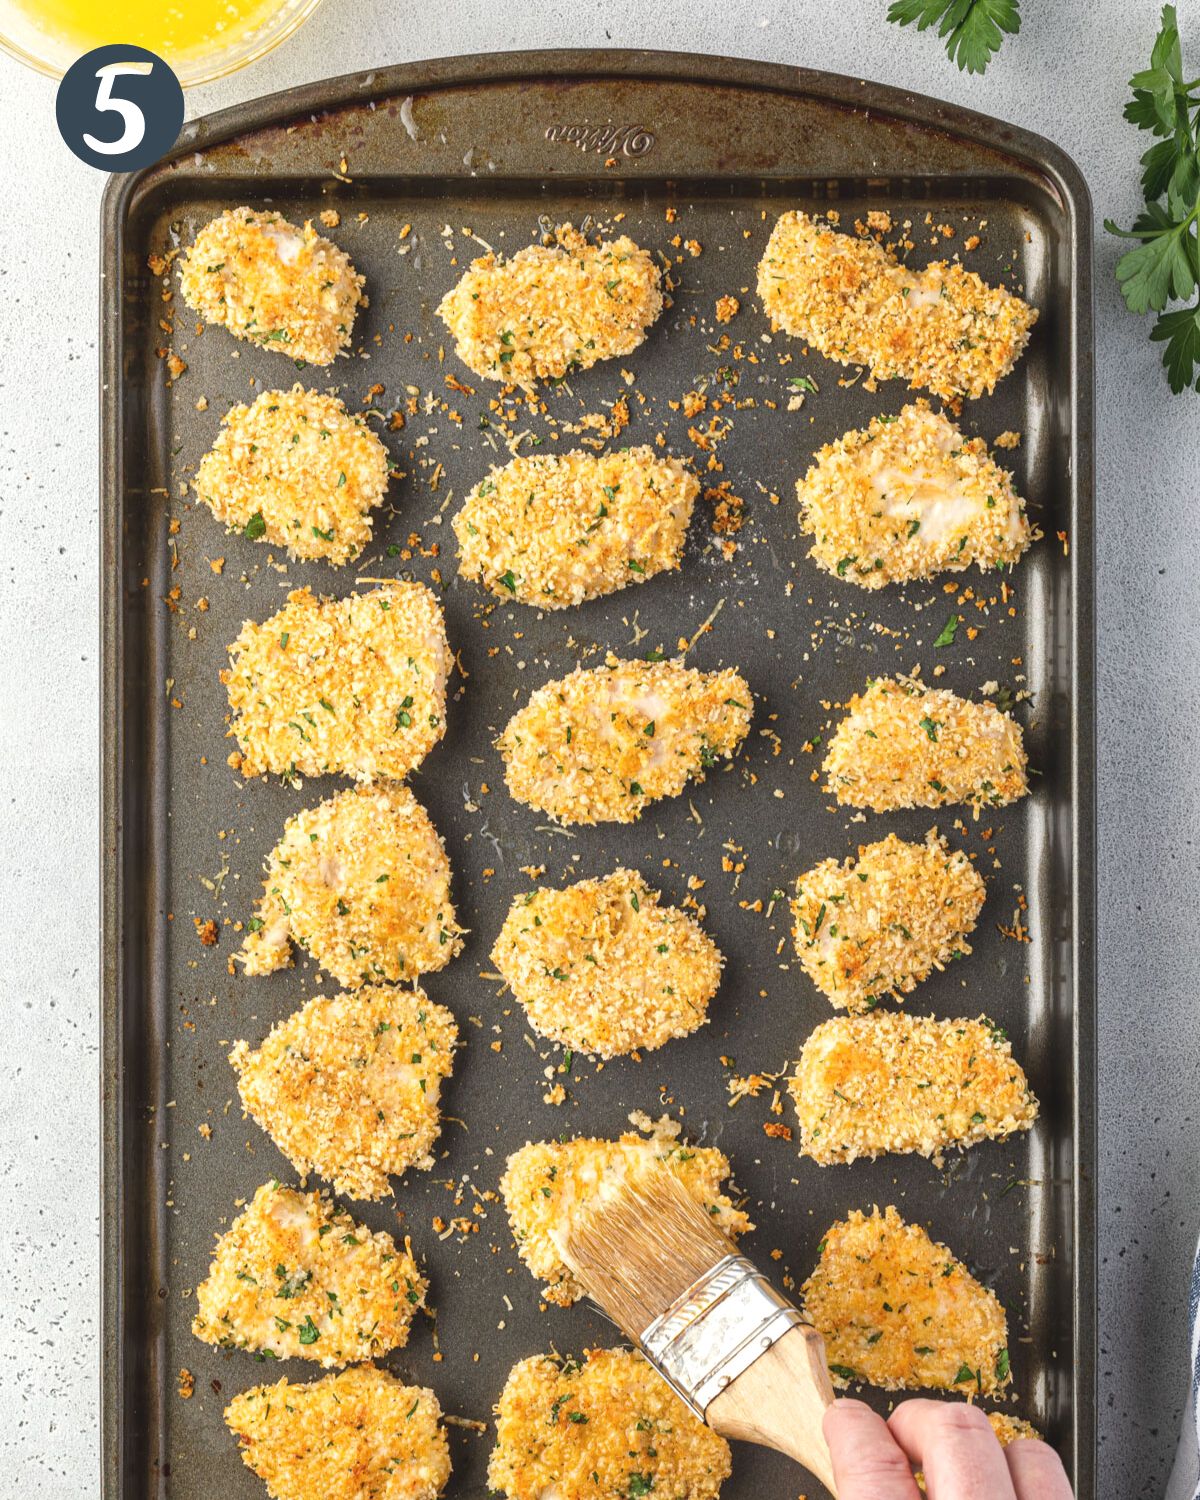
- While the chicken is cooking, prepare the garlic butter sauce by stirring minced garlic into the melted butter.
- After 8 minutes, remove the pan from the oven and use a pastry brush to coat each piece with the garlic butter sauce.
- Return to the oven for an additional 5-8 minutes.
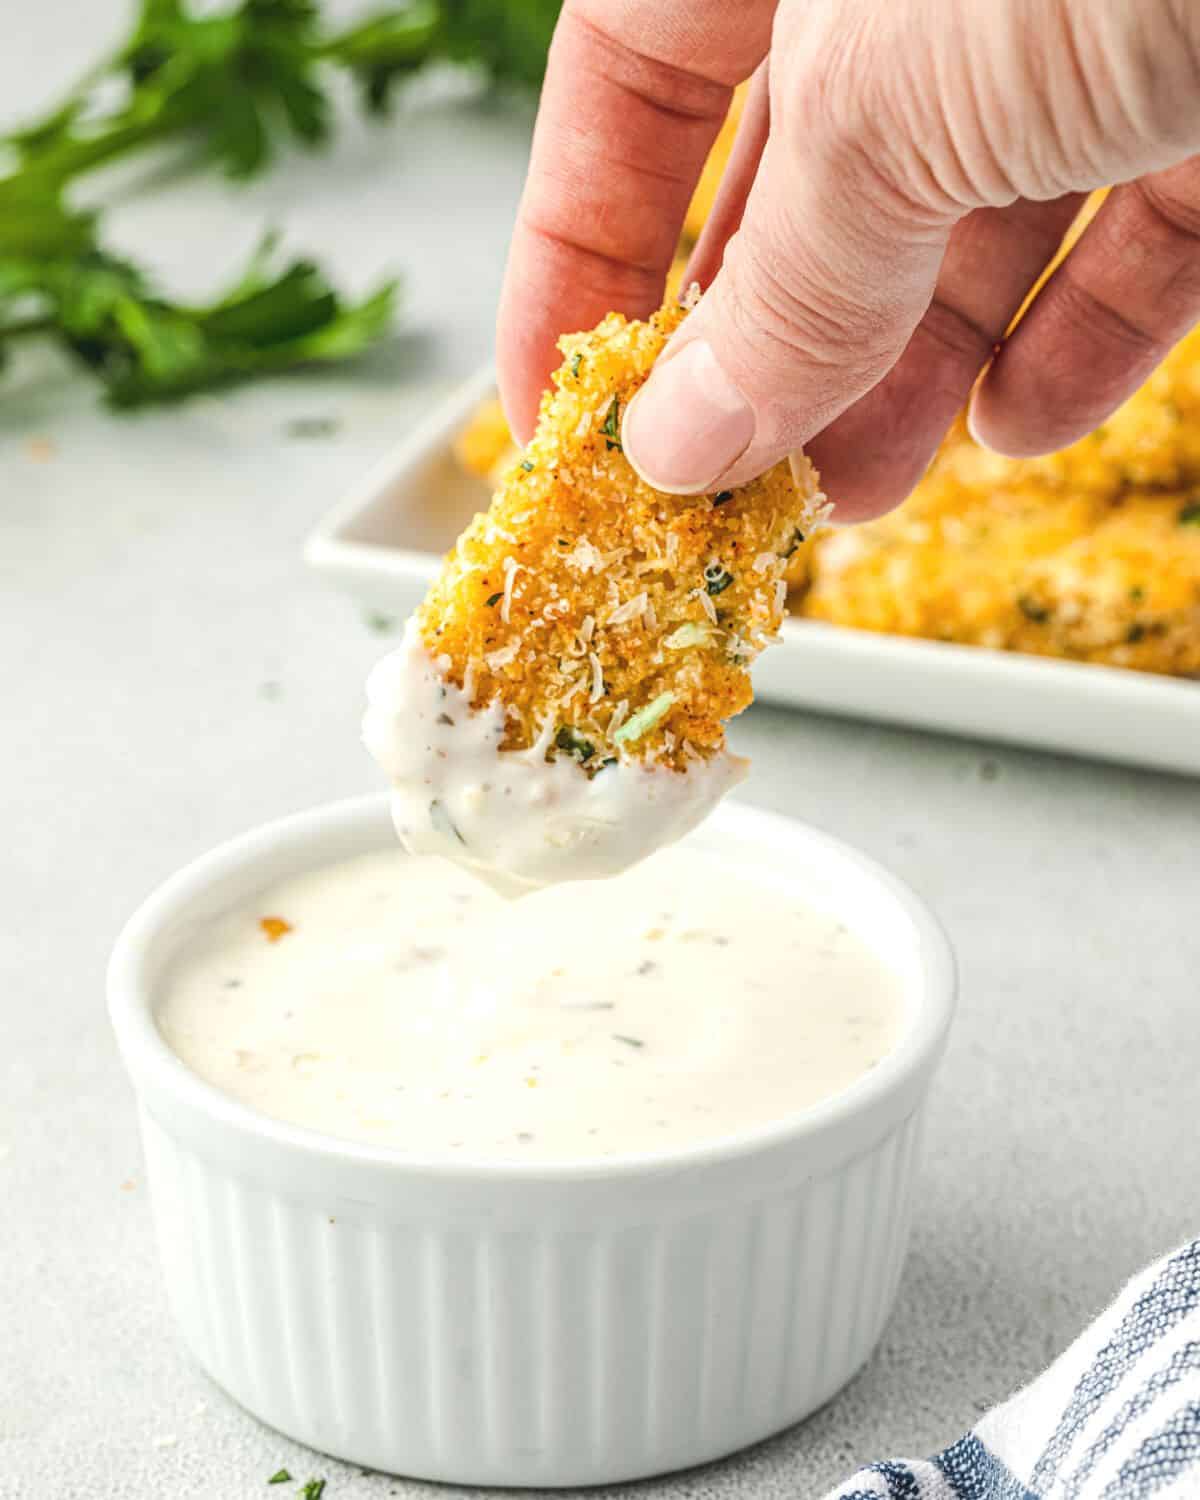
Enjoy these wings with a dipping sauce, or serve them as garlic nuggets paired with pesto pasta!
Expert Tips
- Cut into Evenly-Sized Pieces - Chicken pieces that are similar in size will cook more evenly. This will help to ensure that every piece is juicy and none are dried out.
- Don't Skip the Flour - Egg adheres to flour much better than it does to plain chicken. By flouring the meat first the breading will not fall off.
- Use Two Hands - Set up your dredging station with the flour and the breadcrumb bowls on one side and the egg on the other side. Use one hand when breading the chicken in the flour or crumbs, and your other hand when dipping it in the eggs. That way you won't end up with big clumps of flour and breadcrumbs forming on your fingers.
- Don't Overcrowd Your Pan - For the best wings, lay the chicken in a single layer and leave a little space between each piece so that the hot air can circulate. This helps them to get crispy.
- Use a Meat Thermometer - Check the doneness of the chicken with a thermometer. Cooking it to 165°F (74°C) will give you boneless chicken wings that are juicy and flavorful.
- Serve With a Dipping Sauce - These are amazing with ranch! Or enjoy them with some marinara sauce for a flavor that will remind you of Chicken Parmesan. So good!
Recommended Recipes
Let me know how you like this recipe by leaving a review! And follow along on Instagram @stateofdinner for behind-the-scenes and to be among the first to know when new recipes post!
Recipe

Garlic Parmesan Boneless Chicken Wings
Recipe by:Ingredients
- 1 pound boneless, skinless chicken breasts Cut into 1-inch by 2-inch pieces
- 1 cup all-purpose flour
- 2 eggs
- 1 cup Panko breadcrumbs
- ½ cup grated Parmesan cheese
- 1 teaspoon salt
- ½ teaspoon smoked paprika
- ½ teaspoon garlic powder
- ¼ teaspoon ground black pepper
- 2 tablespoons chopped parsley optional
- ⅓ cup butter
- 2 cloves garlic minced
Instructions
- Preheat the oven to 425°F (220°C).
- Place the flour in a shallow bowl or pie plate.1 cup all-purpose flour
- In a separate pie plate, whisk the eggs until smooth.2 eggs
- Use a third pie plate or shallow bowl to combine the Panko breadcrumbs with the grated Parmesan cheese, spices, and parsley. Mix well.1 cup Panko breadcrumbs, ½ cup grated Parmesan cheese, 1 teaspoon salt, ½ teaspoon smoked paprika, ½ teaspoon garlic powder, ¼ teaspoon ground black pepper, 2 tablespoons chopped parsley
- Working in batches of a few pieces of chicken at a time, place the chicken into the flour mixture and coat completely.
- Remove from the flour and place into the egg mixture, turning the chicken to coat.
- Once the chicken is coated with egg, remove it from the eggs and allow any excess to drip off, then transfer it to the breadcrumb mixture and toss to coat.
- Line the chicken onto a large baking sheet, with some space between each piece. Bake for 8 minutes.
- While the chicken is baking, place the butter into a microwave-safe bowl and heat for 30-60 seconds to melt completely. Stir in the minced garlic.⅓ cup butter, 2 cloves garlic
- After the first 8 minutes of baking, remove the chicken from the oven and flip each piece over. Brush the garlic butter mixture over the top of each piece. Bake for an additional 5-8 minutes, or until the internal temperature has reached 165°F (74°C).
Notes
Nutrition
The nutritional facts provided are only estimates. The accuracy of the nutritional information for any recipe on this site is not guaranteed.


Kaleb says
So good and bursting in flavor.
Erin says
Thanks, Kaleb! Glad you enjoyed them!