It's surprisingly easy to make butter at home! You need just two ingredients: heavy cream and salt. Following these simple recipe instructions, you'll have creamy, flavorful butter in about 15 minutes.
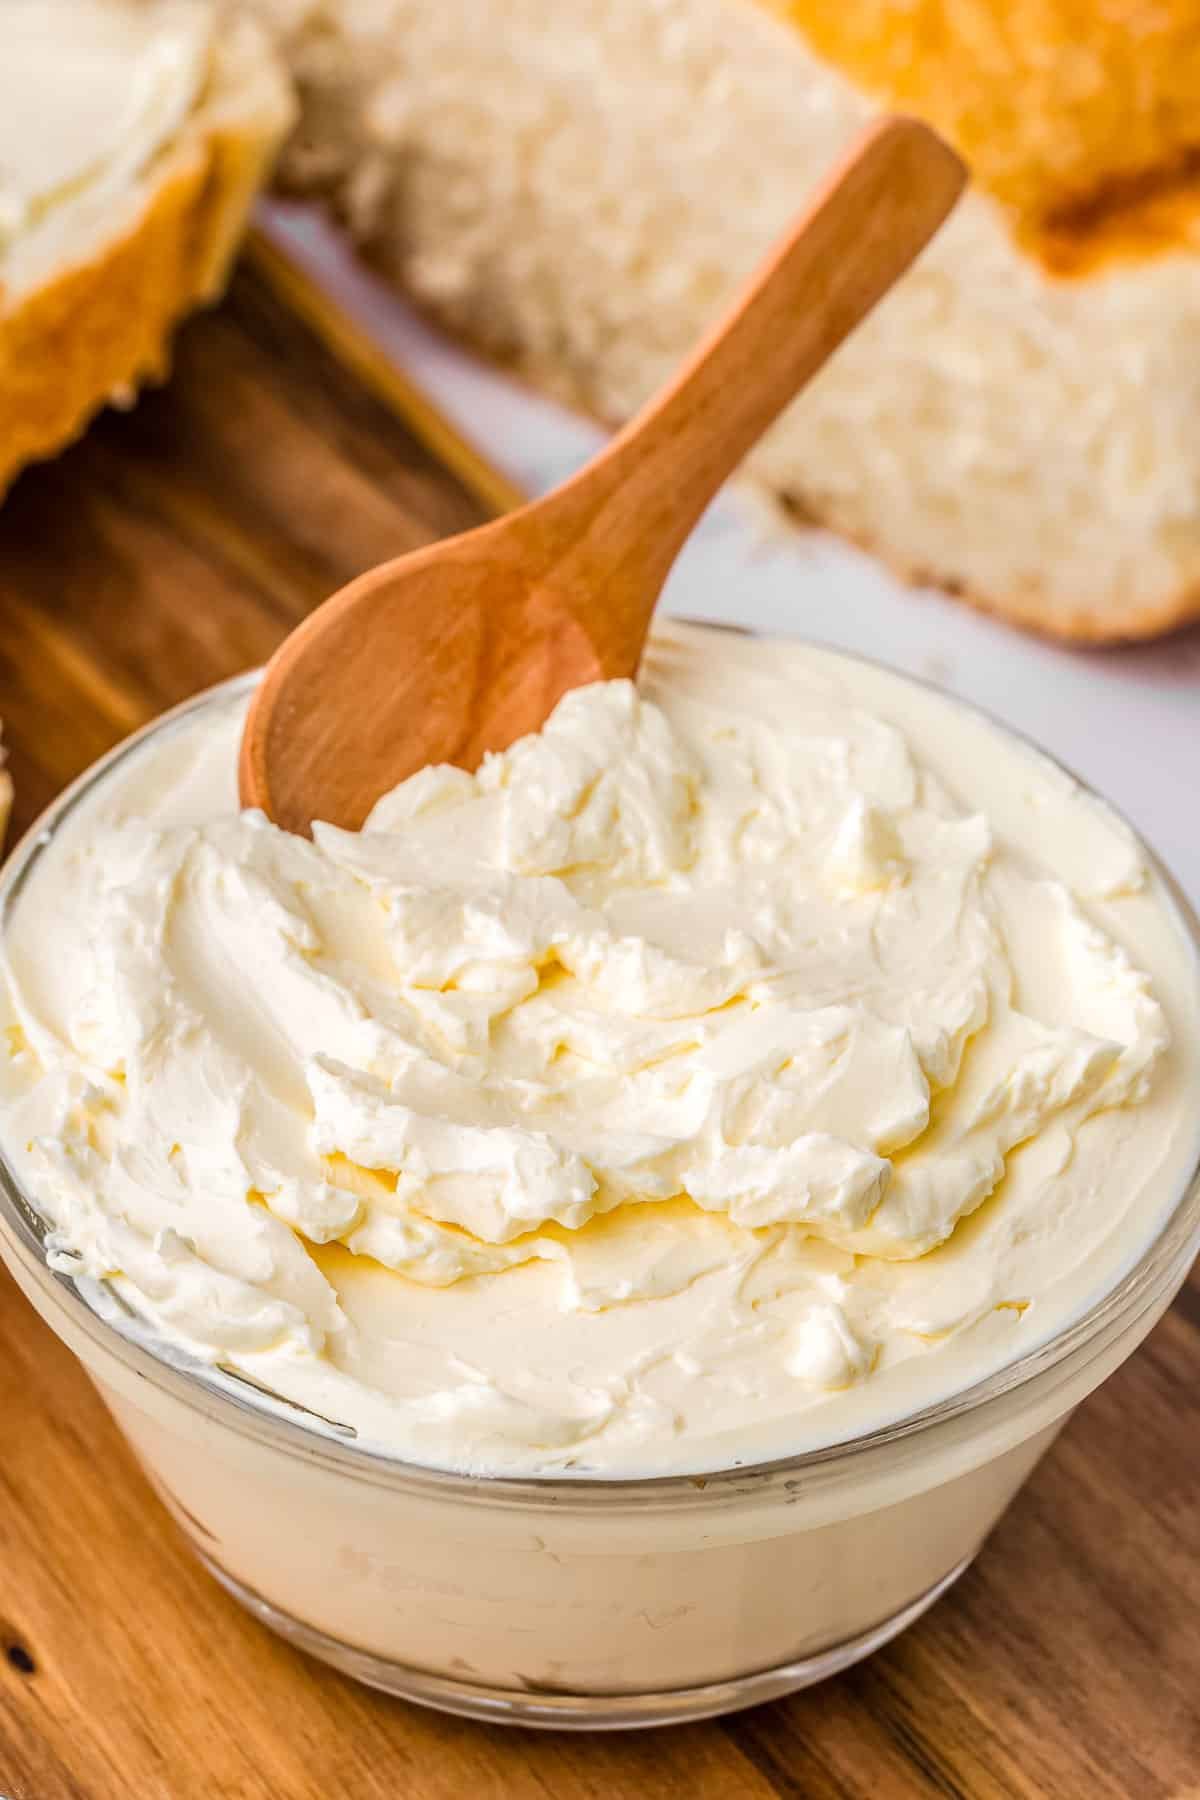
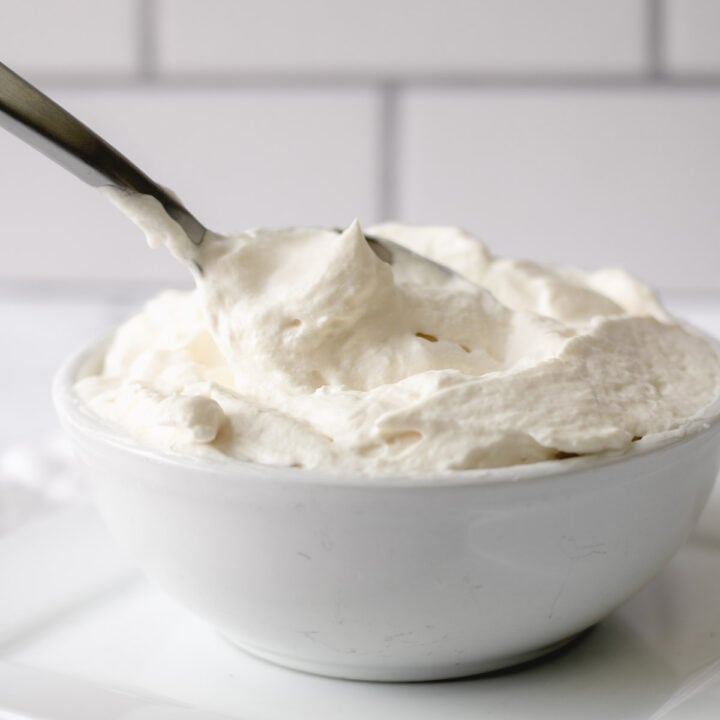
If you've ever whipped cream at home, you know the importance of not overwhipping it. I always caution against this in my whipped cream recipes because if you whip it too long, you'll end up with butter.
But today, we're embracing that "mistake" and transforming it into a delicious, homemade spread that's perfect for toast, baking, or even just eating by the spoonful. (I won't tell!)
The beauty of homemade butter is its simplicity. This recipe uses just two ingredients: heavy cream and salt. Yep, the same cream you use to make whipped cream can be transformed into smooth, rich butter with just a few extra minutes of mixing.
The key difference is that we'll leave out the sugar and vanilla extract, so you taste the cream's natural flavor.
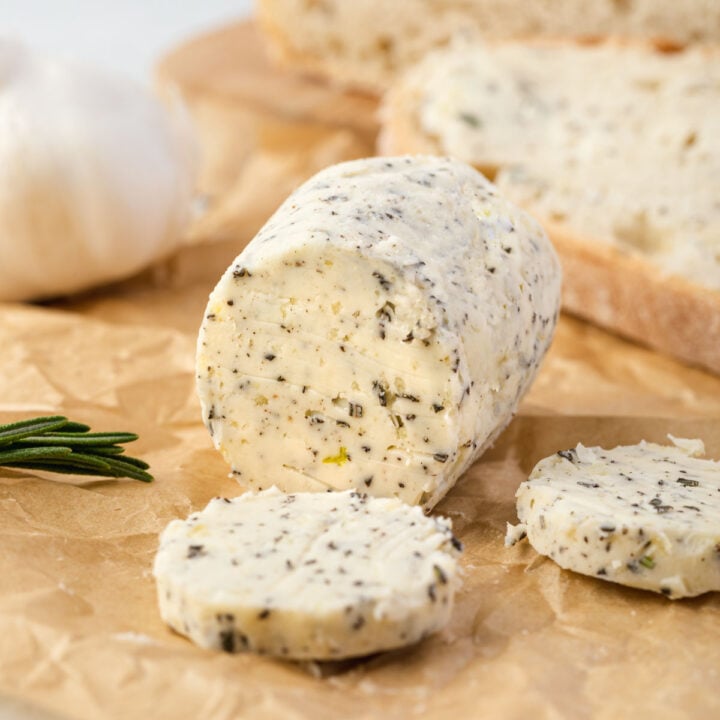
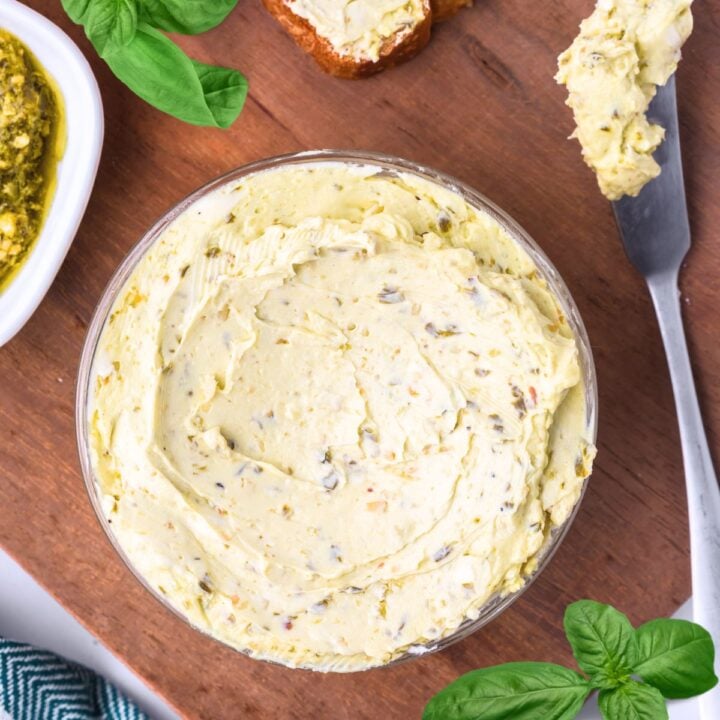
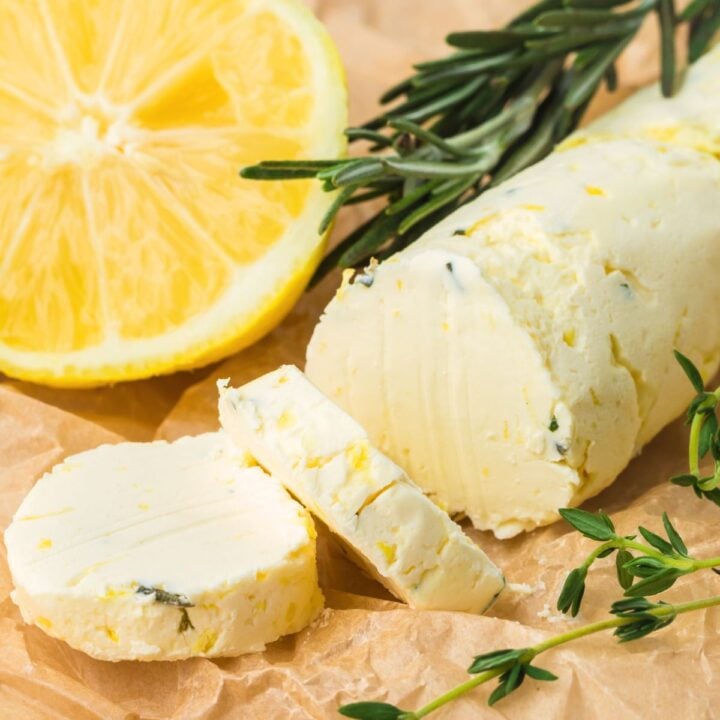
You can also amp it up by flavoring it with herbs to make a compound butter like Lemon Butter, Basil Pesto, or Rosemary Garlic Butter!
Key Ingredients
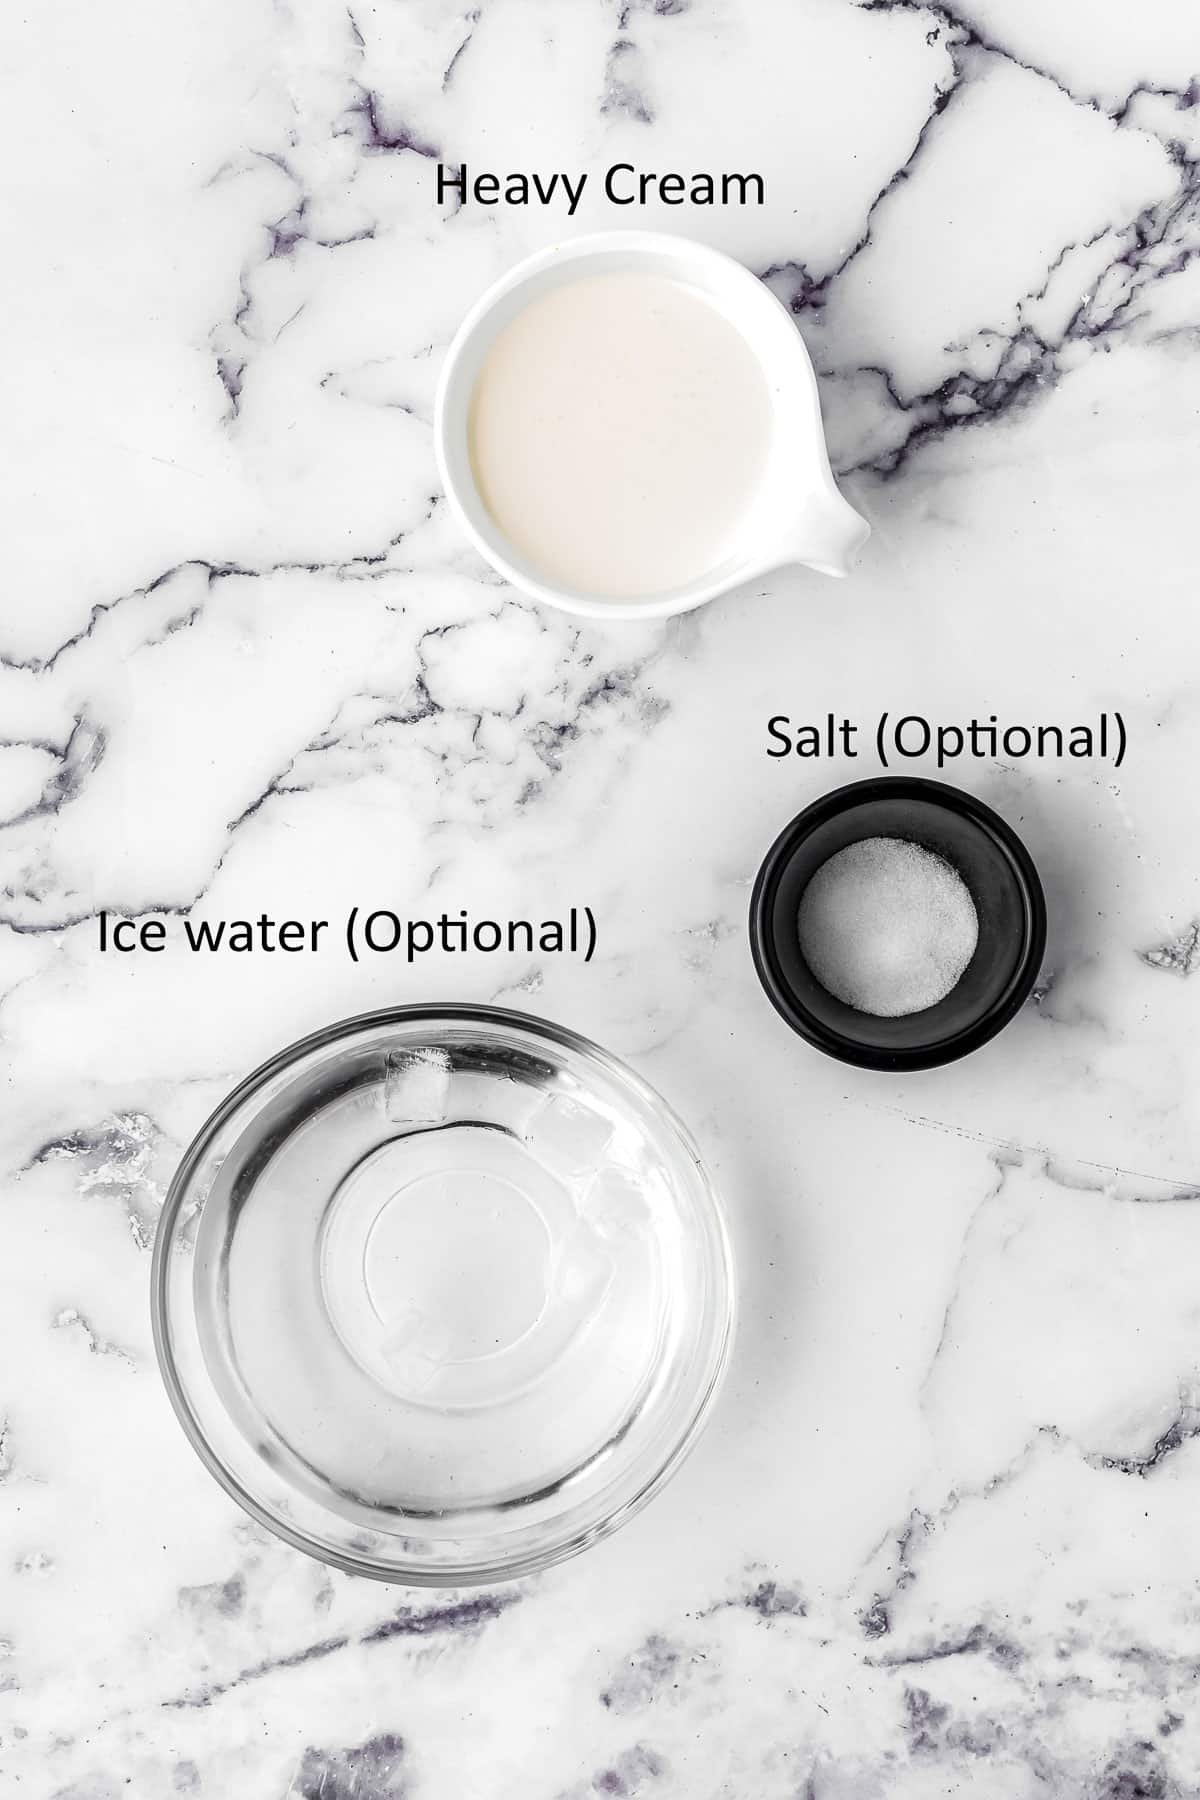
Looking for the full recipe? The recipe card at the bottom of this post includes the complete list of ingredients, measurements, and instructions.
Heavy Whipping Cream - It’s super important to choose heavy cream with at least 35% milk fat (ideally 40% fat). Using milk or cream with a lower fat content will not yield the desired results, as it doesn't contain enough fat to separate into butter and buttermilk.
Avoid heavy creams that contain thickening agents or additives. While these creams will still churn into butter, the process will take much longer because the additives prevent the butter from separating from the buttermilk easily.
Salt – The great thing about making your own butter at home is that you control how much or how little salt you add. Follow the recipe exactly, add a little extra, or leave it out altogether. That's your choice!
How do you Make Butter from Cream
1) Whip the Cream
- Pour cold heavy cream into the bowl of your stand mixer or a large bowl if using a hand mixer.
- Use the paddle attachment to whip the cream on medium speed until it thickens, turns pale yellow, and becomes chunky, resembling rough butter.
- Scrape down the sides of the bowl with a rubber spatula, incorporating any splashed cream back into the mixture.
- Continue mixing until you see a clear separation of solid butter and liquid buttermilk.
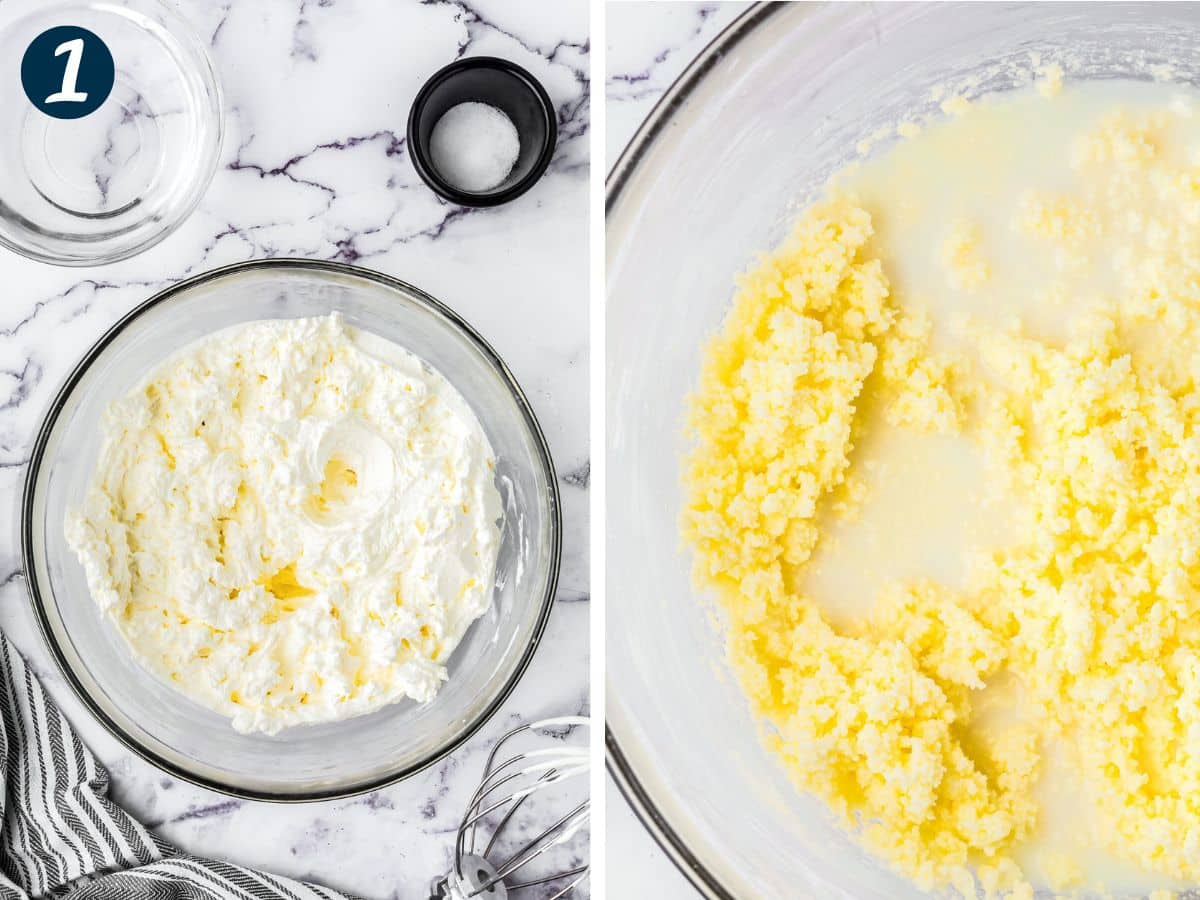
Pro Tip: Be patient and keep mixing, even if the cream takes a while to separate. Once it reaches the right stage, the process happens quickly.
2) Separate the Butter and Buttermilk
- Press the butter solids with a spoon or spatula, forming a cohesive ball.
- Remove the butter from the bowl, leaving the buttermilk behind. (Save the buttermilk for use in other recipes!)
- Wrap the butter in cheesecloth and submerge it in a bowl of ice water.
- Squeeze the butter, kneading gently to release any remaining buttermilk. The cold water will become cloudy as the buttermilk is expelled.
- Discard the cloudy water and repeat the process with fresh ice water until the water remains clear, indicating all the buttermilk has been removed.
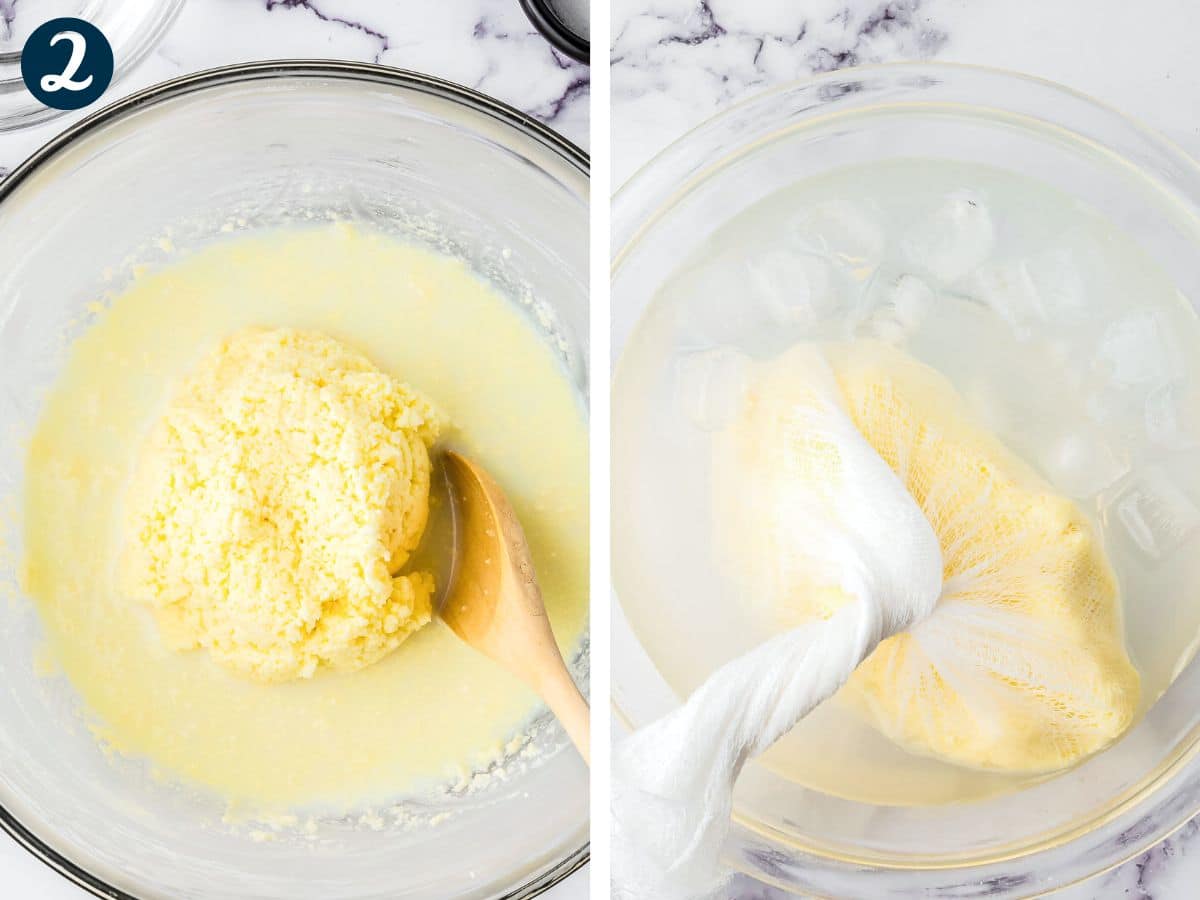
Pro Tip: Thoroughly removing the buttermilk helps extend the shelf life of your fresh butter.
3) Season and Shape
- Remove the butter from the cheesecloth, lay it on a clean work surface, and pat it dry with a paper towel or clean kitchen towel.
- If you are making salted butter, sprinkle the salt over the butter and use a spatula or your hands to press and fold it repeatedly, ensuring even distribution.
- If you are making flavored compound butter, this is the time to add in your fresh herbs or other flavorings!
- Use a spoon or spatula to shape the butter into your desired form. You can create a traditional block, press it into a mold, or transfer it to an airtight container for storage.
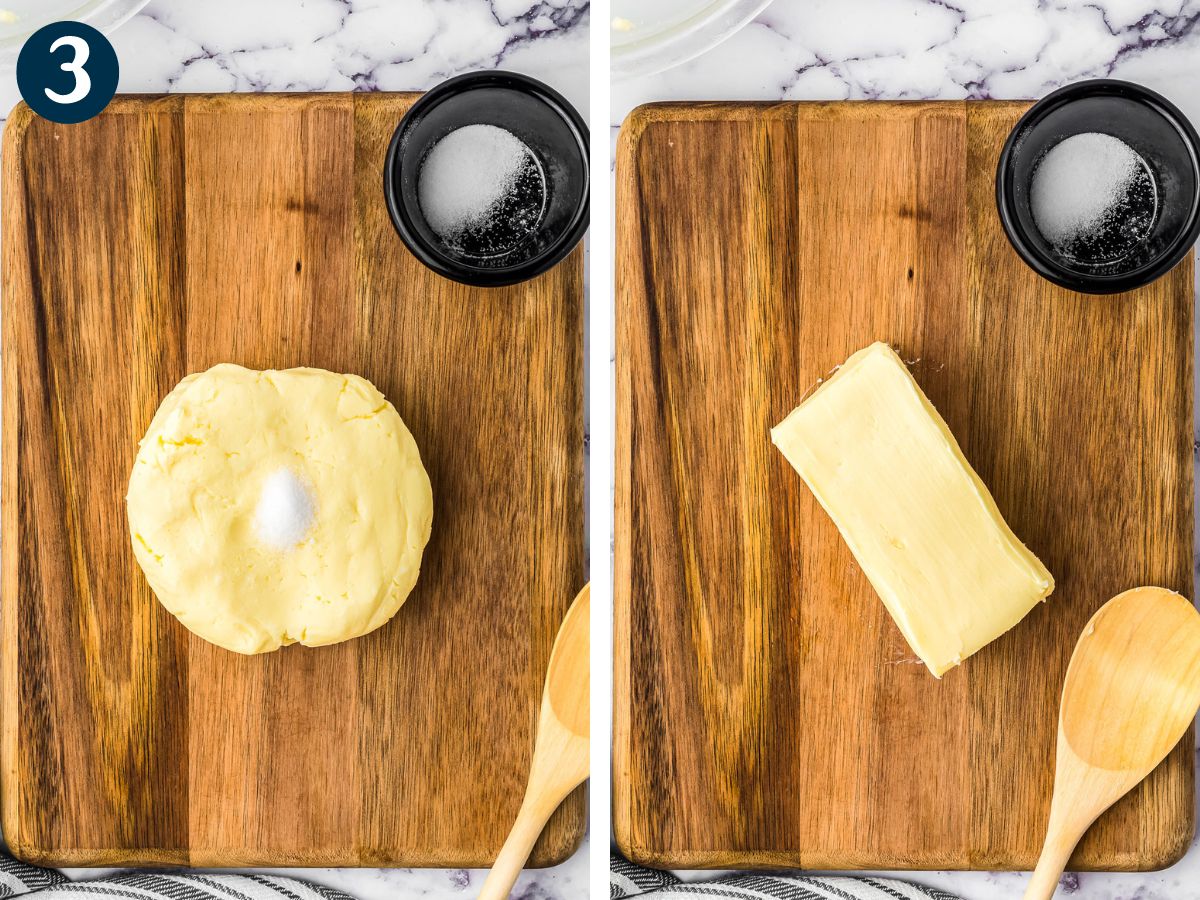
Pro Tip: If using your hands to mix in the salt, work quickly to avoid melting the butter. If the butter starts to melt, return it to the ice bath briefly to firm up.
Other Ways to Make Butter
If you don't have an electric mixer or just want to try a different method, try one of these options!
Food Processor or Blender: Pour your heavy cream into the food processor or blender and let it run until the butter separates from the buttermilk.
Mason Jar: This method is fun to try with kids! Fill a jar about halfway with heavy cream, screw the lid on tightly, and start shaking!
It will take some elbow grease, but after about 10-15 minutes of vigorous shaking, the butter will start to form.
Butter Churn: If you really want to go old-school, you can try using a butter churn. This traditional method involves pouring cream into a large wooden churn and using a plunger to agitate the cream until the buttermilk separates.
While it's a bit more labor-intensive than the other methods, it's a fun way to experience a bit of history!
No matter which method you choose, the result will be the same: Delicious, creamy butter. Experiment with different techniques until you find your favorite way to churn!
Storage Guidelines
Protecting your fresh butter from the air is essential, as oxygen can make it spoil faster.
Press the butter into an airtight container or wrap it tightly in parchment paper or plastic wrap to keep it tasting its best.
Homemade butter can be stored in an airtight container in the refrigerator for up to 2 weeks or in the freezer for up to 9 months.
Recipe FAQs
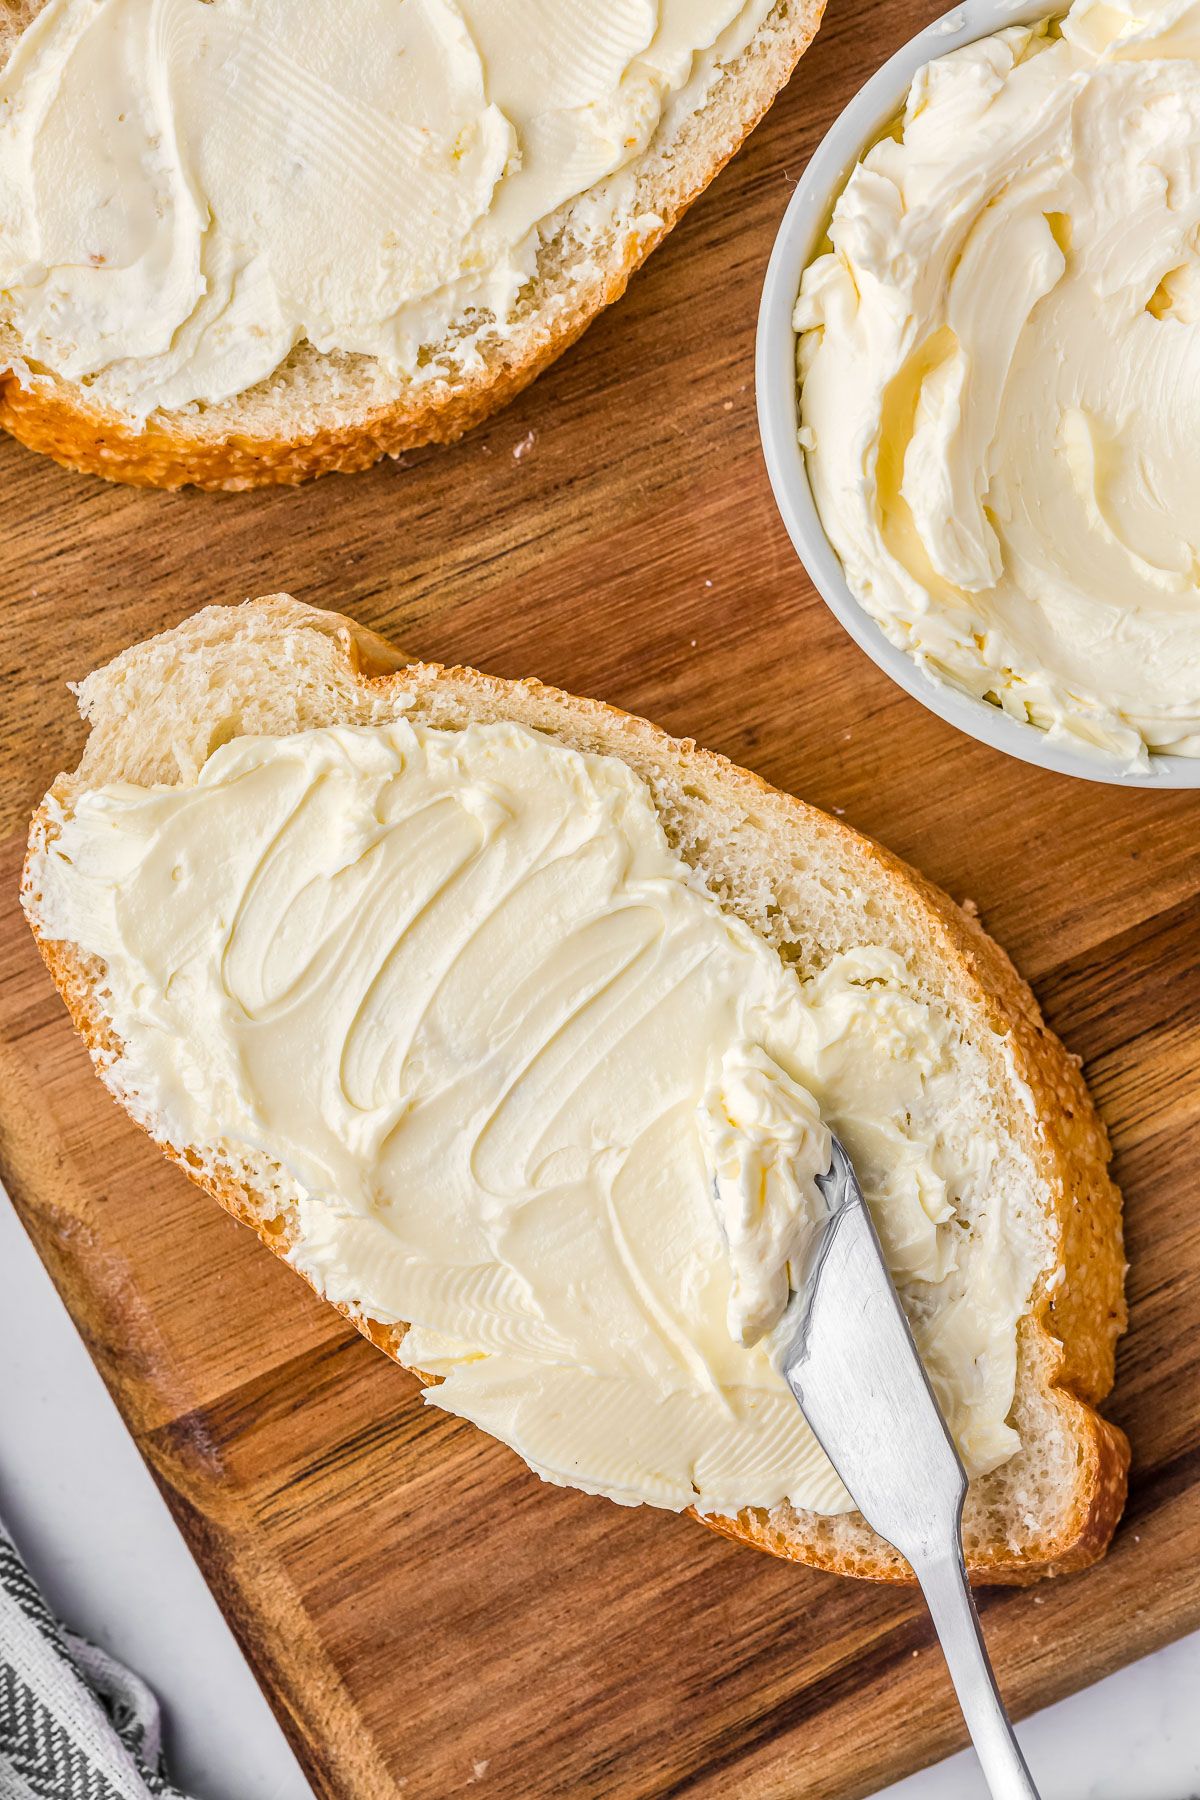
Sure! Homemade butter can be used in all of the same ways that you would use store-bought, from spreading on toast to using in a cooking or baking recipe.
If you don’t want to make an ice bath for your DIY butter, just run it under cold tap water while squeezing the excess buttermilk. Continue until the water runs completely clear.
That's not a problem! You can use your hands to squeeze out the buttermilk. Just make sure not to break the butter into pieces.
You can! This easy homemade butter recipe will keep in the freezer quite a long time! So, why not make a double (or even triple) batch?
YES! The liquid that separates from the butter as you churn is legitimate buttermilk. You can use it just as any store-bought version in biscuits, pies, cakes, waffles, pancakes, etc. So good!
Recommended Recipes
Let me know how you like this recipe by leaving a review! And follow along on Instagram @stateofdinner for behind-the-scenes and to be among the first to know when new recipes post!
Recipe
Homemade Butter
Recipe by:Ingredients
- 2 cups (473 ml) heavy cream cold
- ½ teaspoon (3 grams) salt
- 4 cup (946 ml) ice water
Instructions
- Whip the cream in a large mixing bowl using the paddle attachment on your electric mixer. Start on low speed and gradually increase to medium-high speed once the cream has thickened.2 cups heavy cream
- Beat the cream for about 10 minutes, occasionally scraping the sides, until it has turned yellow and the butter has separated from the buttermilk.
- Press the butter together using a spoon or a spatula, and then remove it from the bowl, leaving the buttermilk behind. Wrap the butter in cheesecloth and place it in the bowl of ice water.4 cup ice water
- Use the cheesecloth to squeeze any remaining buttermilk from the butter. As the buttermilk squeezes out into the ice water, the water will become cloudy. Dump the bowl and refill it with ice water repeatedly until you can squeeze the butter and the water remains clear.
- Remove the butter from the cheesecloth, lay it on a clean work surface, and pat it dry. Season it with salt and repeatedly press and fold the butter with a spatula until the salt has distributed throughout.½ teaspoon salt
- Use a spoon or a spatula to press the butter into your desired shape or press it into an airtight container for later use.
Notes
- The cream should be kept very cold throughout the process. If it is too warm, the butter will not solidify. If your butter starts to warm up at any point, return it to the refrigerator for about 10 minutes before continuing.
- Get the buttermilk out of the butter! If buttermilk is left in the butter it will spoil quickly.
- Don’t like the ice water method? You can squeeze the buttermilk out of the butter under cold running water until the water runs clear.
- If you don't have a cheesecloth, you can squeeze the butter with your hands, being careful not to break it apart.
Equipment
Nutrition
The nutritional facts provided are only estimates. The accuracy of the nutritional information for any recipe on this site is not guaranteed.


Comments
No Comments