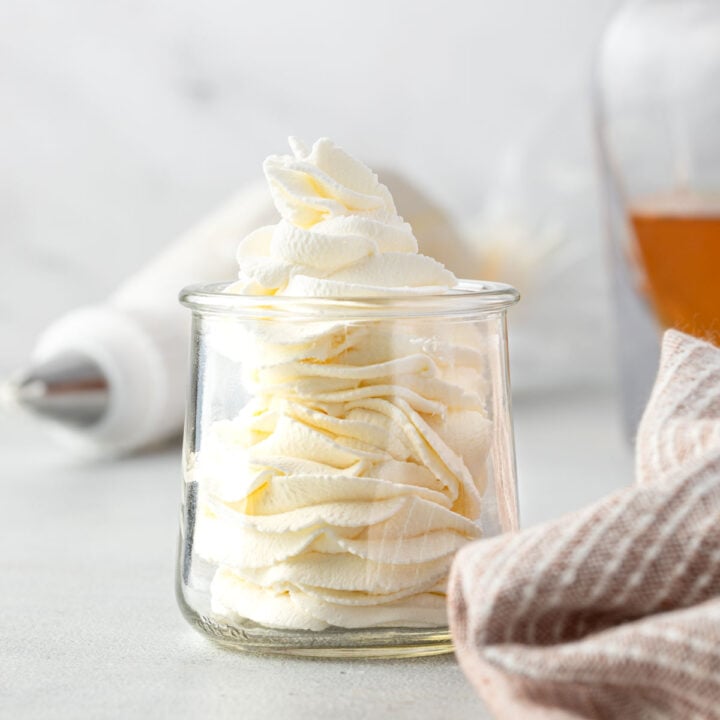
Homemade Peppermint Whipped Cream is a festive, fluffy topping infused with peppermint extract that pairs perfectly with seasonal beverages and desserts. This easy recipe comes together in just minutes and holds its shape when dolloped or piped onto all your holiday treats.
I absolutely love whipping up a batch of this peppermint whipped cream during the holidays! It allows me to quickly level up so many festive treats!
It's become my little secret weapon for amping up store-bought desserts too. Just a small dollop or swirl makes even the most basic slice of sheet cake feel special.
With just three ingredients and less than 5 minutes to make, you'll find yourself looking for more reasons to make it!
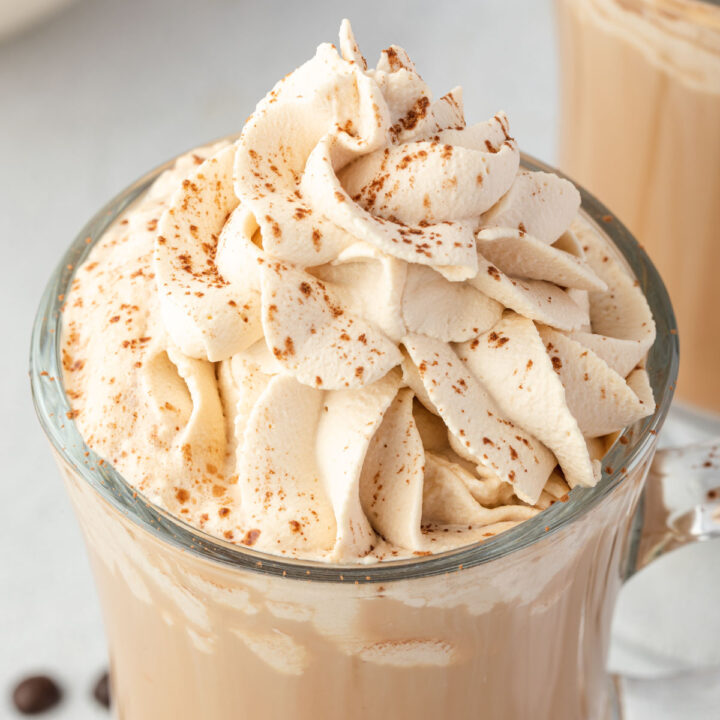
I love to have both peppermint whipped cream and marshmallow whipped cream on my hot chocolate bar.
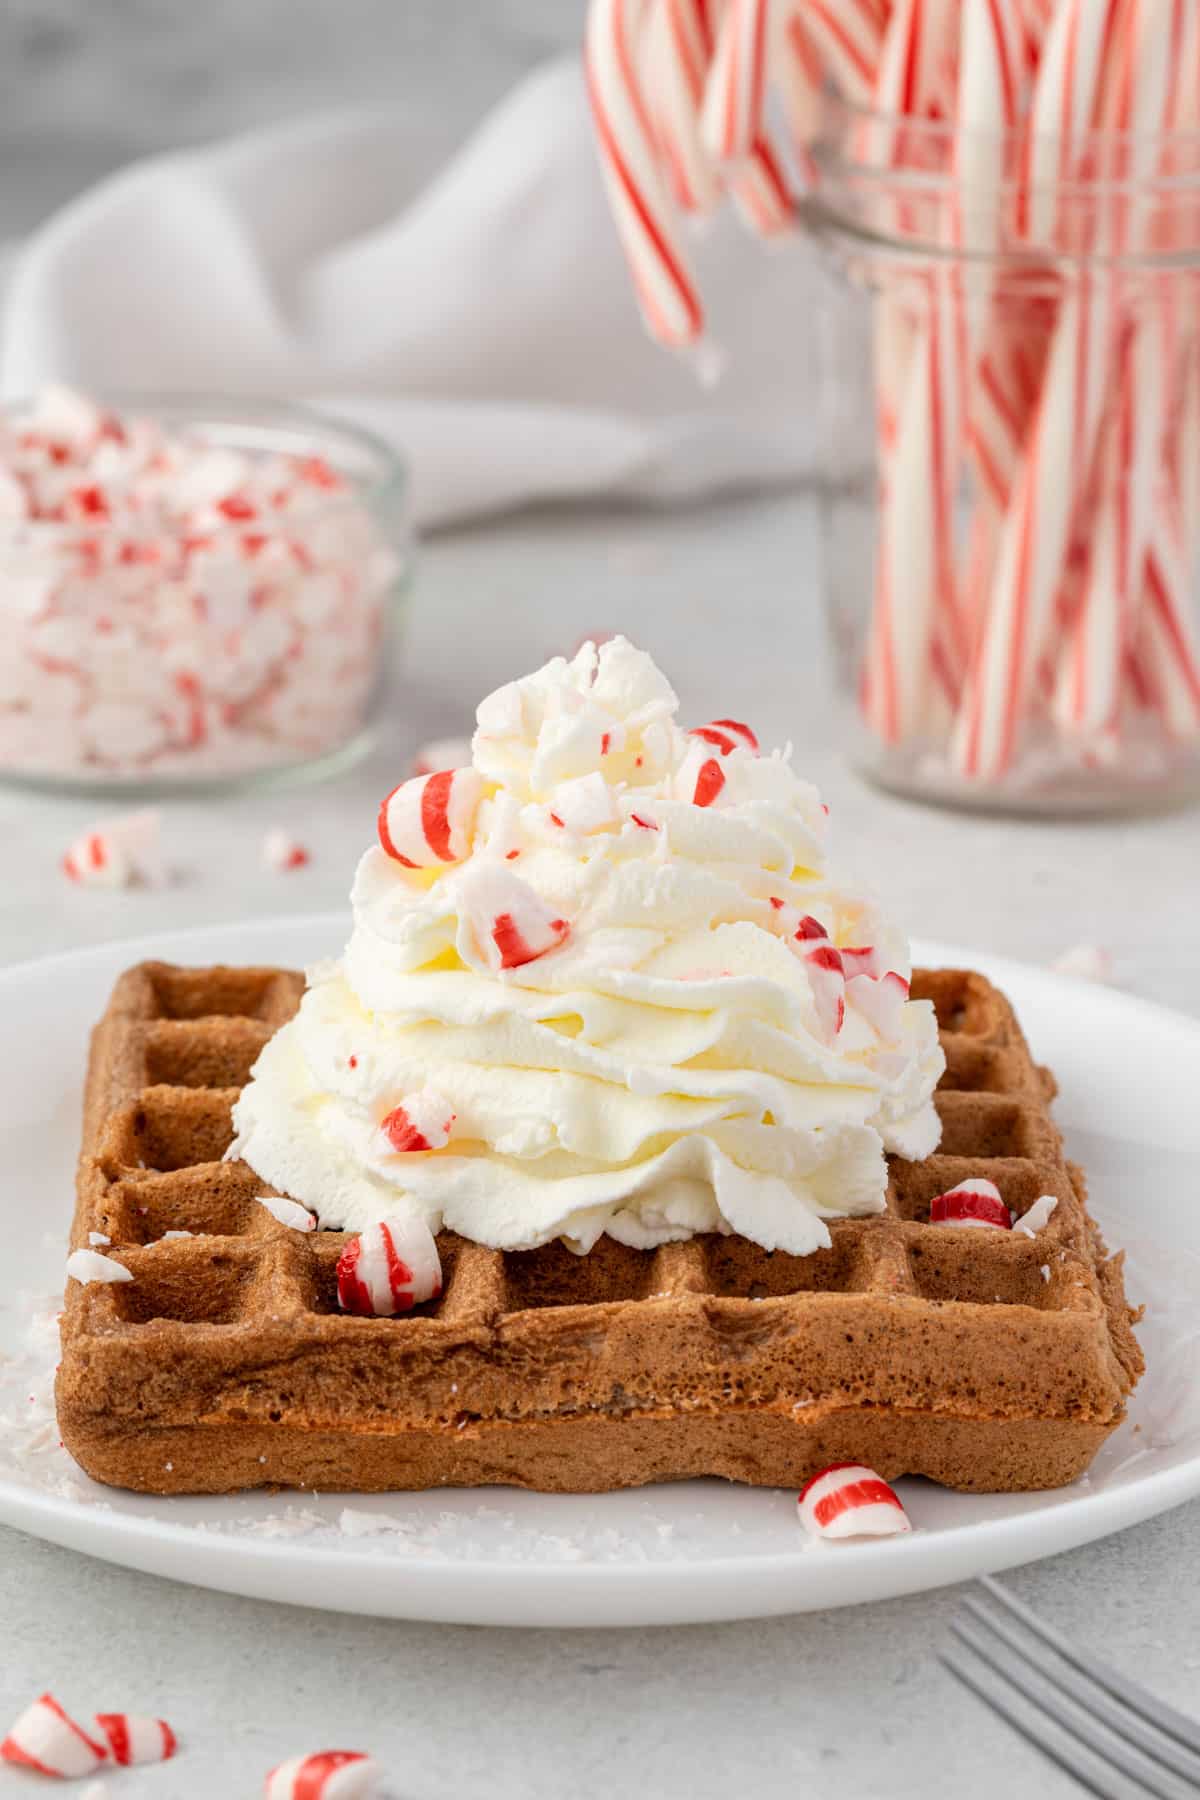
You can also spread it as a filling for a sheet cake or yule log, or dollop a little on top of a chocolate waffle or ice cream! It's the perfect topping for practically every holiday treat!
Simple Ingredients
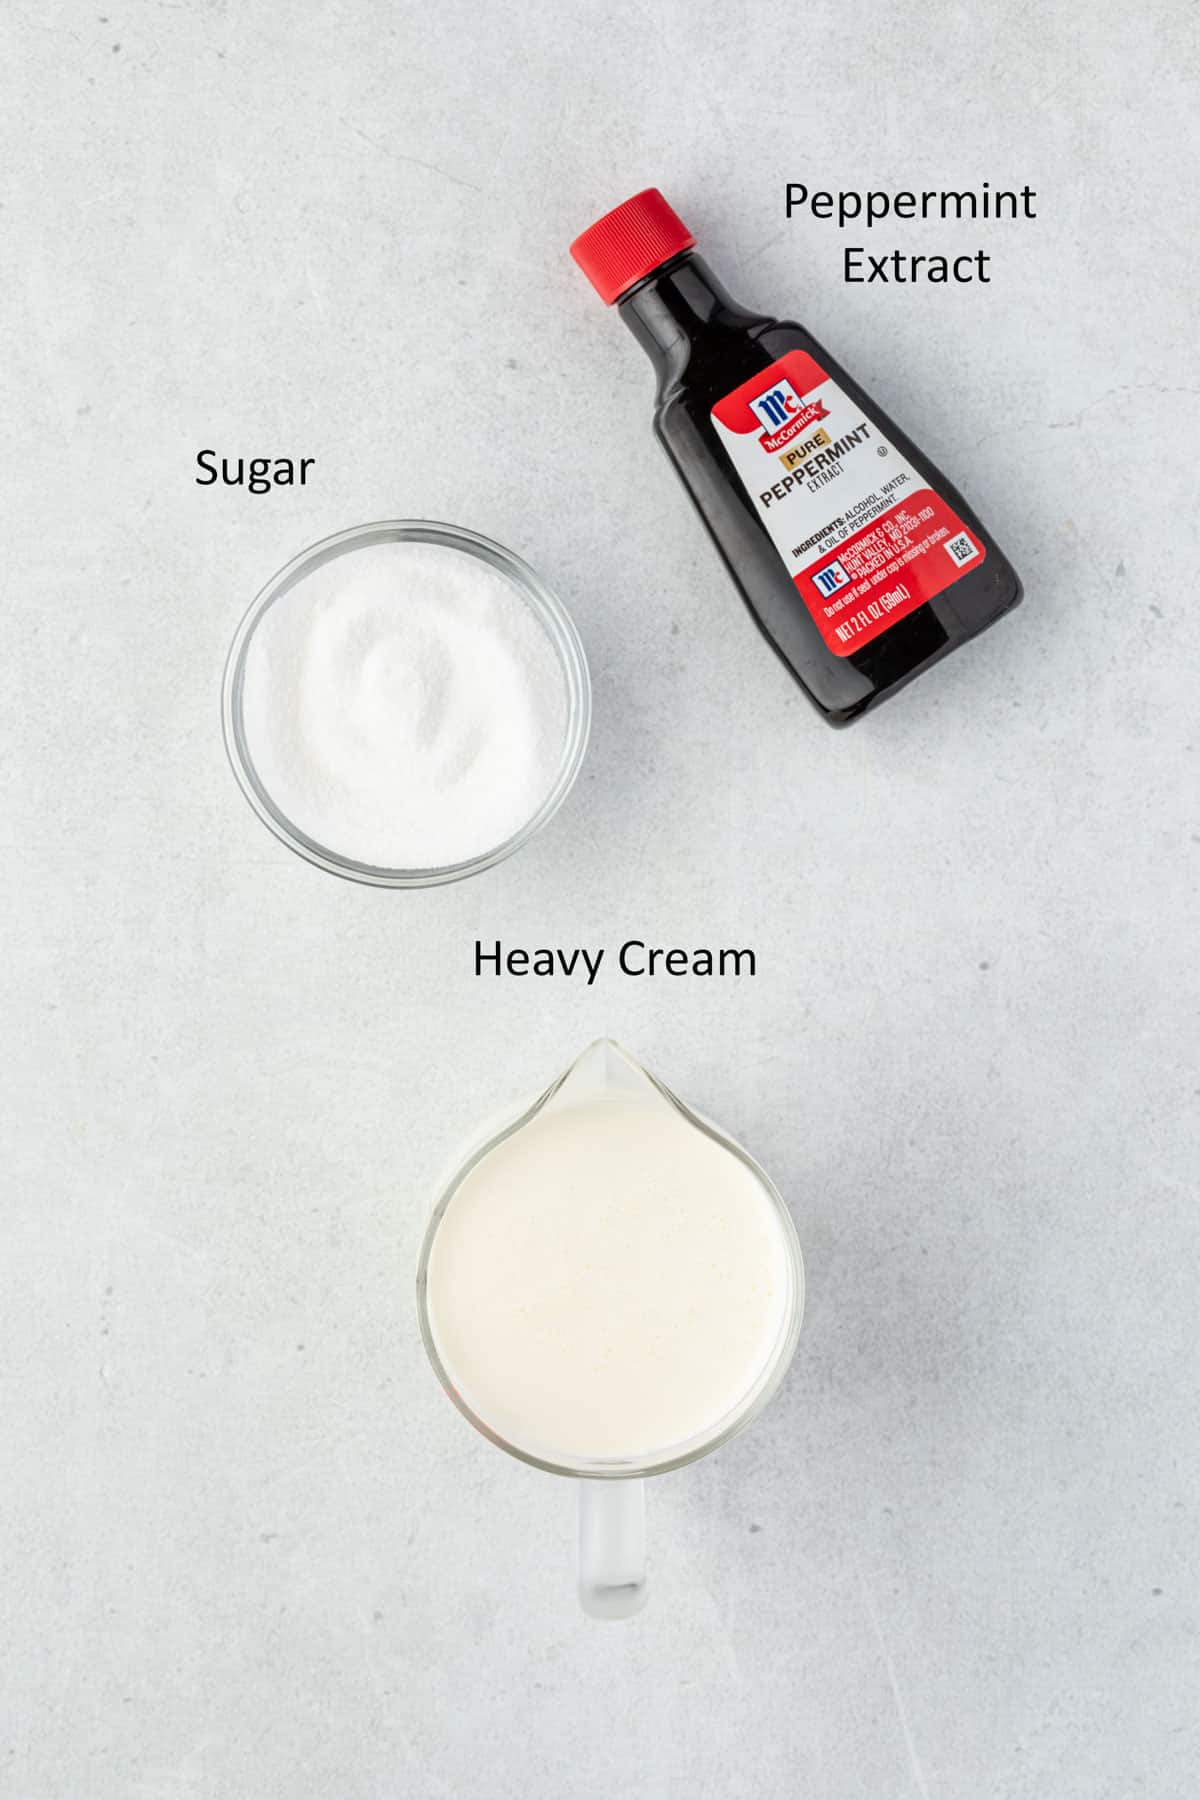
Looking for the full recipe? The recipe card at the bottom of this post includes the complete list of ingredients, measurements, and instructions.
Heavy Cream - It's important to use heavy whipping cream, which has at least 36% milk fat. Regular whipping cream only has about 32% milk fat and will not fluff up as well.
Granulated Sugar - Sugar is used to sweeten the cream. Powdered sugar can also be used. It's not quite as sweet so you may need slightly more to end up with the same flavor.
Peppermint Extract - My family thinks this recipe has the perfect amount of peppermint flavor, but feel free to adjust the amount up or down to your taste preference. Do not use mint extract as it has more of a spearmint flavor.
Tip: Adding a few drops of red food coloring is a fun way to jazz up this peppermint topping!
How to Make Peppermint Whipped Cream
Perfect homemade whipped cream can be made in minutes!
- First, pour 1 cup cold heavy whipping cream into a large mixing bowl.
- Add 1⁄4 cup granulated sugar and 1 teaspoon peppermint extract.
- Using an electric hand or stand mixer on low speed, beat the mixture until the cream starts to thicken, about 1 minute.
- Increase speed to medium-high and continue beating until medium peaks form, 2-3 minutes.
- Be careful not to overwhip or it will turn grainy and start to turn into butter! If you accidentally overwhip the cream, slowly add 1-2 tablespoons of cold cream on low speed and it will soften it back up.
Do You Need a Stabilized Whipped Cream?
While it's best to prepare plain whipped cream right before serving, I sometimes like to make it ahead of time. If you want to whip it in advance, there are two easy options to help stabilize it so it doesn't deflate.
The first is by adding ⅛ teaspoon cream of tartar. This helps stabilize the whipped cream so it holds its shape better over time. For detailed instructions, check out my simple stabilized whipped cream recipe.
The other method is ideal if using this as a cake filling or frosting. By dissolving a bit of unflavored gelatin into the heavy cream first, it turns this into a sturdy whipped cream frosting that pipes beautifully and lasts for days.
Tip: Make a big batch of stabilized whipped cream so you can use it in a variety of ways throughout the week! Add a huge dollop on top of hot cocoa, chocolate cake, chocolate pie, and other holiday desserts!

Tips for the Perfect Whipped Cream
- Chill your bowl and beaters - Using super cold utensils helps the heavy cream whip up faster. Pop everything in the freezer for 10-15 minutes before starting.
- Keep the cream cold - Store your heavy whipping cream in the fridge right up until you make the whipped cream to help it come to soft peaks faster.
- Don't overbeat - Once you've whipped the cream to stiff, glossy peaks, stop mixing. Overbeating will cause it to look curdled and dry.
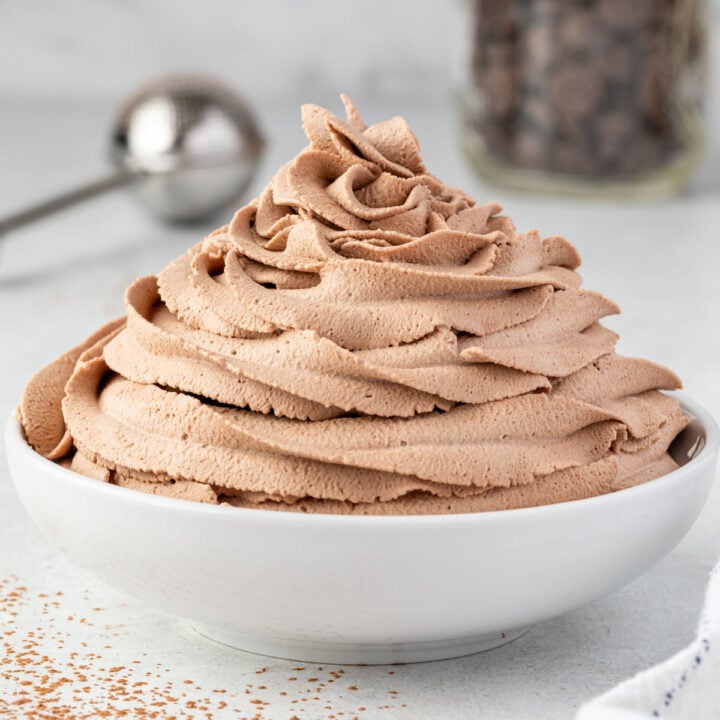
- Customize the flavor - It's fun to mix the recipes for Chocolate Whipped Cream and Espresso Whipped Cream for this recipe. Just mix a couple of tablespoons of cocoa powder and a teaspoon of espresso powder and it turns into Peppermint Mocha Whipped Cream!
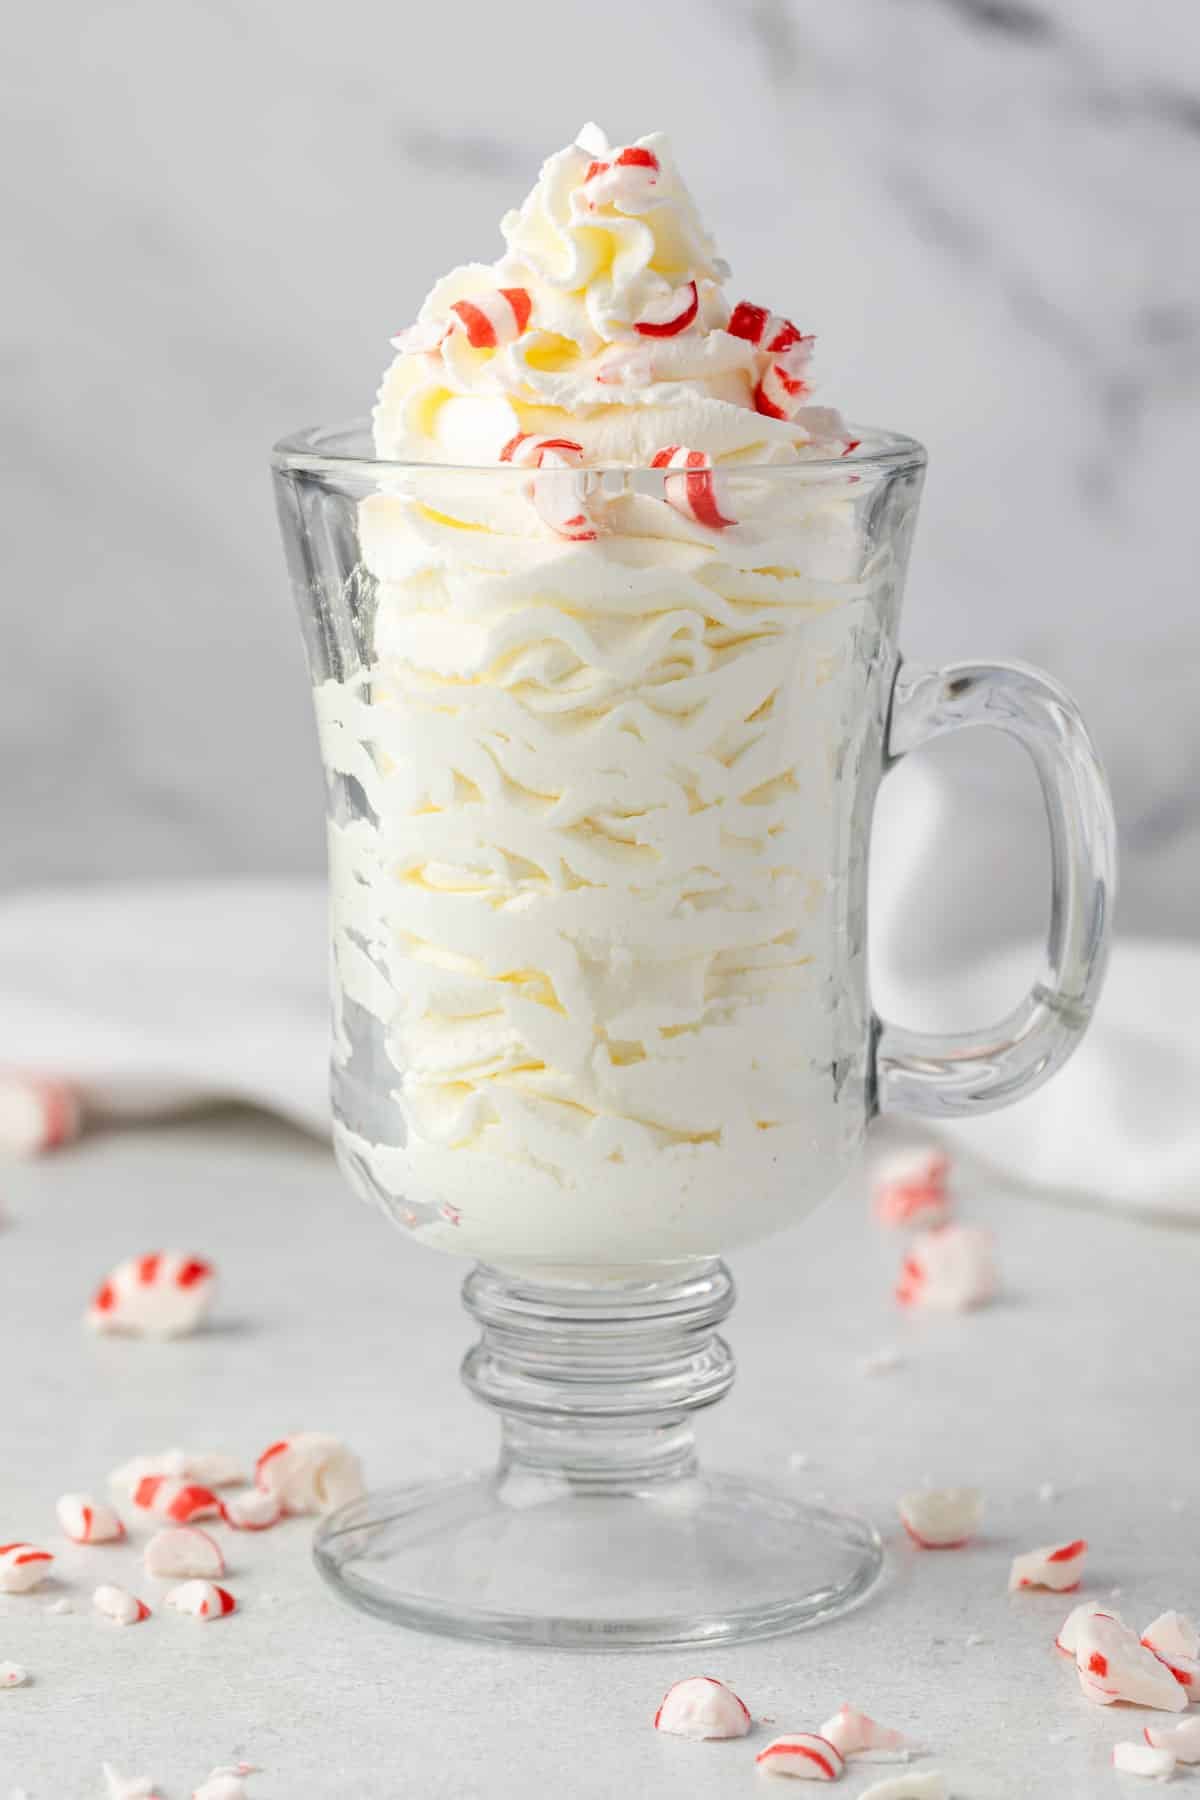
- Add texture - Crushed candy canes make a really pretty garnish! You can also mix chopped peppermint candies into the cream for added crunch.
Recipe FAQs
Freshly whipped cream will last for 2-4 hours when kept refrigerated in an airtight container. If you want it to last longer, read more on the various ways to stabilize your cream.
Yes! It needs to be frozen in the shape you want to use it, so simply transfer it to a piping bag, pipe mounds onto a parchment-lined cookie sheet, and freeze until solid. Then transfer it into freezer bags so you can pull them out one at a time as needed. Frozen whipped cream will last for 2-3 months in the freezer.
No, peppermint oil and peppermint extract are not the same thing. Peppermint extract contains peppermint oil diluted in alcohol and is intended for consumption in foods and beverages, while peppermint essential oil is much more concentrated and meant for aroma or skin use rather than eating.
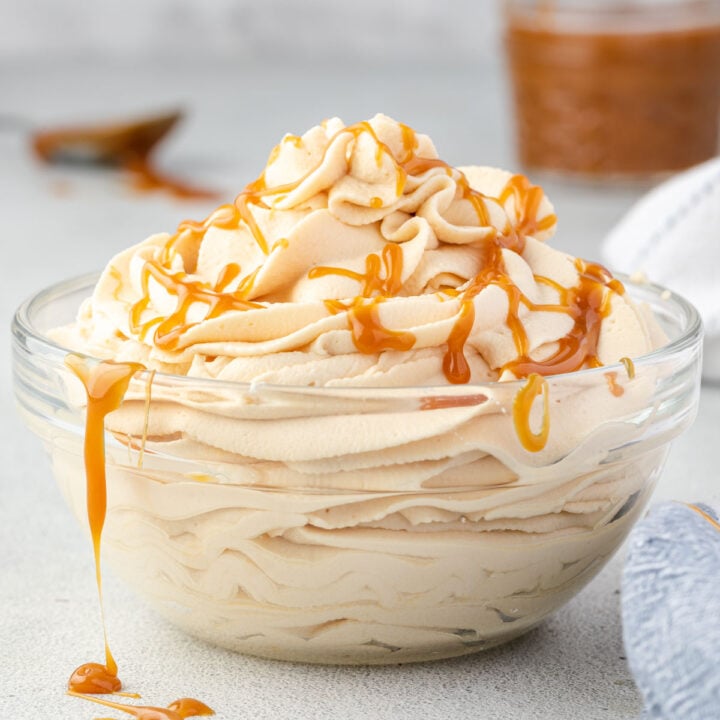
More Flavored Whipped Cream Recipes
Let me know how you like this recipe by leaving a review! And follow along on Instagram @stateofdinner for behind-the-scenes and to be among the first to know when new recipes post!
Recipe

Peppermint Whipped Cream
Recipe by:Ingredients
- 1 cup (240 ml) heavy whipping cream
- ¼ cup (50 g) granulated sugar
- 1 teaspoon (5 ml) peppermint extract
Instructions
- Place the heavy whipping cream, granulated sugar, and peppermint extract in a large mixing bowl and beat on low speed with an electric mixer until the cream is foamy, about 1 minute.1 cup heavy whipping cream, 1 teaspoon peppermint extract, ¼ cup granulated sugar
- Increase to medium-high speed and continue beating until the cream forms stiff peaks
Notes
Nutrition
The nutritional facts provided are only estimates. The accuracy of the nutritional information for any recipe on this site is not guaranteed.


Comments
No Comments